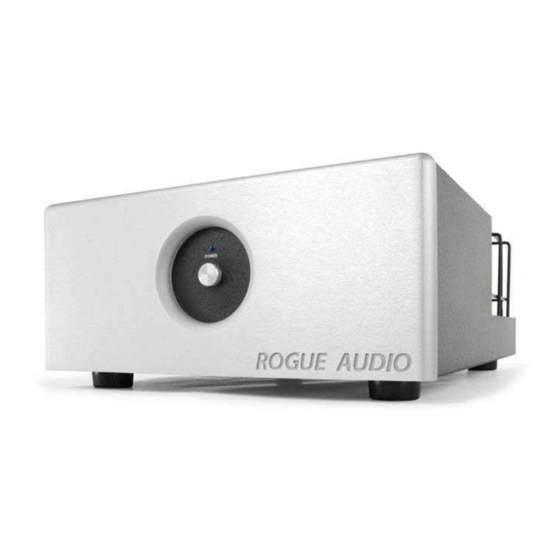
Summary of Contents for Rogue Audio M-150
- Page 1 M-150 Monoblock Power Amplifier Owner’s Manual Rogue Audio, Inc. 3 Marian Lane Brodheadsville, PA 18322 Issue date: 10/27/03...
-
Page 2: Table Of Contents
TABLE OF CONTENTS 1) Introduction 2) Unpacking the M150 power amplifier 3) Connecting M150 to your system 4) Operation of the amplifier 5) Setting the tube bias 6) Troubleshooting 7) Registration card 8) Fuse values 9) Specifications 10) Warranty... -
Page 3: Introduction
Monoblock amplifier, you can be sure that you are getting the very best in tube amplification. We at Rogue Audio are extremely proud of our products and want you to enjoy them to their fullest potential. So please, take the time to read through this short manual so that you can be confident that you have set up your amplifier properly. -
Page 4: Connecting M150 To Your System
Connecting M150 to the Loudspeakers: The rear panel has binding posts for both 4 and 8 ohm loudspeakers as shown in Figure 1. In general, if your speakers are rated at less than 6 ohms, use the 4 ohm taps and use the 8 ohm taps if they are 6 ohms or greater. CAUTION –... -
Page 5: Operation Of The Amplifier
Connecting M150 to the power outlet: Connect the IEC send of the detachable power cord provided to the amplifier, and plug the opposite end into corresponding outlet. It is recommended that both M150’s and your preamp are plugged into the same wall outlet if possible (perhaps using a power outlet strip). -
Page 6: Setting The Tube Bias
Triode/Ultralinear switch: This switch is located on the back panel of the amp. See Figure 1. The output transformer of a tube amplifier acts as the electrical interface between the very different impedances of the loudspeaker and the tube circuitry. There are three fundamental ways that the output transformer can be connected to the tube circuit. - Page 7 WARNING – There are dangerous and potentially lethal voltages inside this amplifier. Do not touch any part of the amplifier other than as described below. If you are uncertain about any of these instructions, please contact your dealer and have them bias the amplifier for you. Figure 2.
- Page 8 7) Using the bias tool, slowly turn the screw on the potentiometer that is adjacent to the switch until the bias meter reads ~ 40 miliamps (mA). Turn the screw clockwise to lower the bias and counterclockwise to raise the bias. Note that there are two ends on the bias tool.
-
Page 9: Troubleshooting
Included with this manual is an Owner and Warranty Registration Form. Please take a minute to fill out this card and return it to Rogue Audio. This card must be returned within 30 days of purchase to validate the warranty. -
Page 10: Limited Warranty
Rogue Audio warrants the vacuum tubes for a period of six months from the date of retail purchase. Any defective parts will be replaced free of charge, excluding shipping and handling.


Need help?
Do you have a question about the M-150 and is the answer not in the manual?
Questions and answers