
Related Manuals for Rogue Audio RP-5


Summary of Contents for Rogue Audio RP-5
-
Page 1: Table Of Contents
TABLE OF CONTENTS 1) Introduction 2) Unpacking your preamplifier 3) Installing the preamp into your system 4) Operation of your preamplifier 5) The phono preamplifier 6) Troubleshooting 7) Registration of your preamplifier 8) Fuse values 9) Specifications 10) Product Registration and Warranty... -
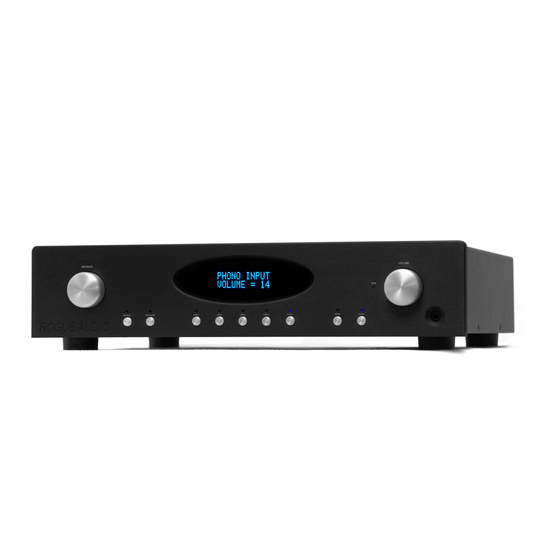
Page 2: Introduction
And with the RP-5 preamplifier, you can be sure that you are getting the very best in tube amplification. -
Page 3: Installing The Preamp Into Your System
INSTALLING THE RP-5 INTO YOUR SYSTEM Place the RP-5 on a flat stable surface with at least 1” of airspace above the preamplifier for ventilation. Do not place any other electronic components or any other objects on top of the preamplifier. - Page 4 “out” on the rear of the RP-5 to the inputs on your processor. Connect the outputs of the processor to the jacks labeled “in on the rear of the RP-5. When the processor button is pushed a blue LED below the button will indicate that the source signal is going through the processor.
-
Page 5: Operation Of Your Preamplifier
To do this, simply plug the RP-5 in and turn on the rear power switch. Wait a minute or so and then power on at the front panel. This only needs to be done when the RP-5 has been disconnected from the wall or the rear switch has been turned off for a prolonged period. - Page 6 LED above the balance button is lit. Tactile Switches (buttons) Power - If the RP-5 is turned off, pressing the power button will initiate the start-up sequence and the blue LED above the button will light. If the unit is on, the turn off sequence will begin and the blue LED will be extinguished.
-
Page 7: The Phono Preamplifier
Before removing the cover to make any loading or gain adjustments, power off the RP-5 and let it drain off any voltages for at least 30 minutes. Leave the RP-5 plugged into the wall during this time so that the voltages can drain down properly. - Page 8 to zero capacitance. Note that for many cartridges this will not affect the sound in either setting. Slide switches Shunts for bypassing for capacitive phono section loading DIP switches for Figure 3 resistive loading Resistive loading – There are two sets of DIP switches for setting the resistive loading (one for each channel).
-
Page 9: Troubleshooting
Figure 4 Gain setting DIP switches Phono gain settings are as follows: Switch Gain Cartridge Output Cartridge Type 40 dB 4mV and up high ouput MM 45 dB 1.0 to 3.0 mV high output MC 50 dB 0.6 mV to 1.0 mV medium output 60 dB below 0.6 mV... -
Page 10: Registration Of Your Preamplifier
Check that the power cord connection is secure and that the rear power switch is turned on Turn off the main power switch on the rear of the RP-5. Wait one minute then turn the rear panel switch back on. Wait 30 seconds then press the power button on the front panel (e.g. -
Page 11: Fuse Values
FUSE VALUES One 1.25 A slow Blow Type Fuse located on left rear of main circuit board RP-5 SPECIFICATIONS Tube Complement Four 12AU7/ECC82 tubes 1Hz – 100KHz +/- 1dB Frequency Response <0.1% Gain 10dB Rated Output 1V RMS Output Impedance... -
Page 12: Product Registration And Warranty
Rogue Audio warrants the vacuum tubes for a period of six months from the date of retail purchase. Any defective parts will be replaced free of charge, excluding shipping and handling.
Need help?
Do you have a question about the RP-5 and is the answer not in the manual?
Questions and answers