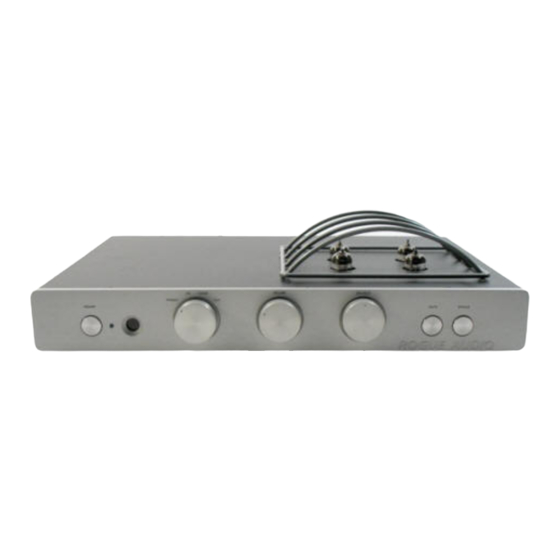
Summary of Contents for Rogue Audio Perseus Perseus Vacuum Tube Preamplifier
- Page 1 Perseus Vacuum Tube Preamplifier Owner’s Manual Rogue Audio, Inc. 3 Marian Lane Brodheadsville, PA 18322 Issue date: 02/01/06...
-
Page 2: Table Of Contents
TABLE OF CONTENTS 1) Introduction 2) Unpacking the Perseus Preamplifier 3) Installing the Perseus into your system 4) Operation of the preamplifier 5) Troubleshooting 7) Registration card 8) Specifications 10) Product Registration and Warranty... -
Page 3: Introduction
Perseus preamplifier, you can be sure that you are getting the very best in tube amplification. We at Rogue Audio are extremely proud of our products and want you to enjoy them to their fullest potential. So please, take the time to read through this short manual so that you can be confident that you have set up your preamplifier properly. -
Page 4: Installing The Perseus Into Your System
Power Switch Selector Switch Volume Balance Mute Switch Bypass Switch INSTALLING THE PERSEUS INTO YOUR SYSTEM Connecting the Perseus to two channel sources: Connections are made on the rear panel of the preamplifier and are shown in Figure 2. The input connections for the channel source material are made via RCA Jacks. - Page 5 Connecting the Perseus to multi channel sources: The Home Theater input is to the far left of the unit. It is sometimes desirable to combine two channel music systems with multi channel home theater systems. In such cases it is common to share speakers and amps between systems. The Perseus would then be used with two channel sources such as CD Players, Turntables, and Tuners etc.
-
Page 6: Operation Of The Preamplifier
Cartridge Loading can be changed using switches SW1, SW2, SW3, and SW4, as shown in Figure 3. The values are printed on the printed circuit board are listed in the table below Switch Parameter SW1,SW2 Capacitance SW3,SW4 Resistance The gain of the phono section can be changed using SW5 and SW6 as shown in Figure 3. -
Page 7: Troubleshooting
• Ensure that the interconnects are connected securely. One channel does not play • Ensure that the balance pot is centered. • Ensure that the tubes are seated correctly and securely For further problems, please call Rogue Audio Technical Support at 570-992-9901. -
Page 8: Owner And Warranty Registration Form
Included with this manual is an Owner and Warranty Registration Form. Please take a minute to fill out this card and return it to Rogue Audio. This card must be returned within 30 days of purchase to validate the warranty. -
Page 9: Limited Warranty
Rogue Audio warrants the vacuum tubes for a period of six months from the date of retail purchase. Any defective parts will be replaced free of charge, excluding shipping and handling.


Need help?
Do you have a question about the Perseus Perseus Vacuum Tube Preamplifier and is the answer not in the manual?
Questions and answers