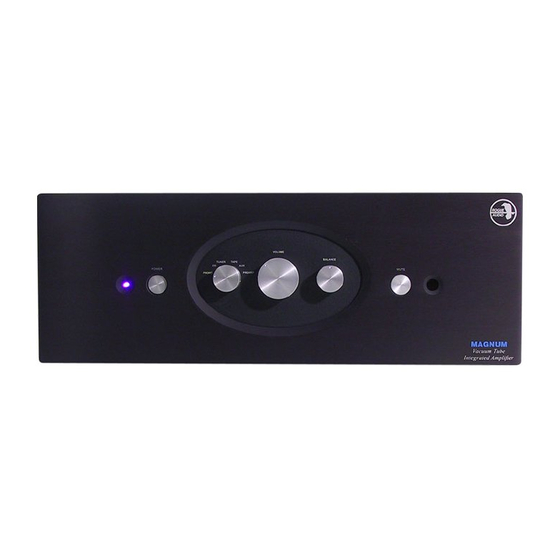
Summary of Contents for Rogue Audio TEMPEST II
- Page 1 TEMPEST II Vacuum Tube Integrated Amplifier Owner’s Manual Rogue Audio, Inc. 3 Marian Lane Brodheadsville, PA 18322 Issue date: 02/9/05...
-
Page 2: Table Of Contents
TABLE OF CONTENTS 1) Introduction 2) Unpacking the Tempest II amplifier 3) Installing the Tempest II into your system 4) Operation of the Tempest II 5) Setting the tube bias 6) Troubleshooting 7) Fuse values 8) Specifications 9) Warranty... -
Page 3: Introduction
II amplifier, you can be sure that you are getting the very best in tube amplification. We at Rogue Audio are extremely proud of our products and want you to enjoy them to their fullest potential. So please, take the time to read through this short manual so that you can be confident that you have set up your amplifier properly. -
Page 4: Installing The Tempest Ii Into Your System
Connecting the Tempest II to the Loudspeakers: The Tempest II provides options for either 4 or 8 ohm speakers. The impedance selected will depend on the speakers used. Consult either the owner’s manual for 6SN7... - Page 5 Connecting the Tempest II to the source components: The input connections to the Tempest II are made via RCA jacks on the rear of the amplifier. See figure 2. Be sure to use high quality interconnect cables – they do make a difference.
- Page 6 Connecting the Tempest II to a subwoofer: The Tempest II has a pair of variable outputs on the back that are labeled “variable out.” You can use these as preamp outs for driving a subwoofer. You may also use the binding posts if your subwoofer is designed to connect directly to these.
-
Page 7: Using An External Preamplifier
Practically speaking, this mode of operation is sonically inferior and has been disregarded in the Tempest II design. 2) Triode connection – With this configuration, the lowest level of distortion is achieved but at the expense of output power. In the case of the Tempest II, its... -
Page 8: Setting The Tube Bias
With the Tempest II the bias is set individually for each tube so that the correct operating point is assured. An added benefit to this approach is that, should a tube fail prematurely, the single tube can be replaced without having to purchase a matched set. -
Page 9: Troubleshooting
Speaker Hum – If hum can be heard from more than a few inches from the loudspeaker, there is probably a ground loop. Be sure to have both the Tempest II and sources plugged into the same outlet if possible. -
Page 10: Fuse Values
Main fuse located on rear panel (1) – 5 Amp slow blow Tube Fuses (4) – 1/4 Amp slow blow output power frequency response input sensitivity dimensions weight shipping weight power requirements FUSE VALUES SPECIFICATIONS 90 WPC 5Hz – 50 kHz ± 1dB <... -
Page 11: Warranty
Rogue Audio warrants the vacuum tubes for a period of six months from the date of retail purchase. Any defective parts will be replaced free of charge, excluding shipping and handling.


Need help?
Do you have a question about the TEMPEST II and is the answer not in the manual?
Questions and answers