
Related Manuals for Rogue Audio Atlas


Summary of Contents for Rogue Audio Atlas
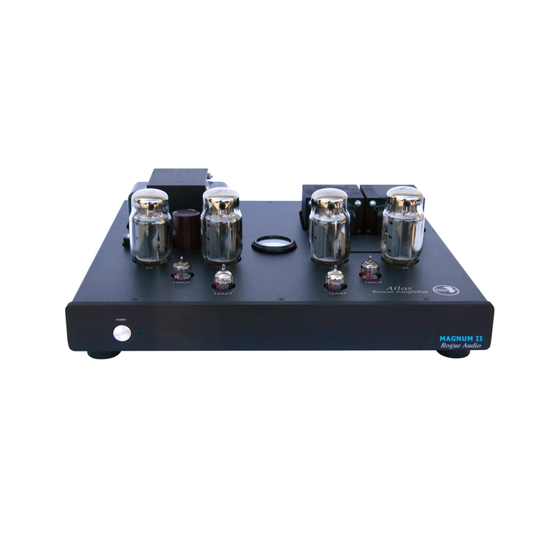
- Page 1 Rogue Audio Atlas Vacuum Tube Power Amplifier Owner’s Manual Rogue Audio, Inc. 3 Marian Lane Brodheadsville, PA 18322 Issue date: 02/10/05...
-
Page 2: Table Of Contents
TABLE OF CONTENTS 1) Introduction 2) Unpacking the Atlas power amplifier 3) Installing the Atlas into your system 4) Operation of the amplifier 5) Setting the tube bias 6) Troubleshooting 7) Fuse values 8) Specifications 9) Product Registration and Warranty... -
Page 3: Introduction
And with the Atlas amplifier, you can be sure that you are getting the very best in tube amplification. -
Page 4: Installing The Atlas Into Your System
INSTALLING THE ATLAS INTO YOUR SYSTEM Connecting Atlas to the Loudspeakers: The Atlas provides options for either 4 or 8 ohm speakers. The impedance selected will depend on the speakers used. Consult either the owner’s manual for your speaker or your local dealer to determine the correct choice. The amplifier is factory set to 8 ohm. - Page 5 See figure 2. Be sure to use high quality interconnect cables as they do make a difference Note that if you have a variable output CD player you can drive the ATLAS with it directly. Main Fuse...
-
Page 6: Operation Of The Amplifier
OPERATION OF THE AMPLIFIER After all proper connections have been made, you are now ready to turn the Atlas amplifier on. The power on/off switch is on the front of the amp. Some preamplifiers and sources can generate dangerous transients that can damage loudspeakers. - Page 7 Figure 3. Removable hatchplate 1) Allow the amplifier to warm up for at least 30 minutes. 2) Turn the preamplifier volume completely off so that no signal is entering the amplifier 3) Loosen the 2 captive screws on the top hatch cover. 4) Remove the hatch cover.
-
Page 8: Troubleshooting
If this fails to cure the hum, call customer service at Rogue Audio for further advice. Tube will not bias – If the meter provides a reading but the tube will not bias, the tube is probably bad. -
Page 9: Fuse Values
FUSE VALUES Main fuse located on rear panel (1) – 5 Amp slow blow Tube Fuses (4) – 1/4 Amp slow blow Power Supply Fuse on PCB (1) – ¾ Amp slow blow SPECIFICATIONS output power 55 WPC 5Hz – 50 kHz ± 1dB frequency response <... -
Page 10: Product Registration And Warranty
Rogue Audio warrants the vacuum tubes for a period of six months from the date of retail purchase. Any defective parts will be replaced free of charge, excluding shipping and handling.
Need help?
Do you have a question about the Atlas and is the answer not in the manual?
Questions and answers