Table of Contents
Advertisement
TABLE OF CONTENTS
11) Specifications____________________________10
12) Warranty Information______________________11
2
2
3
4
6
7
8
9
9
1
Advertisement
Table of Contents

Subscribe to Our Youtube Channel
Related Manuals for Rogue Audio Ares


Summary of Contents for Rogue Audio Ares
-
Page 1: Table Of Contents
TABLE OF CONTENTS 1) Introduction 2) Unpacking the Ares 3) Installing the Ares in your system 4) Setting the Operational Parameters 5) High Output MM/MC Cartridge Setup 6) Medium Output Cartridge Setup 8) Low Output Cartridge Setup 9) Operation of the Ares... -
Page 2: Introduction
And with the Ares phono preamp, you can be sure that you are getting the very best in tube amplification. -
Page 3: Installing The Ares In Your System
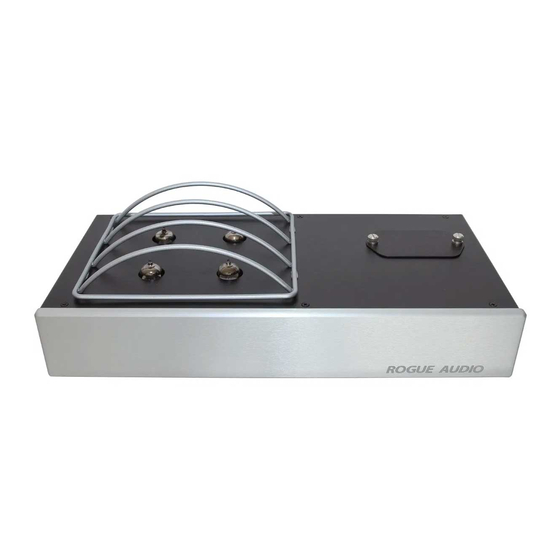
INSTALLATION OF THE ARES Connecting the Power Supply to the Preamplifier The Ares phono preamp has an outboard power supply (see figure 2) containing a toroidal transformer that is placed in a separate box to lower the noise floor of the unit. -
Page 4: Setting The Operational Parameters
Connecting the Ares to your preamp and turntable: Connections are made on the rear panel of the Ares as shown in Figure 3. The lower pair of RCA jacks connect to the turntable leads and the upper pair are the outputs to your preamp. - Page 5 (connection side) of the Ares. Left and right are with respect to the front (the faceplate side) of the Ares. Looking at figure 4, SW1 through SW-5 are all in the rear position and Switches g1 through g4 are all in the forward position.
-
Page 6: High Output Mm/Mc Cartridge Setup
Setup for high output MM and MC cartridges Figure 5 shows the basic switch positions for high output cartridges. Figure 5 Dip-1 Dip-4 Switches SW1, SW2, SW3, SW4 and SW-5 should all be switched to the rear. Dip –1 and Dip-4 are used to set the cartridge loading according to the following table: 500 ohms 1,000 ohms (1K) -
Page 7: Medium Output Cartridge Setup
Setup for medium output (0.5mV to 1.0mV) MC cartridges Figure 6 shows the basic switch positions for medium output cartridges. Figure 6 Dip-2 Dip-3 Switches SW1, SW3, and SW-5 should all be switched to the forward position. Switches SW2 and SW4 should be switched toward the rear as shown in figure 6. Dip –2 and Dip-3 are used to set the cartridge loading according to the following table: 75 ohms... -
Page 8: Low Output Cartridge Setup
Setup for low output (less than 0.5mV) MC cartridges Figure 7 shows the basic switch positions for low output cartridges. Figure 7 Dip-2 Dip-3 Switches SW1, SW2,SW3, SW4 and SW-5 should all be switched to the forward position as shown in figure 7. Dip –2 and Dip-3 are used to set the cartridge loading according to the following table: 20 ohms... -
Page 9: Operation Of The Ares
Rogue Audio for further advice 570-992-9901. Excessive hiss The Ares is an all tube phono with very high gain and it is normal to hear a small amount of hiss when turned up to very high volumes. If you have... -
Page 10: Specifications
Ensure that the tubes are seated correctly and securely Try swapping the tubes from left to right to identify a bad tube. If further help is needed please call Rogue Audio Technical Support at 570-992-9901. FUSE VALUES One 11/4A (1.25A) Slow Blow type fuse located on rear of main chassis. -
Page 11: Warranty Information
Rogue Audio warrants the vacuum tubes for a period of six months from the date of retail purchase. Any defective parts will be replaced free of charge, excluding shipping and handling.
Need help?
Do you have a question about the Ares and is the answer not in the manual?
Questions and answers