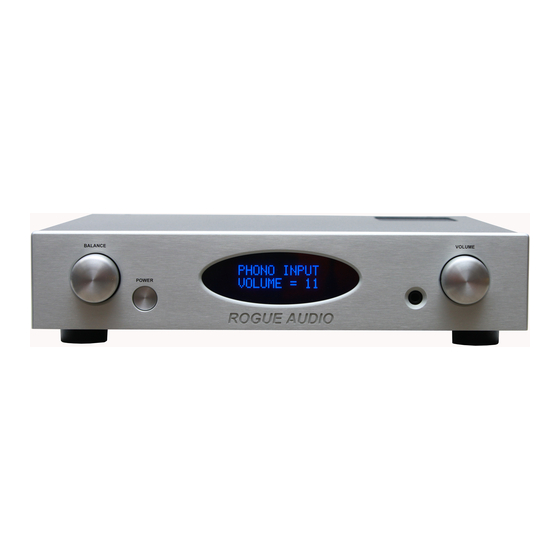
Summary of Contents for Rogue Audio RP-1
- Page 1 RP-1 Vacuum Tube Preamplifier Owner’s Manual Rogue Audio, Inc. 3 Marion Lane Brodheadsville, PA 18322 Issue date: 11/19/15...
-
Page 2: Table Of Contents
TABLE OF CONTENTS 1) Introduction 2) Unpacking your preamplifier 3) Installing RP-1 preamp into your system 4) Operation of the RP-1 preamplifier 5) The phono preamplifier 6) Troubleshooting 7) Registration of your preamplifier 8) Fuse values 9) Specifications 10) Product Registration and Warranty... -
Page 3: Introduction
And with the RP-1 preamplifier, you can be sure that you are getting the very best in tube amplification. We at Rogue Audio are extremely proud of our products and want you to enjoy them to their fullest potential. -
Page 4: Installing Rp-1 Preamp Into Your System
INSTALLING THE RP-1 PREAMP INTO YOUR SYSTEM Place the RP-1 on a flat stable surface with at least 1” of airspace above the preamplifier for ventilation. Do not place any other electronic components or any other objects on top of the preamplifier. -
Page 5: Operation Of The Rp-1 Preamplifier
The second set of preamplifier outputs labeled “out 2” can be used for connecting a subwoofer to the RP-1. The signal to these outputs is identical to the signal going to the power amp and varies with the volume control. Note that these outputs can also be used for biamping or running a second power amp located elsewhere. - Page 6 Volume Control The volume control has 50 steps which vary in 1 dB increments. At turn on the RP-1 defaults to a relatively low volume. The volume can be turned continuously until reaching a reading at either 0 (min) or 50 (max).
-
Page 7: The Phono Preamplifier
47K. This set up is appropriate for most high output cartridges. Before removing the cover to make any loading or gain adjustments, power off the RP-1 and let it drain off any voltages for at least 30 minutes. Leave the RP-1 plugged into the wall during this time so that the voltages can drain down properly. - Page 8 Setting the cartridge loading – The cartridge loading DIP switches are located on the right hand side of the main circuit board (figure 3). It is important to point out that the cartridge manufacturers recommended loading should be considered as a starting point and not an absolute.
- Page 9 Resistive Loading Table (see figure 3) resistance Ω Ω Ω Ω Ω Ω Ω Ω Table 1 Setting the phono gain - The two slide switches S6 and S4 are used to set the gain and are located on the right side of the main circuit board (Figure 3). If the switches are placed in the “H”...
-
Page 10: Troubleshooting
Check that the power cord connection is secure and that the rear power switch is turned on Unplug the power cord from the rear of the RP-1. Wait ten minutes then plug the preamp back in. Wait 30 seconds then press the power button on the front panel (e.g. reboot). -
Page 11: Fuse Values
“Rogue Audio”) warrants this product against defects in material or workmanship as follows: With the exception of vacuum tubes, Rogue Audio warrants to the original purchaser of this product all parts of this product against defects in material and workmanship for a period of three years from the date of retail purchase. Rogue Audio warrants... -
Page 12: Product Registration And Warranty
This warranty does not cover cosmetic damage or any damage that results from product misuse, product abuse, installation error, connection to an improper voltage supply, accident, improper maintenance, alterations, modifications not authorized in writing by Rogue Audio, lightening, power surges, or acts of God. Use of any other than Rogue Audio factory parts may void this warranty This warranty does not cover the cost of parts and labor which would be otherwise provided without charge under this warranty, obtained from any source other than Rogue Audio.


Need help?
Do you have a question about the RP-1 and is the answer not in the manual?
Questions and answers