Subscribe to Our Youtube Channel
Summary of Contents for Rogue Audio Hera
- Page 1 HERA Reference Linestage Preamplifier Owner’s Manual Rogue Audio, Inc. 3 Marian Lane Brodheadsville, PA 18322 Issue date: 06/08/07...
-
Page 2: Table Of Contents
TABLE OF CONTENTS 1) Introduction 2) Unpacking the Hera Preamplifier 3) Installing the Hera into your system 4) Operation of the Hera Peamplifier 5) Troubleshooting 6) Registration of your Hera 8) Fuse values 9) Specifications 10) Product Registration and Warranty... -
Page 3: Introduction
And with the Hera preamplifier, you can be sure that you are getting the very best in tube amplification. We at Rogue Audio are extremely proud of our products and want you to enjoy them to their fullest potential. -
Page 4: Installing The Hera Into Your System
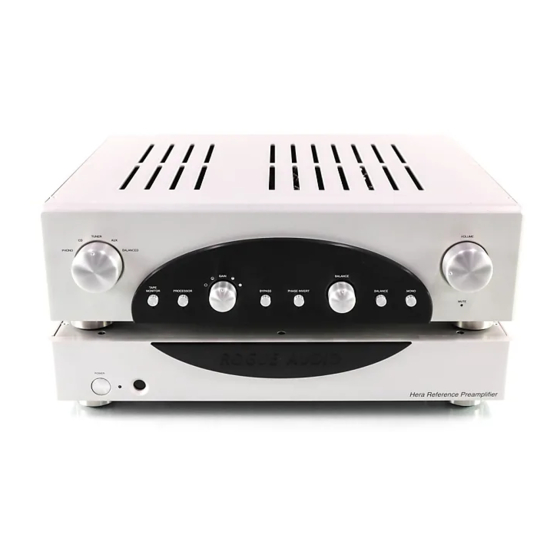
INSTALLING THE HERA INTO YOUR SYSTEM Connecting the Power Supply to the Preamplifier The Hera Preamplifier is a two box preamplifier, where the power supply and AC/DC conversion is placed in a separate box to lower the noise floor of the unit. - Page 5 Figure 3. Plug the opposite end of the power cord into an appropriate power outlet. It is recommended that both the Hera and your power amplifier are plugged into the same wall outlet if possible (perhaps using a power outlet strip) in order to avoid creating a ground loop.
- Page 6 Connect the output jacks from the recording device to the “Tape In” jacks on the back of the Hera. Connect the “Tape Out” jacks on the Hera to the input jacks of the recording device. Note that if the Tape Monitor button is pushed in on the Hera that the source will be the output from the recording device.
-
Page 7: Operation Of The Preamplifier
Note that critical portions of the Hera remain energized even with the power button in the off position. The first time that the Hera is turned on (and anytime it is unplugged from the power outlet) it is best to let it idle for a few minutes before playing music. - Page 8 If you have other equipment with triggered inputs you can use the Hera to turn them on and off. The 12V triggers are turned on when the Hera is powered up and turned off when the Hera is powered down.
-
Page 9: Troubleshooting
Included with this manual is an Owner and Warranty Registration Form. Please take a minute to fill out this card and return it to Rogue Audio. This card must be returned within 30 days of purchase to validate the warranty. -
Page 10: Fuse Values
One 5A slow Blow Type Fuse located on rear of power supply box Tube Complement Frequency Response Gain Stage Rated Output Output impedance Maximum Output Main Unit Dimensions Power Supply Dimensions 18_ x 15_ x 5 Main Unit Weight Power Supply Weight Shipping Weight Power Requirements FUSE VALUES... -
Page 11: Limited Warranty
Rogue Audio warrants the vacuum tubes for a period of six months from the date of retail purchase. Any defective parts will be replaced free of charge, excluding shipping and handling.


Need help?
Do you have a question about the Hera and is the answer not in the manual?
Questions and answers