
Related Manuals for Accu-Scope EXC-120-PL


Summary of Contents for Accu-Scope EXC-120-PL
- Page 1 MANUAL EXC-120 MICROSCOPE SERIES 100 Lauman Lane, Suite A, Hicksville, NY 11801 Tel: (877) 877-7274 | Fax: (516) 801-2046 Email: Info@nyscopes.com www.microscopeinternational.com...
-
Page 3: Table Of Contents
....................... 10 ILLUMINATION ......................10 SPECIMEN SLIDE ........................... 10 STAGE ........................11 FOCUSING CONDENSER ......................11-12 INTERPUPILLARY DISTANCE ..................12 TENSION ........................13 FUSE REPLACEMENT ....................14 TROUBLESHOOTING ....................15-17 MAINTENANCE........................18 SERVICE ..........................18 WARRANTY ........................18 ® ACCU-SCOPE... -
Page 4: Safety Notes
4. Store the instrument in a cool, dry environment. Cover the microscope with the dust cover when not in use. ® 5. ACCU-SCOPE microscopes are precision instruments which require periodic preventative maintenance to maintain proper performance and to compensate for normal wear. An annual schedule of preventative maintenance by qualified personnel is highly recommended. -
Page 5: Introduction
Your microscope will ® last a lifetime if used and maintained properly. ACCU-SCOPE microscopes are carefully assembled, inspected and tested by our staff of trained technicians in our New York facility. Careful quality control procedures ensure each microscope is of the highest quality prior to shipment. -
Page 6: Components Diagrams
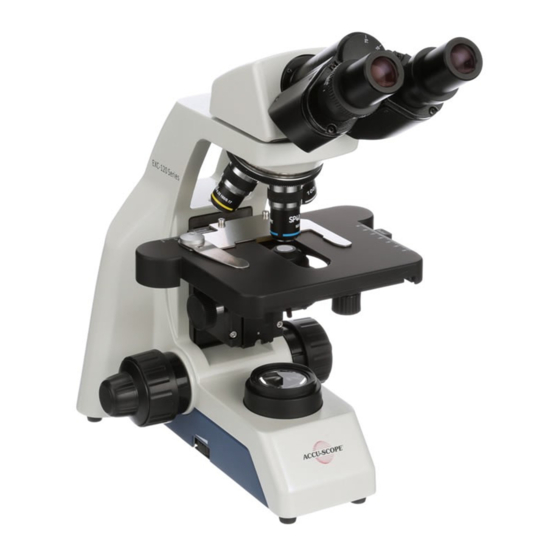
EXC-120 MICROSCOPE SERIES COMPONENTS DIAGRAM Binocular Head Eyepiece Nosepiece Y Axis Objective Adjustment Knob Stage X Axis Adjustment Knob Condenser Fine Focusing & Filter Holder Knob Illuminator Coarse Tension Focusing Adjustment Knob Power Collar Switch ® ACCU-SCOPE... - Page 7 EXC-120 MICROSCOPE SERIES COMPONENTS DIAGRAM Interpupillary Distance Indicator Condenser Adjustment Knob Specimen Holder Illuminator Adjustment Dial ® ACCU-SCOPE...
-
Page 8: Assembly Diagram
When assembling the microscope, make sure that all parts are free of dust and dirt, and avoid scratching any parts or touching glass surfaces. Eyepieces ② Binocular Viewing Head ③ ① Objectives ④ ④ Main Body Power Cord ® ACCU-SCOPE... -
Page 9: Detailed Assembly
Fig. 2 Lock the eyepiece into place by tightening the lock screw (small hex screw) on the eyetube. Repeat above for the other eyepiece. ② ① Fig. 4 Fig. 3 ® ACCU-SCOPE... - Page 10 ② by sliding it to the left using the ④ vertical handle ③ on the filter holder. Place the filter ④ into the top of the holder. ③ Swing the filter holder ③ back into place under the ① condenser. Fig. 7 ® ACCU-SCOPE...
- Page 11 Always use the power cord that is provided with your microscope; using a different power cord may damage your microscope. Should you need a Fig. 8 replacement, contact your authorized ACCU-SCOPE dealer or call ACCU-SCOPE at 1-631-864-1000 for a dealer nearest you. ③ Fig. 9 ®...
-
Page 12: Adjustment & Operation
The stage has a coaxial X-Y Stage Movement Knob ⑤ ② which allows you to move your specimen in any direction: top knob - forward/back (Y), and bottom knob - left/right Fig. 11 (X ). ④ ⑤ Fig. 12 ® ACCU-SCOPE... -
Page 13: Focusing
Raise the condenser when using the highest magnification objective, and lower it when using the low magnification Fig. 14 objective. Focus the specimen with the 10x objective. Adjust the condenser focusing knob ① to get a clear image of the field iris diaphragm. ® ACCU-SCOPE... -
Page 14: Interpupillary Distance
Fig. 16 disrupt the objective parfocality. Where “·” on the eyetube ① lines up, then that is the number for the interpupillary distance. Range:48~75mm (binocular models) 55~75mm (trinocular models) Remember your interpupillary for future operation. ® ACCU-SCOPE... -
Page 15: Tension
This ① allows the user to adjust the coarse control tension to their individual preference. Fig. 17 To increase tension, turn the tension adjustment collar counterclockwise to tighten; turn clockwise to loosen the tension. ® ACCU-SCOPE... -
Page 16: Fuse Replacement
NOTE: Replace the fuses with 0.5 amp fuses. Using any other fuse type may result in diminished illumination and may cause damage to your microscope. Specification of the fuse: 250V, 0.5A. Fig. 20 CAT # 3277 Fig. 21 Fig. 22 ® ACCU-SCOPE... -
Page 17: Troubleshooting
No immersion oil used Use immersion oil with100xR objective Air bubbles in immersion oil Remove bubbles Condenser aperture is closed Open or close properly or open too much Condenser is positioned too Position the condenser slightly lower than the upper limit ® ACCU-SCOPE... - Page 18 Turn the slide over so the slide when changed from low cover glass faces up power objective Cover glass is to thick Use a 0.17mm cover glass Diopter adjustment is not set Readjust the diopter settings properly as outlined in section 4.3 ® ACCU-SCOPE...
- Page 19 Slippage of focus when using Tension adjustment is set too Increase the tension on the the coarse focusing knob focusing knobs Fine focus is ineffective Tension adjustment is set too Loosen the tension on the high focusing knobs ® ACCU-SCOPE...
-
Page 20: Maintenance
SCOPE at (631) 864-1000. This warranty is limited to the continental United States of America. All items returned for warranty repair must be sent freight prepaid and insured to ACCU-SCOPE INC., 73 Mall Drive, Commack, NY 11725 – USA. All warranty repairs will be returned freight prepaid to any destination within the continental United States of America, for all foreign warranty repairs return freight charges are the responsibility of the individual/company who returned the merchandise for repair.
Need help?
Do you have a question about the EXC-120-PL and is the answer not in the manual?
Questions and answers