Advertisement
Quick Links
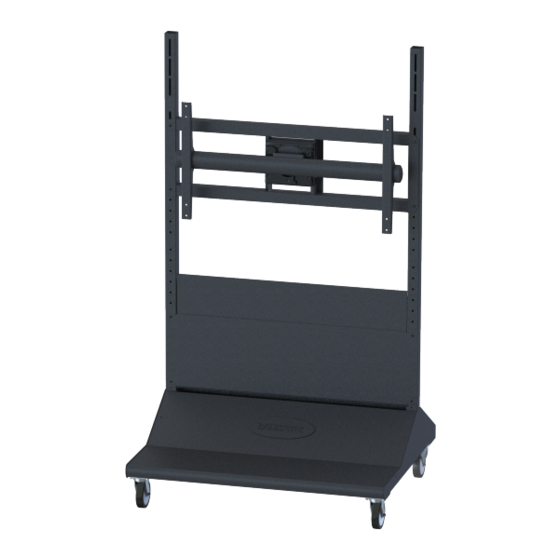
PMC-MM-500
Installation Guide
Installationsanleitung, Guía de Instalacíon, Guida de Installazione, Guide d'Installation, Installatie gids
Warranty, Garantie, Garantía, Garanzia, Garantie, Waarborg: http://www.mounts.com/warranty
9531-060-021-00
www.mounts.com | North America 800.368.9700 | International +1-714-632-7100 | Europe +44 (0) 24 7664 4105
1321 S. State College Blvd., Fullerton, CA 92831 USA
Advertisement

Related Manuals for Premier Mounts PMC-MM-500


Summary of Contents for Premier Mounts PMC-MM-500
- Page 1 PMC-MM-500 Installation Guide Installationsanleitung, Guía de Instalacíon, Guida de Installazione, Guide d’Installation, Installatie gids Warranty, Garantie, Garantía, Garanzia, Garantie, Waarborg: http://www.mounts.com/warranty 9531-060-021-00 www.mounts.com | North America 800.368.9700 | International +1-714-632-7100 | Europe +44 (0) 24 7664 4105 1321 S. State College Blvd., Fullerton, CA 92831 USA...
-
Page 2: Required For Installation
PMC-MM-500 Installation Guide Installationsanleitung, Guía de Instalacíon, Guida de Installazione, Guide d’Installation, Installatie gids M6 x 12mm M8 x 10mm M5 x 6mm 5/32” 2.5mm M8 x 16mm M8 x 20mm M8 x 30mm M8 x 60mm M6 x 10mm... - Page 3 PMC-MM-500 Installation Guide Installationsanleitung, Guía de Instalacíon, Guida de Installazione, Guide d’Installation, Installatie gids Repeat the same procedure with the upper rear panel to the Loosely install the front upper cover to the front of the cart leg assembly with the four each “button head” Allen screws with the four M6 x 1.0 x 10mm”button head”...
- Page 4 PMC-MM-500 Installation Guide Installationsanleitung, Guía de Instalacíon, Guida de Installazione, Guide d’Installation, Installatie gids With the rear of the lower pan exposed now would be the Install the lower front panel cover to the frame front and time to place and wire any powered support products feed- secure to the frame assembly with the four each M6 x 1.0 x...
- Page 5 PMC-MM-500 Installation Guide Installationsanleitung, Guía de Instalacíon, Guida de Installazione, Guide d’Installation, Installatie gids Slide the left and right display mounting brackets over the cross bar and install the left and right M6 x 1.0 x 12mm se- curity Phillips head screws supplied into the cross bar.
- Page 6 PMC-MM-500 Installation Guide Installationsanleitung, Guía de Instalacíon, Guida de Installazione, Guide d’Installation, Installatie gids Remove the M6 security holding screw from the receiver and set to the side for re-install after the crossbar and display are installed into the received slots.
- Page 7 PMC-MM-500 Installation Guide Installationsanleitung, Guía de Instalacíon, Guida de Installazione, Guide d’Installation, Installatie gids Vertical flatness of the installed display can be adjusted us- Friction of the rotation can be adjusted by increasing or ing an M10 socket and ratchet on the lower “head assembly.
- Page 8 PMC-MM-500 Installation Guide Installationsanleitung, Guía de Instalacíon, Guida de Installazione, Guide d’Installation, Installatie gids ITEM NO. QTY. PART NO. DESCRIPTION 3201-000-010-XX VERTICAL LEFT LEG ASSEMBLY 2X2 3201-000-020-XX VERTICAL RIGHT LEG ASSEMBLY 2X2 0725-DCG-W02-13 PLUG PUSH-IN RIBBED SQUARE CAP 2 X 2"...
- Page 9 What Premier Mounts Will Do At the sole option of Premier Mounts, Premier Mounts will repair or replace any product or product part that is defective. If Premier Mounts chooses to replace a defective product or part, a replacement product or part will be shipped to you at no charge, but you must pay any related labor costs.
Need help?
Do you have a question about the PMC-MM-500 and is the answer not in the manual?
Questions and answers