Table of Contents
Advertisement
Quick Links
Other Locations – Phone: (001)-714-632-7100; Fax: (001)-714-632-1044
©Premier Mounts 2011
9531-003-011-00
INSTALLATION INSTRUCTIONS
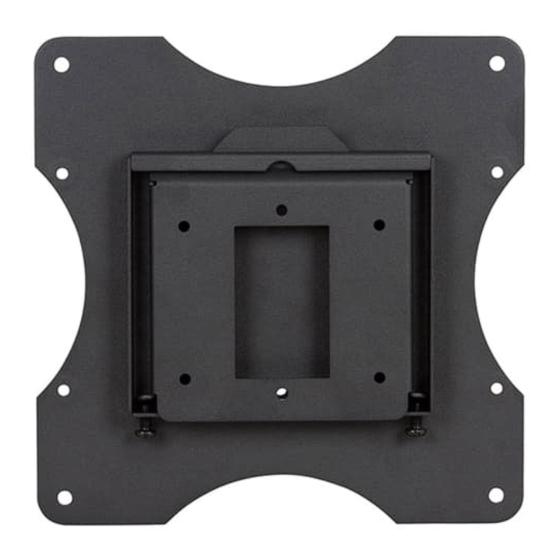
VESA Mount for 15" to 32" Flat-panels
NORTH AMERICA
3130 East Miraloma Avenue
Anaheim, CA 92806 USA
USA and Canada –
Phone: 800-368-9700
Fax: 800-832-4888
PRF-100
Unit 3, The Moorings Business Park,
Channel Way, Off Blackhorse Road, Exhall
Coventry, England CV6 6RH
Phone: +44 (0) 2476 614700
Fax: +44 (0) 2476 614710
EUROPE
Advertisement
Table of Contents

Related Manuals for Premier Mounts PRF-100


Summary of Contents for Premier Mounts PRF-100
-
Page 1: Installation Instructions
Anaheim, CA 92806 USA Channel Way, Off Blackhorse Road, Exhall USA and Canada – Coventry, England CV6 6RH Phone: 800-368-9700 Phone: +44 (0) 2476 614700 Fax: 800-832-4888 Fax: +44 (0) 2476 614710 Other Locations – Phone: (001)-714-632-7100; Fax: (001)-714-632-1044 ©Premier Mounts 2011 9531-003-011-00... -
Page 2: Table Of Contents
PROPERTY DAMAGE. KEEP THESE INSTALLATION INSTRUCTIONS IN AN EASILY ACCESSIBLE LOCATION FOR FUTURE REFERENCE. PREMIER MOUNTS DOES NOT WARRANT AGAINST DAMAGE CAUSED BY THE USE OF ANY PREMIER MOUNTS PRODUCT FOR PURPOSES OTHER THAN THOSE FOR WHICH IT WAS DESIGNED OR DAMAGE CAUSED BY UNAUTHORIZED... -
Page 3: Parts List
Head Screw (Qty 4) (Qty 4) Head Screw (Qty 2) (Qty 2) If your unit requires alternative mounting hardware, use commercially available hardware or contact Premier Mounts at (800) 368-9700. Installation Tools (not supplied) 1/8” Drill Bit Electronic Stud finder... -
Page 4: Wood Stud Installation
Wood Stud Installation Prior to installation, remove the cover plate and two (2) M6 x 75mm Phillips head locking screws from the PRF-100. Visual Centering Diamond - The visual centering diamond will allow you to determine the center of the wood stud. It will also allow you to determine the exact center for the flat-panel placement on the wall. -
Page 5: Concrete Surface Installation
PRF-100 Concrete Surface Installation You will have four (4) mounting holes when installing into concrete. Step 1. Use the visual centering diamond to help determine the placement of the back plate. Step 2. Once the mounting placement has been determined, use a pencil to mark the mounting points. -
Page 6: Cover Plate Installation
PRF-100 Cover Plate Installation Step 1. Re-attach the M6 x 75mm Phillips head locking screws to the cover plate. M4 x 10mm combo head screw flat-panel long Slotted Opening enough to cover the length of the Cover Plate M6 x 75mm screws, replace them with two (2) M6 x 12mm combo head screws. -
Page 7: Technical Specifications
3.95 2.95 2.75 3.31 8.01 3.00 Please refer to the hardware pack that is included with the PRF-100 to determine correct mounting hardware for your application. NOTE: A. 100 X 100 VESA Pattern B. 75 X 75 VESA Pattern Installation Instructions... -
Page 8: Warranty
What Premier Mounts Will Do At the sole option of Premier Mounts, Premier Mounts will repair or replace any product or product part that is defective. If Premier Mounts chooses to replace a defective product or part, a replacement product or part will be shipped to you at no charge, but you must pay any labor costs.
Need help?
Do you have a question about the PRF-100 and is the answer not in the manual?
Questions and answers