
Related Manuals for XMark Fitness XM-7628


Summary of Contents for XMark Fitness XM-7628
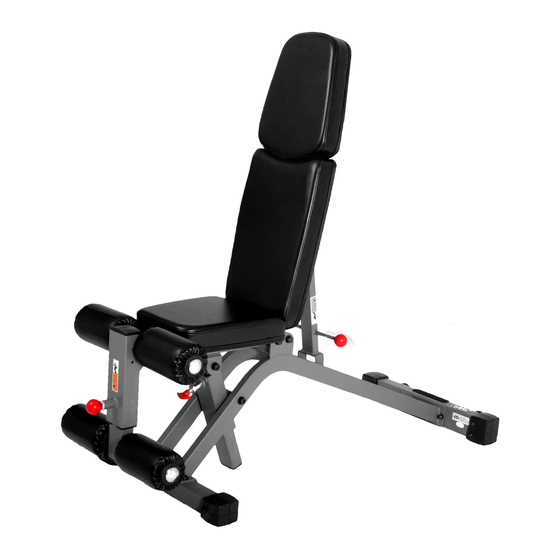
- Page 1 All manuals and user guides at all-guides.com XM-7628 FID / AAB COMBO BENCH Owner’s Manual...
-
Page 2: Table Of Contents
All manuals and user guides at all-guides.com Table Of Contents Important Safety Information Before You Start Assembly Parts List Exploded View Warranty Information... -
Page 3: Important Safety Information
SAFETY PRECAUTIONS • This unit should only be used on a level surface and is intended for indoor use only. XMARK Fitness recommends an equipment mat be placed under the unit to protect the floor or carpet and for easier cleaning. -
Page 4: Before You Start
This manual will guide you through the assembly process. If at any time you are having trouble with the assembly or use of this product, then please contact us at our XMARK Fitness help line. We have trained service technicians on site to take care of you, our valued customer. -
Page 5: Assembly
All manuals and user guides at all-guides.com Assembly... - Page 6 All manuals and user guides at all-guides.com Assembly NOTE: Hand tighten bolts and nylon lock nuts until machine is fully assenbled. Step 1 Attach Main Frame (#1) to Front Base (#3) using: • two M12*30 Button Head Cap Screws (#46) •...
- Page 7 All manuals and user guides at all-guides.com Assembly NOTE: Wrench tighten bolts and nylon lock nuts. Step 2 Attach Frame Seat Pad Support (#5) to Main Frame (#1) using: • one M12*165 Button Head Cap Screw (#32) • one M12 Nylon Lock Nut (#43) •...
- Page 8 All manuals and user guides at all-guides.com Assembly NOTE: Wrench tighten bolts and nylon lock nuts. Step 3 Attach Frame Seat Pad Support (#4) to Main Frame (#1) using: • one M12*165 Button Head Cap Screw (#32) • one M12 Nylon Lock Nut (#43) •...
- Page 9 All manuals and user guides at all-guides.com Assembly NOTE: Wrench tighten bolts and nylon lock nuts. Step 4 Attach Upper Back Pad (#12) and Lower Back Pad (#13) to Frame Back Pad Support (#5) using: • four M10*70 Button Head Cap Screws (#34) •...
-
Page 10: Parts List
All manuals and user guides at all-guides.com Parts List XM-7628 Parts List Ref # Part # Description P00771 Main Frame P00772 Rear Base P00773 Front Base P00774 Frame Seat Pad Support P00775 Frame Back Pad Support P00776 Frame Adjustable Back Pad... -
Page 11: Exploded View
All manuals and user guides at all-guides.com Exploded View... -
Page 12: Warranty Information
All manuals and user guides at all-guides.com Customer Service: 1-800-719-4605...
Need help?
Do you have a question about the XM-7628 and is the answer not in the manual?
Questions and answers