Advertisement
Quick Links
Advertisement

Related Manuals for XMark Fitness XM-7621


Summary of Contents for XMark Fitness XM-7621
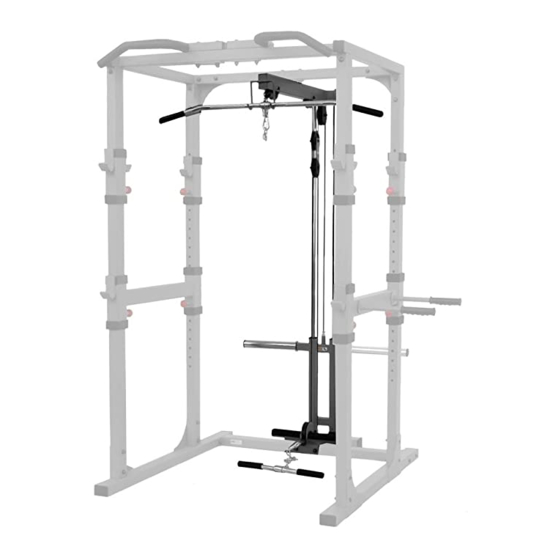
- Page 1 XM-7621 POWER CAGE LAT ATTACHMENT Owner’s Manual 8/09...
-
Page 2: Table Of Contents
Table of Contents Important Safety Information Before You Start Assembly 5 - 11 Parts List Exploded View Warranty Information... -
Page 3: Important Safety Information
SAFETY PRECAUTIONS • This unit should only be used on a level surface and is intended for indoor use only. XMARK Fitness recommends an equipment mat be placed under the unit to protect the floor or carpet and for easier cleaning. -
Page 4: Before You Start
This manual will guide you through the assembly process. If at any time you are having trouble with the assembly or use of this product, then please contact us at our XMARK Fitness help line. We have trained service technicians on site to take care of you, our valued customer. -
Page 5: Assembly
Assembly... - Page 6 Assembly NOTE: Hand tighten bolts and Nylon Lock nuts until machine is fully assembled. Step 1 Attach two Adapter (#43) to the Slide Weight Support (#5). Attach the Guide Rod (#7), Slide Weight Support (#5) and two Weight Bumper (#16) to the Rear Base Frame (#1) using: •...
- Page 7 Assembly NOTE: Hand tighten bolts and Nylon Lock nuts until machine is fully assembled. Step 2 Attach the Lat Bar Hook (#4) to the Top Frame (#2) using: • one M10*65 Button Head Cap Screw (#30) • two Φ11*Φ20*2 Flat Washers (#35) •...
- Page 8 Assembly NOTE: Hand tighten bolts and Nylon Lock nuts until machine is fully assembled. Step 3 Attach the Top Frame (#2) to Guide Rod (#7) using: • two M10*25 Button Head Cap Screw (#27) • two Φ11*Φ20*2 Flat Washers (#35) Attach the Top Frame (#2) to the Power Cage (XM-7620) using: •...
- Page 9 Assembly NOTE: Hand tighten bolts and Nylon Lock nuts until machine is fully assembled. Step 4 Attach the Rear Base Frame (#1) to the Foot Brace (#3) using: • two M12*110 Button Head Cap Screw (#32) • four Φ13*Φ26*2 Flat Washers (#34) •...
- Page 10 • two M10*70 Button Head Cap Screw (#31) • six Φ11*Φ20*2 Flat Washers (#35) • three M10 Nylon lock Nuts (#36) Attach High Pulley Cable XM-7621 P10 (#10) to Slide Weight Support (#5) using: • one Jam Nut 1/2"-12 (#26)
- Page 11 Assembly NOTE: Hand tighten bolts and Nylon Lock nuts until machine is fully assembled. Step 6 Attach Lower Pulley Cable (#11) to Rear Base Frame (#1) using: • one M10*35 Button Head Cap Screw (#28) • two Φ11*Φ20*2 Flat Washers (#35) •...
-
Page 12: Parts List
Parts List XM-7621 Parts List Ref # Part # Description Rear Base Frame P00495 P00496 Top Frame Foot Brace P00497 P00676 Lat Bar Hook P00005 Slide Weight Support P00534 Pulley Plate P00498 Guide Rod Long Bar P00686 P00655 Short Bar... -
Page 13: Exploded View
Exploded View... -
Page 14: Warranty Information
VALID ONLY if the product is assembled / installed according to the instructions / directions included with the product. • In a light institutional setting, XMARK Fitness will extend a one year limited parts warranty and a lifetime frame warranty to the original purchaser. - Page 15 XMARK Fitness 7501 Trammel Drive Shreveport, LA 71108 Customer Service: 1-800-719-4605...
Need help?
Do you have a question about the XM-7621 and is the answer not in the manual?
Questions and answers
How much does the pulley weigh with no weights on it? 20lbs?