Table of Contents
Advertisement
Quick Links
Advertisement
Table of Contents

Related Manuals for Major tech MT145


Summary of Contents for Major tech MT145
- Page 1 INSTRUCTION MANUAL MT145 20M LASER DISTANCE METER...
-
Page 3: Table Of Contents
Contents Page no 1. Safety Instruction ................4 1.1. Permitted Use .................4 1.2. Prohibited Use ................4 1.3. Laser Classification ..............4 2. Description ..................5 2.1. Meter Description ..............5 2.2. Symbols Used on LCD Display ...........6 3. Initial Operation and Setting ...............6 3.1. Inserting/replacing Batteries ............6 3.2. -
Page 4: Safety Instruction
1. Safety Instruction 1.1. Permitted Use Measuring distances 1.2. Prohibited Use • Using the instrument without instruction. • Using outside the stated limits. • Deactivation of safety systems and removal of explanatory and hazard labels. • Opening of the equipment by using tools (screwdrivers, etc.), as far as not specifically permitted for certain cases. -
Page 5: Description
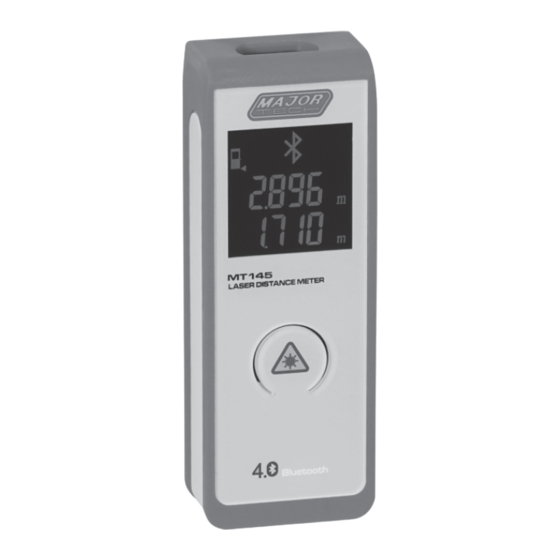
2. DESCRIPTION 2.1. Meter Description 1 - Laser Receiving Lens 2 - Laser Emitter 3 - LCD Display 4 - ON/MEAS Button 5 - Label 6 - Triangular Bracket Fixed Hole 7 - Battery Cover 8 - Lanyard Hole... -
Page 6: Symbols Used On Lcd Display
2.2. Symbols Used on LCD Display 1 - Laser Active 2 - Reference Level (Rear) 3 - Intermediate Line 4 - Summary Line 5 - Bluetooth 6 - Battery 3. INITIAL OPERATION AND SETTING 3.1. Inserting/Replacing Batteries 1. Remove battery compartment lid. 2. -
Page 7: Switching On And Off
3.2. Switching On and Off • Press the ON/MEAS Button to switch the instrument and laser on. • Press and hold the ON/MEAS Button for 3 seconds to switch off the instrument. • The instrument switches off automatically after three minutes of inactivity. -
Page 8: Continuous Measurement (Tracking) & Min Measurement
4.2. Continuous Measurement (Tracking) & Min Measurement • The continuous measurement function (Tracking) is used for the transferring of measurements, e.g., from construction plans. • In continuous measurement mode, the measuring tool can be moved to the target, whereby the measured value is updated approx. every 0.5 seconds in the third line, the corresponding minimum value is displayed dynamically in the first line. -
Page 9: Technical Data
5. TECHNICAL DATA Range Function Range 0.05 to 20m (0.2in to 66ft)* Measuring accuracy up to 10m Typically: ±1.5 mm(1/16 in)** (2σ, standard deviation) Measuring Units m, ft’, in” Laser Class Class II Laser Type 650nm, <1mW Smallest Unit Displayed Continuous Measurement Min Measurement Display Illumination... -
Page 10: Troubleshooting-Causes And Corrective Measures
6. TROUBLESHOOTING-CAUSES AND CORRECTIVE MEASURES Cause Corrective Measure Code Received signal too weak, Use target plate measurement time too long. Distance out of range. Temperature too high Cool down instrument Temperature too low Warm up instrument Hardware error Switch ON/OFF the device several times, if the symbol still appears, please contact your dealer for assistance. - Page 12 MAJOR TECH (PTY) LTD South Africa Australia www.major-tech.com www.majortech.com.au sales@major-tech.com info@majortech.com.au...
Need help?
Do you have a question about the MT145 and is the answer not in the manual?
Questions and answers