Uplift Desk V2 Manual
4-leg standing desk frame
Hide thumbs
Also See for V2:
- Instructions manual (21 pages) ,
- Manual (20 pages) ,
- Assembly instructions manual (16 pages)

Related Manuals for Uplift Desk V2


Summary of Contents for Uplift Desk V2
- Page 1 ® V2 4-Leg Standing Desk Frame two person For assembly assistance, assembly visit upliftdesk.com/4leg-com or call 800-349-3839 or email support@upliftdesk.com 355 lb Patent Pending, ©2022 UPLIFT Desk®. All Rights Reserved...
-
Page 2: Safety And Warnings
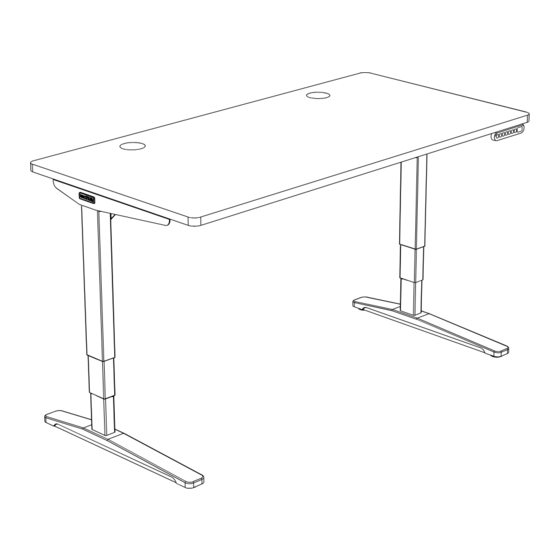
WARNING: Never use the desk if the power cord or plug is damaged as this can cause a risk of fire and electric shock. Contact UPLIFT Desk for a replacement power cord if it is damaged in any way. WARNING: Risk of serious injury or death. - Page 3 Note: Desk image is for reference only. Desk shape and leg quantity or style may change based on the desk configuration ordered. © UPLIFT Desk • 800-349-3839 • info@upliftdesk.com • upliftdesk.com...
-
Page 4: Package Contents
Package Contents Components (packed in multiple boxes) Crossbar End Crossbar Rail Side Bracket Control Box (qty 4) (qty 4) (qty 4) (qty 2) (qty 1) left right Keypad Power Cable Leg Cable Wire Foot Management Tray (qty 1) (qty 1) (qty 4) (qty 2) (qty 1) -
Page 5: Component Diagram
Component Diagram Side Bracket Crossbar Rail Crossbar End M8x8 Set Screw Side Bracket M6x10 Machine Screw Foot M6x14 Machine Screw 90.014.01.0687v.F AI-FRM680-1.0 © UPLIFT Desk • 800-349-3839 • info@upliftdesk.com • upliftdesk.com... -
Page 6: Step 1 - Inventory Of Parts
Desk Assembly Instructions Step 1 - Inventory of Parts A. For ease and safety, we recommend using two people for assembly. Before assembly, consider where you want your desk to be located. Since your new desk is height adjustable, you will want it located a safe distance from anything that could obstruct the desk from being raised or lowered (like a wall- mounted shelf or cabinet). - Page 7 C. Move the Side Bracket out of the way and drill pilot holes at your pencil marks using a 1/8” drill bit. D. Follow the same pre-drilling process with the other Side Bracket at the other end of the desktop. © UPLIFT Desk • 800-349-3839 • info@upliftdesk.com • upliftdesk.com...
- Page 8 Step 5 - Side Bracket Attachment (first side) A. Align the holes in the Side Bracket (P4) with the holes or threaded metal inserts in the desktop. Note: Be sure that the tapered end of the Side Bracket is pointing towards the front left of the desktop where the four Keypad attachment holes are located.
- Page 9 1/2” from the tip. Stop drilling just before the tape touches the desktop. C. Drill pilot holes at your pencil marks using a 1/8” drill bit. © UPLIFT Desk • 800-349-3839 • info@upliftdesk.com • upliftdesk.com...
- Page 10 Step 10 - Crossbar End Attachment H4 a A. Using a Phillips Head Screwdriver, loosely insert one #10x3/4” Wood Screw (H4a) and one Washer (H5) through each Crossbar End and into the desktop as shown. B. Once all four screws are started, tighten them but be careful to not overtighten to avoid stripping.
- Page 11 Keypad left side C. Using a Phillips Head Screwdriver, attach the Keypad to the Keypad right side desktop with two #10x5/8” Wood Screws (H14). Be careful to not overtighten to avoid stripping. © UPLIFT Desk • 800-349-3839 • info@upliftdesk.com • upliftdesk.com...
-
Page 12: Step 16 - Cable Connections
Step 15 - Control Box Attachment If you are using a desktop that does not include pre-drilled holes for the Control Box (P5) attachment, locate the Control Box approximately where shown in the image. Refer to Step 4 to make pre-drilled holes for the Control Box attachment;... -
Page 13: Desk Placement
Keypad is facing up and the back of the Feet are touching the floor. © UPLIFT Desk • 800-349-3839 • info@upliftdesk.com • upliftdesk.com... - Page 14 Desk Placement (Continued) B. Readjust your grip and continue to rotate the desk until it is rightside up with both Feet completely on the floor. C. Position your desk where you would like it to be. Never lift the desk by just the desktop, doing so will put undue stress on the attachment screws.
-
Page 15: Keypad Lock
Note: While “RST” is still flashing, you can continue to press and hold the “1” button to toggle between the two settings. 4. Hold the DOWN button once more until the desk lowers slightly, then raises slightly, and the display changes back to the numeric height setting, then release. © UPLIFT Desk • 800-349-3839 • info@upliftdesk.com • upliftdesk.com... -
Page 16: Display Units
Programming (Continued) Display Units Change the numeric display to show the desk height in either inches or centimeters. 1. Hold the DOWN button on the Keypad until the desk reaches the lowest height, then release. 2. Hold the DOWN button again until display flashes “RST”. 3. -
Page 17: Troubleshooting
If the error message persists after performing the Reset Procedure above or if there is a height difference between the Legs which exceeds 1.5’’, contact UPLIFT Desk at the email address or phone number listed on these instructions. Starting & Stopping If your desk is continuously starting and stopping as you try to raise or lower it, check to make sure the Control Box is attached securely to the Frame. - Page 18 Notes...
- Page 19 Notes...
- Page 20 Copyright Notice: This guide is a component of this UPLIFT Desk product. This guide is a part of the © scope of delivery, even if the item is resold. This guide is also available on the UPLIFT Desk website: 90.014.01.0644v.E AI-FRM580-1.0...
Need help?
Do you have a question about the V2 and is the answer not in the manual?
Questions and answers