Sign In
Upload
Download
Table of Contents
Contents
Add to my manuals
Delete from my manuals
Share
URL of this page:
HTML Link:
Bookmark this page
Add
Manual will be automatically added to "My Manuals"
Print this page
×
Bookmark added
×
Added to my manuals
Manuals
Brands
Eiki Manuals
Projector
EK-130U
Owner's manual
Eiki EK-130U Owner's Manual
Hide thumbs
1
2
Table Of Contents
3
4
5
6
7
8
9
10
11
12
13
14
15
16
17
18
19
20
21
22
23
24
25
26
27
28
29
30
31
32
33
34
35
36
37
38
39
40
41
42
43
44
45
46
47
48
49
50
51
52
53
54
55
56
57
58
59
60
61
62
63
64
65
66
67
68
69
70
71
72
73
74
75
76
77
78
79
80
81
82
83
84
85
86
page
of
86
Go
/
86
Contents
Table of Contents
Troubleshooting
Bookmarks
Table of Contents
Features and Design
Table of Contents
Contents
Safety Operation Guideline
Safety Instructions
Air Circulation
Place Your Projector Correctly
Moving the Projector
Compliance
Accessories
Part Names and Functions
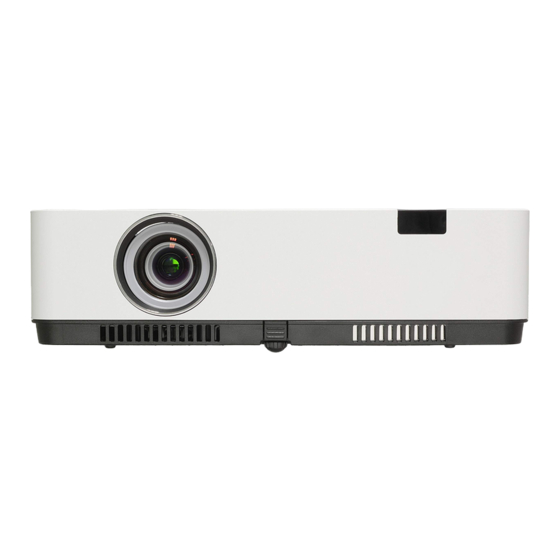
Front
Rear
Bottom
Terminals
Top Control and Indicators
Remote Control
Install Remote Control Batteries
Operating Range
Adjustable Foot
Installation
Positioning the Projector
Connecting to Computer (Digital and Analog RGB)
Connecting to Video Equipment
(Video, S-Video)
Connecting to Audio Equipment
Connecting to USB Device (USB-A, USB-B)
Connecting the AC Power Cord
Basic Operation
Power on Your Projector
Power off Your Projector
Adjust Zoom and Focus
Auto Setup Function
Keystone Adjustment
Volume
Remote Control Operation
Input Select
How to Operate the Screen Menu
Menu Bar
Display
Auto PC Adj
Fine Sync
H Position
Position
H.size
Aspect
Project Way
Menu Position
Background Display
System
Color Adjust
Image Mode
Color Adjust (Computer)
Color Adjust (Video)
Setting
Direct Power on
Standby Mode
Eco
Normal
Network
High Land
Light Source Mode
Cooling Fast
Closed Caption
Key Lock
Iris
Sound
HDMI Setup
Expand
Language
Auto Setup
Keystone
Logo
Security
Power Management
Filter Counter
Test Pattern
Network
Factory Default
Lamp Counter Reset
Memory Viewer
Set Slide
Slide Transition Effect
Sort Order
Rotate
Best Fit
Repeat
Apply
Information
Network Control Instructions
LAN Control
Using Useful Functions
Memory Viewer Function
USB Display Function
Maintenance and Cleaning
WARNING Indicator
Cleaning the Filter
Filter Counter Reset
Order Replacement Filter
Clean the Projection Lens
Clean the Cabinet
Appendix
Troubleshooting
Menu Tree
Indicator and Projector State
Compatible Computer Specifications
Technical Specifications
Configurations of Terminals
Content of Hazardous Substances and Elements
Dimensions
PIN Code Memorandum
Advertisement
Quick Links
Download this manual
Owner's manual
Multimedia Projector
EK-130U
EK-131W / K
EK-132X
EK-125UK
EK-125WK
Note:
- The manual is subject to change without prior notice.
V1.0
Table of
Contents
Previous
Page
Next
Page
1
2
3
4
5
Advertisement
Table of Contents
Need help?
Do you have a question about the EK-130U and is the answer not in the manual?
Ask a question
Questions and answers
Related Manuals for Eiki EK-130U
Projector Eiki EK-131W Owner's Manual
(86 pages)
Projector Eiki EK-1300LU Owner's Manual
Multimedia projector (92 pages)
Projector Eiki EK-100W Owner's Manual
(43 pages)
Projector Eiki EK-100W Owner's Manual
(84 pages)
Projector Eiki EK-100W Service Manual
Lcd multi-media projector (42 pages)
Projector Eiki EK-110U Owner's Manual
(84 pages)
Projector Eiki EK-103X Owner's Manual
(43 pages)
Projector Eiki EK-850LU Owner's Manual
(92 pages)
Projector Eiki EK-900LU Owner's Manual
(92 pages)
Projector Eiki EK-120UK Owner's Manual
(79 pages)
Projector Eiki EK-120 Series Owner's Manual
(79 pages)
Projector Eiki EK-121W Service Manual
(60 pages)
Projector Eiki EK-110U Service Manual
Lcd multi-media projector (42 pages)
Projector Eiki EK-122X Owner's Manual
(79 pages)
Projector Eiki EK-1000LU Owner's Manual
Multimedia projector (92 pages)
Projector Eiki EK-600U Owner's Manual
(83 pages)
This manual is also suitable for:
Ek-131w
Ek-131k
Ek-132x
Ek-125uk
Ek-125wk
Table of Contents
Print
Rename the bookmark
Delete bookmark?
Delete from my manuals?
Login
Sign In
OR
Sign in with Facebook
Sign in with Google
Upload manual
Upload from disk
Upload from URL


Need help?
Do you have a question about the EK-130U and is the answer not in the manual?
Questions and answers