Advertisement
Table of Contents
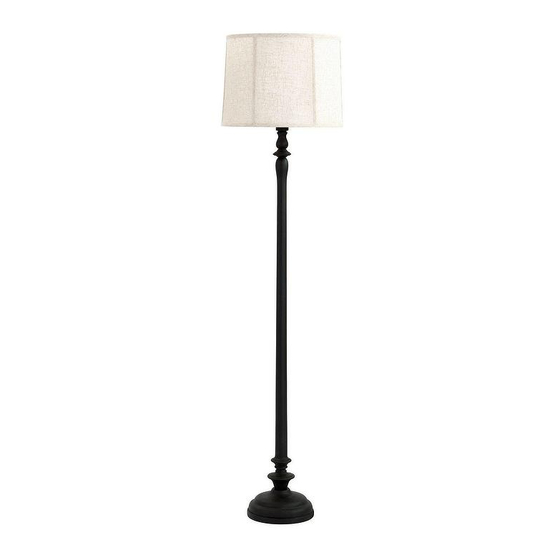
PRODUCT NAME: Dani Outdoor Floor Lamp
ITEM NUMBER: LL315
DIMENSIONS OF ITEM ASSEMBLED: 66"H x 16" DIA
IMPORTANT SAFETY INSTRUCTIONS:
-This Lamp has a polarized plug (one blade is wider than the other) as a feature to reduce the risk
of electric shock. This plug will fit in a polarized outlet only one way. If the plug does not fully fit in
the outlet, reverse the plug. If it still does not fit, contact a qualified electrician. Never use with an
extension cord unless plug can be fully inserted. Do not alter the plug.
-These Assembly Instructions are provided for your safety. It is important that they are read carefully
and completely before assembling this Lamp.
-This product must be installed with the applicable installation code by a person familiar with the
construction and operation of the product.
-This Lamp has been rated for up to 100 Watt MAX Type A Bulb (Included or NOT Included).
WARNING:
-Deviation from these Assembly Instructions may result in a risk of fire or electric shock.
-To reduce risk of fire, electrical shock, or personal injury, always turn off and unplug Lamp and
allow it to cool prior to replacing the bulb.
-Do not touch the bulb when the Lamp is turned on. Do not look directly at the lit bulb.
-Keep flammable material away from the lit bulb.
PRODUCTS ARE NOT INTENDED
FOR COMMERCIAL USE.
Customer Service: 800-367-2810
Online: www.ballarddesigns.com
MADE IN CHINA
Page 1 of 4
Advertisement
Table of Contents

Related Manuals for Ballard Designs Dani Outdoor LL315


Summary of Contents for Ballard Designs Dani Outdoor LL315
- Page 1 Customer Service: 800-367-2810 Online: www.ballarddesigns.com PRODUCT NAME: Dani Outdoor Floor Lamp ITEM NUMBER: LL315 DIMENSIONS OF ITEM ASSEMBLED: 66”H x 16” DIA IMPORTANT SAFETY INSTRUCTIONS: -This Lamp has a polarized plug (one blade is wider than the other) as a feature to reduce the risk of electric shock.
- Page 2 NOTE: Remove all parts and hardware from the box along with any plastic protective packaging and carefully lay all the parts out on a clean, flat surface. Shade DO NOT discard any contents until after assembly and Glass installation is complete to avoid accidentally discarding small parts or hardware.
- Page 3 NOTE: Before starting assembly of this Lamp, be sure it has been unplugged. Turning the switch off is not sufficient enough. STEP 1: Screw the Lamp Body (A) into the Base (E) until tight. Slowly pull the wire out of the bottom of the base, then stick the Pad (F) onto the bottom of the Base.
- Page 4 NOTE: Before starting assembly of this Lamp, be sure it has been unplugged. Turning the switch off is not sufficient enough. STEP 3: Screw the Glass (D) onto the Lamp Body (A) until tight. STEP 4: Unscrew the Finial (B), and fix the Finial on top of the Shade (C).
Need help?
Do you have a question about the Dani Outdoor LL315 and is the answer not in the manual?
Questions and answers