Subscribe to Our Youtube Channel
Summary of Contents for Ballard Designs JC301
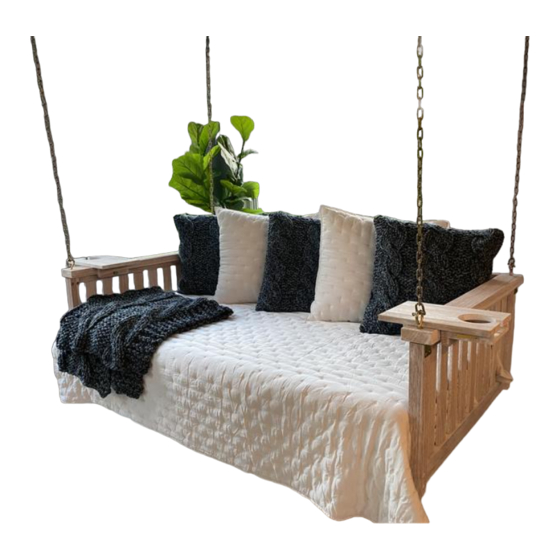
- Page 1 Customer Service: 800-367-2810 Online: www.ballarddesigns.com PRODUCT NAME: Sunday Daybed Swing ITEM NUMBER: JC301 ASSEMBLED DIMENSIONS: 22”H x 82”W x 43.3”D PRODUCTS ARE NOT INTENDED MADE IN VIETNAM FOR COMMERCIAL USE. UPDATED: 12/31/19 Page 1 of 6...
-
Page 2: Required Tools
Assemble in location for intended use. Ltr. Qty. Hardware Included REQUIRED TOOLS: Allen Wrench (included), Hooks Rubber Mallet -Assembly requires 2 people and a Large Screws LICENSED CONTRACTOR* (See Step 6) Small Screws NOTE: When unpacking, lay Brackets the parts on a padded surface such as the packaging provided. - Page 3 STEP 1: INSTALL HOOKS. Place Hooks (A) into holes in top of Right Arm (I) and Left Arm (J). Thread into metal embedded in base of hole and firmly tighten. NOTE: Holes face outward. Notch inward. STEP 2: ATTACH BACK TO SEAT. Place Back (K) onto Seat (L) as illustrated. Insert Large Screws (B) and firmly tighten using Allen Wrench (H).
- Page 4 STEP 3: ATTACH ARMS. Carefully fit Right Arm (I) and Left Arm (J) onto Seat (L) and Back (K). Align dowels and fit them into notches. NOTE: A Rubber Mallet may be needed to completely seat dowels. Insert Large Screws (B) into each hole and tighten using Allen Wrench (H). STEP 4A: Invert Swing then insert Medium Screws (E) into holes as illustrated.
- Page 5 STEP 5: COVER VISIBLE HOLES. Return Swing upright and insert a Plug (F) into each hole on side of Right Arm (I) and Left Arm (J). NOTE: A Rubber Mallet may be needed to gently tap and seat Plug. STEP 6: Swing can support up to 800 lbs. *To prevent personal or property damage, all swings should be installed by a Licensed Building Contractor.
- Page 6 STEP 7: Place Seat Cushion (M) on Swing. Cleaning and Care Please refer to care instructions on product hang tag. Customer Service: 800-367-2810 Page 6 of 6 Online: www.ballarddesigns.com...


Need help?
Do you have a question about the JC301 and is the answer not in the manual?
Questions and answers