Advertisement
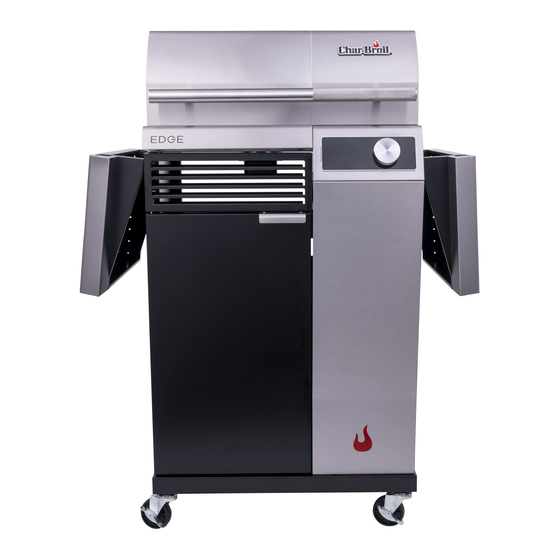
CHAR-B ROI L E DG E
E LECTRIC G RI LL
FOR OUTDOOR USE ON LY
• Use only with GFI (Ground Fault Interrupter) protected circuit.
If you have questions or need assistance during assembly, please call: 1-833-601-EDGE (3343)
E330-001-010801 02/11/22
P RODUCT G U I DE
TM
22652143
M O D EL
S E R IA L N U M B E R
• See rating label on grill for serial number.
DAT E PU R CHA S E D
TOOLS REQU I RE D FOR ASSE M B LY:
• Adjustable wrench (not provided)
• Screwdriver (provided)
• 7/16" Combination wrench (not provided)
• Caster pin (provided)
MON-SAT - 9AM - 7PM EST
© 2022 Char-Broil, LLC. Columbus, GA, 31904. Printed in China.
Advertisement
Table of Contents

Related Manuals for Char-Broil EDGE 22652143


Summary of Contents for Char-Broil EDGE 22652143
- Page 1 • Use only with GFI (Ground Fault Interrupter) protected circuit. If you have questions or need assistance during assembly, please call: 1-833-601-EDGE (3343) MON-SAT - 9AM - 7PM EST © 2022 Char-Broil, LLC. Columbus, GA, 31904. Printed in China. E330-001-010801 02/11/22...
-
Page 2: Table Of Contents
TABLE OF CONTENTS CAUTION For residential use only. Do not use for commercial cooking. For Your Safety ........2-3 Use and Care . -
Page 3: For Your Safety
WARNING General Safety 1. Do not touch hot surfaces with unprotected hands. Use handles and knobs • Failure to follow all manufacturer’s instructions could result in serious personal provided for operation. injury and/or property damage. 2. Never leave grill unattended when ON. •... -
Page 4: Use And Care
They will damage the finish. • Use grill only on a firm and level surface to prevent tipping over. Replace damaged part(s) only with Char-Broil certified replacement parts. Do not • To prevent household circuit breakers from tripping, keep electric controller dry attempt to repair damaged parts. - Page 5 USE AND CARE POWER ON DECREASE TEMPERATURE Push power button to start grill. Push control knob, rotate counter-clockwise to target temperature and push knob to set. Wait for pulsing light to turn solid. SET TEMPERATURE CLEAN CYCLE Push the AUTO CLEAN button to start the cycle, then close the lid. The grill will Push control knob, rotate clockwise to target temperature and push knob to set.
- Page 6 USE AND CARE Cleaning your grill: WARNING Excess build up of burned grease and food particles will reduce the grill’s cooking performance. To obtain optimum performance: For Safe Use of Your appliance and to Avoid Serious Injury: • Clean the reflector plate assembly and frame at least once a season, more often •...
- Page 7 USE AND CARE Food Safety USDA Recommended Food safety is a very important part of enjoying the outdoor cooking experience. To keep food safe from harmful bacteria, follow these four basic steps: Internal Cooking Temperatures Clean: Wash hands, utensils, and surfaces with hot soapy water before and after handling raw meat and poultry.
-
Page 8: Limited Warranty
LIMITED WARRANTY This warranty only applies to units purchased from an authorized retailer. Manufacturer warrants to the original consumer-purchaser only that this product shall be free from defects in workmanship and materials after correct assembly and under normal and reasonable home use for the periods indicated below beginning on the date of purchase*. The manufacturer reserves the right to require that defective parts be returned, postage and or freight pre-paid by the consumer for review and examination. -
Page 9: Parts Diagram
PA RTS D I A G R A M C H A R B R O I L.C O M P a g e 9... -
Page 10: Parts List
PA RTS LI ST QTY DESCRIPTION QTY DESCRIPTION FIREBOX RIGHT SIDE PANEL, F/ CART CONTROL PANEL BOTTOM SHELF TOP FASCIA PANEL CASTER, LOCKING REFLECTOR PLATE ASSEMBLY CASTER, FIXED HEATING ELEMENT CONTROL KNOB TEMPERATURE PROBE NOT PICTURED CONTROLLER POWER CORD ASSEMBLY …... -
Page 11: Hardware List
H A R D WA R E LI ST Description Picture 1/4-20 x 1/2" 1/4 Shoulder Screw M4×3/8" Screw Fuse NO.10-24 ×3/8" Screw Caster Pin Screw Driver C H A R B R O I L.C O M P a g e 1 1... -
Page 12: Assembly
A S S E M B LY After all 4 casters are secure remove the Caster Pin (F) and save for future maintenance. C H A R B R O I L.C O M P a g e 1 2... - Page 13 A S S E M B LY Tighten the screws Tighten the screws C H A R B R O I L.C O M P a g e 1 3...
- Page 14 A S S E M B LY Tighten the screws Tighten the screws C H A R B R O I L.C O M P a g e 1 4...
- Page 15 A S S E M B LY When being viewed from the back of the grill C H A R B R O I L.C O M P a g e 1 5...
- Page 16 A S S E M B LY C H A R B R O I L.C O M P a g e 1 6...
- Page 17 A S S E M B LY C H A R B R O I L.C O M P a g e 1 7...
- Page 18 A S S E M B LY PRESS C H A R B R O I L.C O M P a g e 1 8...
- Page 19 A S S E M B LY CAUTION Failure to install grease pan will cause hot grease to drip from bottom of grill with risk of fire or property damage. NOTE: check the wire connections prior to plugging in. Reconnect if necessary. C H A R B R O I L.C O M P a g e 1 9...
-
Page 20: Troubleshooting
TROUBLE SHOOTING Error Code Problem Possible Cause Prevention Solution • The control system cannot detect the temperature • Unplug the grill from power. probe. • Remove the Top Fascia Panel and ensure all wires are not damaged and are firmly connected. •... - Page 21 TROUBLE SHOOTING Problem Possible Cause Prevention/Solution • The unit is not plugged in. • Check to be sure if cord is properly plugged into outlet. If Cord unplugged from outlet • The power circuit fuse has tripped. • A power cord malfunction or failure. •...
- Page 22 NOTES Pa ge 22 C H A R B R O I L. C O M...
-
Page 23: Registration Card
Mail to: | Envoyer à: | Correo a: privacidad Char-Broil Warranty Registration P.O. Box 1240 If you prefer not to receive special offers and promotions from Char-Broil, please Columbus, Ga 31902-1240 check here: Si vous préférez recevoir des offres et promotions spéciales de Char-Broil, veuillez vérifier ici:... - Page 24 2022 Char-Broil, LLC. Columbus, GA, 31904. Printed in China. Imprimé en China. Impreso en China. © 2022 Assembly instructions. 2022 Assemblée des instructions. 2022 Instrucciones de ensamblado. © © © The product associated with this guide was manufactured in China. Le produit associé à ce guide a été fabriqué en Chine.
Need help?
Do you have a question about the EDGE 22652143 and is the answer not in the manual?
Questions and answers