Advertisement
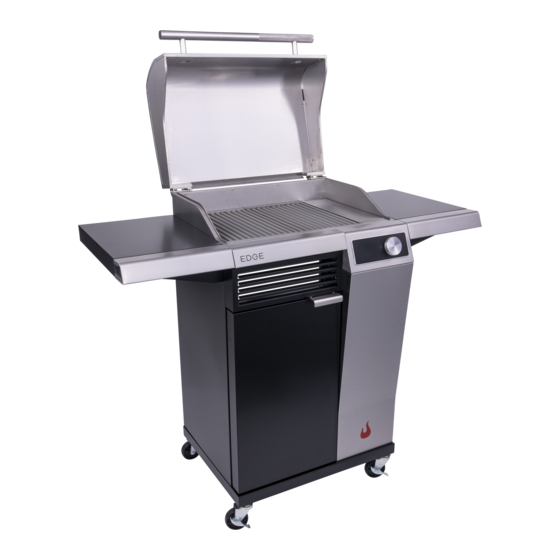
CHAR-B ROI L E DG E
E LECTRIC G RI LL
NOTE: Some grill parts shown in the assembly steps may differ slightly
in appearance from those on your particular grill model. However, the
method of assembly remains the same.
42805399 • 03/14/22
PART R E P L A C E M E NT G U I D E
M O D EL
TM
Fuse . . . . . . . . . . . . . . . . . . . . . . . . . . . . . . . . . . . . . . . . . . . . . 2
Controller . . . . . . . . . . . . . . . . . . . . . . . . . . . . . . . . . . . . . . . 3-4
Top Fascia Panel / Temperature Probe / Control Panel . . . . 5-8
Heating Element / Reflector Plate Assembly . . . . . . . . . . . 9-12
Firebox . . . . . . . . . . . . . . . . . . . . . . . . . . . . . . . . . . . . . . . 13-17
Power Cord . . . . . . . . . . . . . . . . . . . . . . . . . . . . . . . . . . . . 18-21
22652143
TABLE OF CONTENTS
CAUTION
Some parts may contain sharp edges. Wear protective
gloves if necessary.
Advertisement

Related Manuals for Char-Broil EDGE


Summary of Contents for Char-Broil EDGE
-
Page 1: Table Of Contents
PART R E P L A C E M E NT G U I D E 22652143 M O D EL CHAR-B ROI L E DG E E LECTRIC G RI LL TABLE OF CONTENTS Fuse ..........2 Controller . -
Page 2: Fuse
Each step shows removal and replacement of parts. Follow the steps in order to remove parts, then reverse the steps to replace all parts. Remove / replace FUSE. Remove / replace FUSE. FUSE PAGE 2... - Page 3 Remove / replace CONTROLLER Unplug / replug CABLES. Remove / replace CONTROLLER. PAGE 3...
-
Page 4: Controller
Remove / replace CONTROLLER. CONTROLLER Remove / replace CONTROL KNOB. CONTROL KNOB CONTROLLER PAGE 4... - Page 5 Remove / replace TOP FASCIA PANEL , TEMPERATURE PROBE and CONTROL PANEL Remove / replace GREASE PAN. GREASE PAN CAUTION Failure to install grease pan will cause hot grease to drip from bottom of grill with risk of fire or property damage. Remove / replace COOKING GRATE, WARMING PLATE and GREASE BAFFLE.
- Page 6 Remove / replace GRILL HEAD. Remove / replace TOP FASCIA PANEL. TOP FASCIA PANEL PAGE 6...
- Page 7 Remove / replace TOP FASCIA PANEL. NOTE: Route the wires through the holes as shown while replacing TOP FASCIA PANEL. TOP FASCIA PANEL Remove / replace TEMPERATURE PROBE. Care should be taken when removing the wire tie from the TEMPERATURE PROBE Temperature Probe and Heating Element wire to prevent damage.
- Page 8 Remove / replace CONTROL PANEL. CONTROL PANEL Remove / replace CONTROL PANEL and CONTROLLER. CONTROLLER CONTROL PANEL PAGE 8...
- Page 9 Remove / replace HEATING ELEMENT and REFLECTOR PLATE ASSEMBLY Remove / replace GREASE PAN. GREASE PAN CAUTION Failure to install grease pan will cause hot grease to drip from bottom of grill with risk of fire or property damage. Remove / replace COOKING GRATE, WARMING PLATE and GREASE BAFFLE. WARMING PLATE COOKING GRATE GREASE BAFFLE...
- Page 10 Remove / replace GRILL HEAD. Remove / replace TOP FASCIA PANEL. TOP FASCIA PANEL PAGE 10...
- Page 11 Remove / replace TOP FASCIA PANEL. NOTE: Route the wires through the holes as shown while replacing TOP FASCIA PANEL. TOP FASCIA PANEL Remove / replace TEMPERATURE PROBE. Care should be taken when removing the wire tie from the TEMPERATURE PROBE Temperature Probe and Heating Element wire to prevent damage.
-
Page 12: Heating Element / Reflector Plate Assembly
Remove / replace HEATING ELEMENT and REFLECTOR ASSEMBLY. HEATING ELEMENT Remove / replace HEATING ELEMENT and REFLECTOR ASSEMBLY. HEATING ELEMENT REFLECTOR ASSEMBLY PAGE 12... - Page 13 Remove / replace FIREBOX Remove / replace GREASE PAN. GREASE PAN CAUTION Failure to install grease pan will cause hot grease to drip from bottom of grill with risk of fire or property damage. Remove / replace COOKING GRATE, WARMING PLATE and GREASE BAFFLE. Disconnect / connect the wires on CONTROLLER and POWER BOX.
- Page 14 Remove / replace GRILL HEAD. Remove / replace TOP FASCIA PANEL. TOP FASCIA PANEL PAGE 14...
- Page 15 Remove / replace TOP FASCIA PANEL. NOTE: Route the wires through the holes as shown while replacing TOP FASCIA PANEL. TOP FASCIA PANEL Remove / replace CONTROL PANEL ASSEMBLY. CONTROL PANEL ASSEMBLY PAGE 15...
- Page 16 Remove / replace GREASE PAN BRACKETS. GREASE PAN BRACKET Remove / replace TOP LID ASSEMBLY. TOP LID ASSEMBLY PAGE 16...
-
Page 17: Firebox
Remove / replace TEMPERATURE PROBE. TEMPERATURE PROBE Care should be taken when removing the wire tie from the Temperature Probe and Heating Element wire to prevent damage. Remove / replace HEATING ELEMENT ASSEMBLY and FIREBOX. HEATING ELEMENT FIREBOX ASSEMBLY PAGE 17... - Page 18 Remove / replace Power Cord Disconnect / connect the wires on CONTROLLER and POWER BOX. CONTROLLER POWER BOX Remove / replace POWER BOX. POWER BOX PAGE 18...
- Page 19 Remove / replace POWER BOX COVER. POWER BOX COVER Remove / replace CONNECTOR COVER. CONNECTOR COVER PAGE 19...
- Page 20 Loosen / Tighten the screw assemblies to remove / secure the wires. Pull out / Route the ground wire as shown. GROUND WIRE (Green) Loosen / Tighten the screws Remove / Secure the NUT for power cord to remove / replace POWER CORD. Black Wire Bottom White Wire PAGE 20...
-
Page 21: Power Cord
Remove the FASTENING NUT then pull out the old POWER CORD. Replace with a new POWER CORD then secure the FASTENING NUT. POWER CORD FASTENING NUT PAGE 21...
Need help?
Do you have a question about the EDGE and is the answer not in the manual?
Questions and answers