
Related Manuals for Nice BiDi-Dimmer


Summary of Contents for Nice BiDi-Dimmer
- Page 1 Nice BiDi-Dimmer Bidirectional interface for lights indoor EN - Instructions and warnings for installation and use...
-
Page 2: Warnings And General Precautions
• The BiDi-Dimmer control unit has been especially designed for insertion in a junction box or wall box; its housing does not feature any protection against water and only basic protection against contact with solid parts. Never place the BiDi-Dim- mer in inadequately protected environments. - Page 3 The electric power supply of the control unit must be connected by means of terminals L and N (Live, Neutral) according to figure 2. If no Neu- tral wire is present in the box, connect the N terminal with the Sx terminal according to figure 3. The BiDi-Dimmer control unit can operate with supply voltage of 100 to 240 Volts and frequency of 50 or 60 Hz.
- Page 4 LED lights and glowing of the turned off compact fluorescent lamps. In the case of 2-wire connection, the LED Adaptor allows to reduce minimum power of load required by the BiDi-Dimmer for correct operation. In such cases, connect the LED Adaptor in paral- lel to the light source as shown in figure 2 and 3.
- Page 5 Table A6 - Memorising other transmitters with a previously memorised transmitter in Mode I Example 01. Press any key three times of a previous, memorised transmitter. 02. Press the same key three times of a new transmitter. 03. Press the same key three times of a previous, memorised transmitter. 04.
- Page 6 4.5 - Memorising a new transmitter using the “enabling code” of an already memorised transmitter The bidirectional transmitter has a secret code, the so-called “enabling code”. By transferring this code from a memorized transmitter to a new transmitter, the latter is recognized (and memorized) automatically by the control unit. Warning! - The enabling code can only be transferred between two transmitters that have the same radio coding.
-
Page 7: Deleting Transmitters
5.3 - Type of connected switches The control unit allows to connect momentary or toggle switches to S1 and S2 input. By default, the toggle switch type is set. To change type of connected switch, proceed as described below. Table A13 - Setting type of connected switches Example 01. -
Page 8: Led Signals
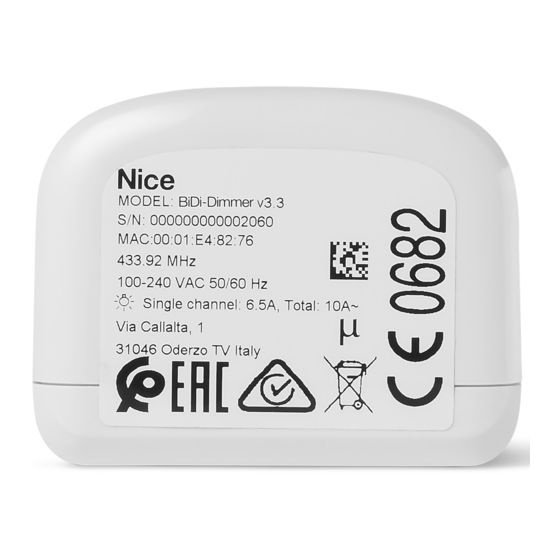
The product BiDi-Dimmer is produced by Nice S.p.a. (TV). Warnings: - All technical specifications stated in this section refer to an ambient temperature of 20 °C (± 5 °C) - Nice S.p.a. reserves the right to apply modifications to the product at any time when deemed necessary, while maintaining the same functionalities and intended use. -
Page 9: Radio Transceiver
Caution! – local legislation may envisage serious fines in the event of abusive disposal of this product. DECLARATION OF CONFORMITY Hereby, NICE S.p.A., declares that the radio equipment type BiDi-Dimmer is in compliance with Directive 2014/53/EU. The full text of the EU declaration of conformity is available at the following internet address: http://www.niceforyou.com/en/support... - Page 10 Nice SpA Oderzo TV Italia www.niceforyou.com info@niceforyou.com...
Need help?
Do you have a question about the BiDi-Dimmer and is the answer not in the manual?
Questions and answers