Advertisement
- 1 Overview
- 2 Connection
- 3 Power supply
- 4 Battery insertion and replacement
- 5 Switching the Pro-View on/off
- 6 Installation
- 7 Generic error
- 8 Available interfaces (Fig. 6)
- 9 Full reset (Fig. 2)
- 10 Factory reset (Fig. 2)
- 11 FUNCTIONAL CHARACTERISTICS
- 12 EU DECLARATION OF CONFORMITY
- 13 Documents / Resources
Pro-View: The Pro-View accessory is a device, that through Wi-Fi communication, allows the configuration of Nice devices available on Gate & Door catalogues. The interface includes the functions of the traditional O-View and OBox.
Allows to control, configure and diagnose the following products:
- Control units that support T4 bus;
- Plugin receivers (OXI, OX and SMX);
- Era One, Era One BD and Era Inti remote controls (with bidirectional and monodirectional radio protocols);
- BM memories;
- RFID card (MOCARD) and tag (HSB1) used Era (ETP) reader.
Pro-View could be used as "data logger" to store, on the internal memory of the accessory, the T4 events available on T4 BUS.
Before proceeding with the product's installation, make sure that:
- you have a smartphone with Android 6 (or later versions) or an iPhone with iOS 11.0 system (or later versions);
- you have installed and configured the myNicePro App on the smartphone or iPhone, and followed the instructions contained in the relative instruction manual.
myNicePro requires a mobile data connection for the first accessory configuration.
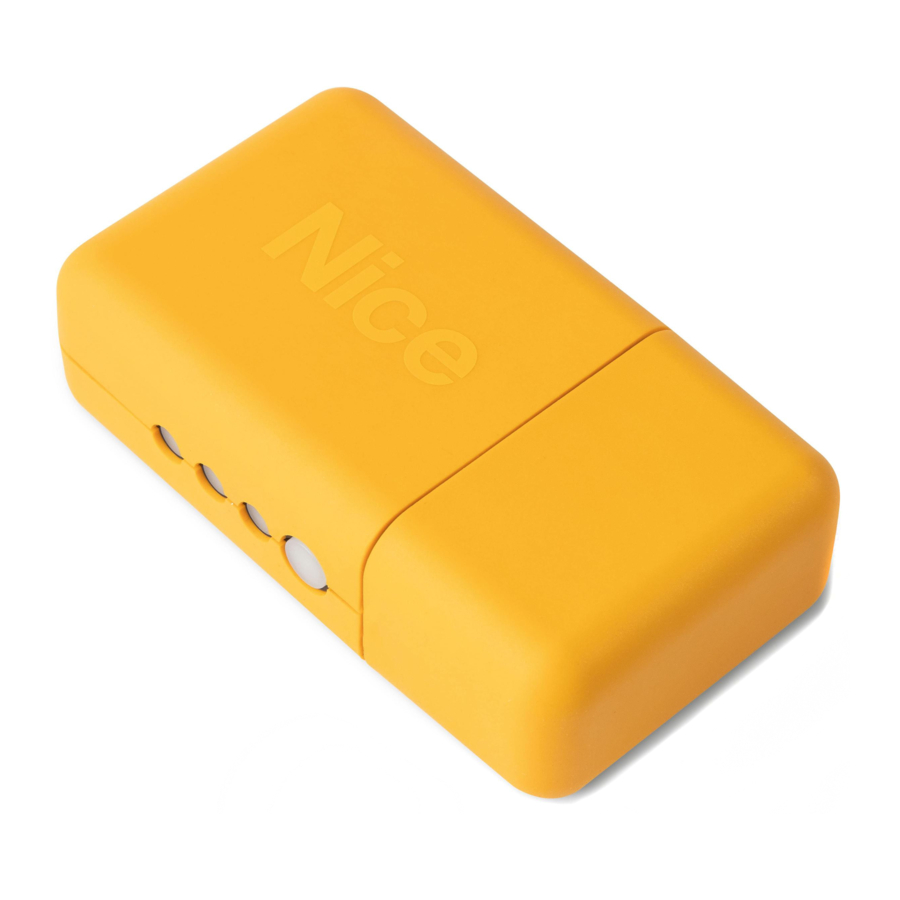
Overview

The kit includes:
- the Pro-View accessory (1);
- the USB cable and battery charger (2);
- T4 bus connection cable (RJ11 connector) (3).


Description of the components:
- USB port (8);
- battery compartment lid (6);
- RESET button (9);
- power status LED (10) (normally green);
- Wi-Fi status LED (11) (normally green);
- radio \ T4 status LED (12) (normally off).
Connection
Pro-View use a direct Wi-Fi connection with the smartphone. This means that is not necessary to use an access point.
Power supply

With the power cable (Fig. 4): use the power cable (2) supplied with the accessory and insert it into the power socket.
It is possible to connect the accessory, through the USB cable, to a PC or notebook. The connection must be direct, USB hub is not supported.
With T4 BUS connection (Fig. 5): use T4 cable (3) supplied with the accessory and insert it on RJ11 socket (7) available if the cap is removed (4) from the accessory. On the other side, T4 cable, must be connected to the control unit.

Accessory it can also powered by rechargeable batteries installed on the battery compartment (fig. 1).
Battery insertion and replacement

Batteries – 2 x AA rechargeable NiMh (not included). Replace the batteries (6) when the power status LED (10) flashes red, by removing the battery compartment lid (5) with the aid of a screwdriver.
Switching the Pro-View on/off
Only if it is battery-powered and not powered externally can ProView be switched off and on again. To switch the device off, press the RESET button (9) briefly twice in quick succession. To switch the device on, simply press the RESET button (9) briefly.
Installation
After powering up the Pro-View accessory correctly, a Wi-Fi network will be automatically created. Proceed as described of the myNicePro App. When the Pro-View accessory is paired, the power status LED (10) and the Wi-Fi status LED (11) are lit green.
Generic error
In the event of malfunctions, the LEDs can light up or start flashing. If this happens, contact the Technical Assistance Service.
Power status LED (10) lit red: battery or system error.
Wi-Fi status LED (11) lit red: Wi-Fi module error.
Wi-Fi status LED (11) flashing red: accessory configuration error.
Radio \ T4 status LED (12) lit red: internal radio module error or interface connection (T4, OXI, BM, RFID, NFC etc..).
Available interfaces (Fig. 6)

BUS T4: this connector is used to connect the accessory with one or more Nice control unit through T4 bus.
SM: this connector is used to connect the accessory with SMX, OX and OXI receivers.
It is not possible to connect an RJ11 cable and OXI or SMX receiver at the same time (neither through CABLA06 accessory).
BM: This connector is used to connect BM memories to the accessory.
RFID, NFC and transmitters area: This area allows wireless programming, i.e. without any physical connection, of Era One, Era One BD and Era Inti transmitters.
This area is also used for the RFID tags and cards programming. Transmitters must be placed on top of "Nice" marking available on the accessory as indicated on fig. 7.
Full reset (Fig. 2)
The Pro-View device can be completely reset to delete all the settings (users settings, log files and Wi-Fi configuration). To do this, press and hold the RESET button (9) for at least 10 seconds: all the LEDs will flash red. At this point, release the RESET button (9). The Pro-View device will restart.
Factory reset (Fig. 2)
Power the Pro-View device with the RESET button (9) pressed. The radio \ T4 status LED (12) will flash red. Press and hold the RESET button (9) for at least 10 seconds. The radio \ T4 status LED (12) will stop flashing. Release the button.
FUNCTIONAL CHARACTERISTICS
| PROVIEW | TECHNICAL SPECIFICATIONS |
|
5 V DC (min 500 mA) - microUSB 24 V DC - T4 (RJ11) |
Power supply |
| 2 x AA Rechargeable NiMh |
Optional battery powering (batteries not supplied) |
| 1.5 W | Max. power input |
| 802.11b/g/n – 2.4GHz | Type of Wi-Fi interface with internal antenna |
| OPEN/WEP/WPA-PSK/WPA2-PSK | Wi-Fi Security |
|
Dual band 433.54 - 433.92MHz / 868.3 - 868.94MHz |
Radio transmission double frequency |
| NFC (13.56 MHz), RFID (125 kHz), SM, BM, T4 | Interfaces |
| -20°C... +50°C | Operating temperature |
| -25°C... +70°C | Storage temperature |
| 15% - 85% | Humidity (non-condensing) |
| 113 x 64 x 33 mm | Dimensions (WxDxH) |
| 100 g | Weight |
| 30 | IP |
The above characteristics refer to an ambient temperature of 20°C (± 5°C).
Opening of the devices, with the exception of the battery compartment, implies the immediate voiding of the industrial warranty.
Nice S.p. A. declines all liability for damages resulting from improper use of the product, other than as specified in this manual.
In order to improve its products, Nice S.p. A. reserves the right to modify their technical specifications at any time without prior notice, without however altering their functions or intended use.
The battery must be disposed of in the appropriate bins according to current regulations; when scrapping the device, the battery must be removed beforehand.
EU DECLARATION OF CONFORMITY
Hereby, NICE S.p. A., declares that the radio equipment type
- Pro-View
is in compliance with Directive 2014/53/EU.
The full text of the EU declaration of conformity is available at the following internet address: http://www.niceforyou.com/en/support
Nice S.p. A.
Via Callalta, 1
31046 Oderzo TV Italy
info@niceforyou.com

Documents / Resources
References
Download manual
Here you can download full pdf version of manual, it may contain additional safety instructions, warranty information, FCC rules, etc.
Advertisement


Need help?
Do you have a question about the Pro-View and is the answer not in the manual?
Questions and answers