
Related Manuals for Marshall Electronics M-LCD7-HDMI


Summary of Contents for Marshall Electronics M-LCD7-HDMI
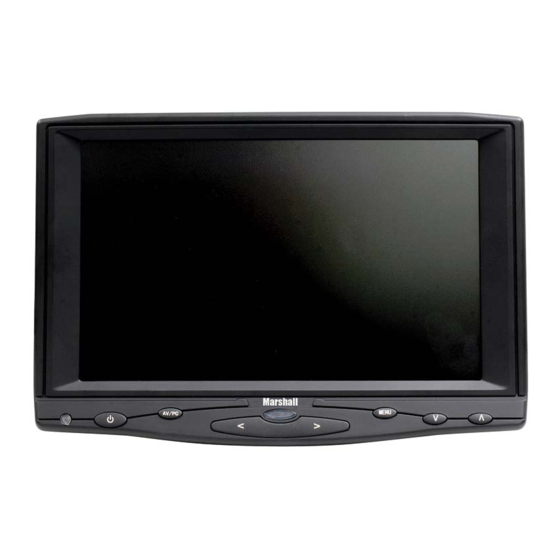
- Page 1 Marshall Electronics M-LCD7-HDMI M-LCD7-HDMI-B-C511 M-LCD7-HDMI-B-CE6 M-LCD7-HDMI-B-NEL3 Portable 7’’ HDMI TFT LCD Monitor User Manual...
-
Page 2: Product Overview
Product Overview The M-LCD7-HDMI is a 7” high-definition widescreen LCD monitor featuring our completely digital TFT-MegaPixel active matrix LCD platform. This monitor is ideal as a light-weight high resolution viewfinder or focus-assist monitor. Our proprietary digital signal processing features, along with multi- format compatibility, accommodate multiple video formats including NTSC and PAL. - Page 3 Unpacking Carefully unpack the M-LCD7-HDMI monitor and verify that the following items are included: ■ AC model (M-LCD7-HDMI) includes: ƒ M-LCD7-HDMI Monitor ƒ AC Power Supply ƒ HDMI Cable ƒ HDNI – MINI HDMI Cable ƒ Car Cigarette Adapter ƒ Table Stand ƒ...
-
Page 4: Table Of Contents
: Volume up or to adjust the value of setting function 7. MENU: To activate OSD menu : Selection key, to adjust phase directly : Selection key, to adjust brightness directly 10. DC12V: DC12V input jack 11. HDMI: HDMI input jack 12. SKS: SKS input jack M-LCD7-HDMI Manual... -
Page 5: X83; Remote Control
: Up/Down Switch : Right/Left Switch : AV1/AV2/PC Switch ■ Matched Cable Picture 3 (AV cable) M-LCD7-HDMI Manual 1. SKS input connector to be connected to SKS input jack on monitor 2. Male 9-pin plug for VGA signal 3. DC12V power 4. -
Page 6: X83; Connection
5. White RCA jack connects to audio signal 6. Red RCA jack connects to video signal 2 Please use the included DC adapter. (Note that the power consumption should be less or equal to 10W.) Picture 4 (VGA cable) M-LCD7-HDMI Manual... -
Page 7: Operating Instructions
(Menu), (Edit), (Volume), and confirm by pressing “ ” or ” ” on the unit or on the remote control. Then push “ ” or ” ” again to adjust the values. Push “ M-LCD7-HDMI Manual ” to exit the OSD after your adjustment. - Page 8 “Color Temp,” then choose a color temperature such as 6500 Ks, 7500 Ks or 9300 Ks by pressing “ ” or ” ”. You can also adjust color temperature by selecting “USER” and adjusting the RED, GREEN, and BLUE by pushing “ ” or “ ” until desired color value is achieved. M-LCD7-HDMI Manual...
- Page 9 If the auto adjust is not satisfactory, use manual adjust. ƒ H Position: To adjust the picture horizontally ƒ V Position: To adjust the picture vertically ƒ Phase: To adjust the phase ƒ Clock: To adjust the clock for field and line synchronization ■ (OSD): M-LCD7-HDMI Manual...
- Page 10 ƒ Reset: Back to the original factory setting ƒ Display Ratio: To change the display ratio: 16:9, 4:3 ƒ LR Rotation: To change the picture left/right ƒ UD Rotation: To change the picture up/down ■ Sound Volume: To adjust the volume. M-LCD7-HDMI Manual...
- Page 11 ■ Language: 8 languages for OSD as shown above: ƒ H Position: To adjust the picture in horizontal ƒ V Position: To adjust the picture in vertical ƒ OSD Time out: To adjust the clock ƒ Transparent: To adjust the level of transparency M-LCD7-HDMI Manual...
- Page 12 ƒ Reset: Manufacturer default setting ƒ Display Ratio: To change the display ratio: 16:9, 4:3 ƒ LR Rotation: To change the picture (mirror image flip) ƒ UD Rotation: To change the picture up/down ■ Sound: Volume: To adjust the volume M-LCD7-HDMI Manual...
-
Page 13: Specifications
JVC BN-V438U Battery assembly 7-CGS-D54-PM Panasonic CGA-D54 Battery assembly 7-VW-VBG6-PV Panasonic VW-VBG6 Battery assembly 7-NP-QM91-SM Sony NP-QM91 Battery assembly 7-NP-F970-SL Sony NP-F970 Battery assembly M-LCD7-HDMI Manual M-LCD7-HDMI TFT LCD 7’’ 1152000 Pixels 800x480 (VGA) 1920x1440 (VGA) 300 cd/m 500:1 , 50 (L/R, U/D) 0.7 ~ 1.4Vp-p/75 Ohms... -
Page 14: Troubleshooting
■ Other problems ƒ If intermittent image occurs, it may be that the VGA signal frequency isn’t matched with normal standard. ƒ It is a normal for some bright lines to appear on screen when you turn the unit. M-LCD7-HDMI Manual... -
Page 15: Warranty
Warranty Marshall Electronics warranties to the first consumer that this M-LCD7-HDMI LCD monitor will, under normal use, be free from defects in workmanship and materials, when received in its original container, for a period of one year from the purchase date. This warranty is extended to the first consumer only, and proof of purchase is necessary to honor the warranty. - Page 16 Marshall Electronics, Inc. 1910 East Maple Ave. El Segundo, CA 90245 Tel: (800) 800-6608 / (310) 333-0606 • Fax: 310-333-0688 www.marshall-usa.com MLCD7HDMI-BManV1...
Need help?
Do you have a question about the M-LCD7-HDMI and is the answer not in the manual?
Questions and answers