Advertisement
Quick Links
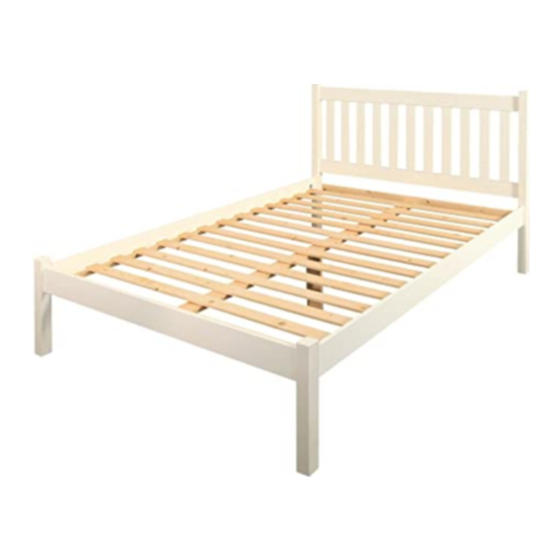
Silbury - bed 5"
Assembly Instructions - Please keep for future reference
Dimensions
Width : 208,8
Depth : 157,3
Height : 110,0
Important - Please read these instructions fully before starting assembly
If you need help or have damaged or missing parts, call the Customer Helpline:
368605067
4142919
03456 400 800
Advertisement

Subscribe to Our Youtube Channel
Related Manuals for Argos Silbury 4142919


Summary of Contents for Argos Silbury 4142919
- Page 1 Silbury - bed 5" Assembly Instructions - Please keep for future reference 4142919 Dimensions Width : 208,8 Depth : 157,3 Height : 110,0 Important - Please read these instructions fully before starting assembly If you need help or have damaged or missing parts, call the Customer Helpline: 03456 400 800 368605067...
- Page 2 Safety and Care Advice Important - Please read these instructions fully before starting assembly • Check you have all the • Do not stand or put weight on components and tools listed on the product, this could cause pages 3 and 4. damage.
- Page 3 If you have damaged or missing components, call Components - Panels the Argos Customer Helpline: 03456 400 800 Please check you have all the panels listed below footboard headboard upright x11 footboard legs x2 V198112 V160115 V540005 1465x115x19 mm 435x64x15 mm...
- Page 4 Components - Fittings If you have damaged or missing components, call the Argos Customer Helpline: 03456 400 800 Please check you have all the panels listed below Note: The quantities below are the correct amount to complete the assembly. In some cases more fittings may be supplied than are required.
- Page 5 Assembly Instructions Step 1 Pour a drop of glue K into the holes indicated on the headboard upright 1 before knocking the dowels A into the holes using a small hammer. Step 2 Knock the dowels A into the holes indicated on the headboard 6 and 7 using a small hammer.
- Page 6 Assembly Instructions Step 4 Insert the screw bush B into the holes indicated on the footboard legs 2 and the headboard legs 3 and 4 using the allen key N. Step 5 Screw the sector screw D into the holes indicated on the footboard legs 2 and the headboard legs 3 and 4 using a flatblade...
- Page 7 Assembly Instructions Step 6 Push the footboard legs 2 onto the footboard 5. Step 7 Insert the sector C into the holes indicated on the footboard 5 as shown. Fix the footboard legs 2 to the footboard 5 by twisting the sector screw D using the sector key L.
- Page 8 Assembly Instructions Step 8 Pour a drop of glue K into all the holes indicated on the headboard 6 before placing the headboard upright 1. Push tightly together. Step 9 Fix the 2nd headboard 6 by following the instructions in step 8. All 11 pieces in one step.
- Page 9 Assembly Instructions Step 11 Insert the sector C into the holes indicated on the headboard 6 and 7 as shown. (4 of them are located on the opposite side) Fix the headboard legs 3 and 4 to the headboard 6 and 7 by twisting the sector screw D using til sector key L.
- Page 10 Assembly Instructions Step 13 Push the bed side 8 onto the headboard and the footboard as shown. Ensure that both the headboard and the footboard are faced correctly. Step 14 Insert the sector C into the holes indicated on the bed side 8 as shown. Fix the bed side 8 to the footboard and the headboard by twisting...
- Page 11 Assembly Instructions Step 15 Place the center rail 11 on the brackets I, fix it to the brackets using screw F . Place the center legs 12 under the center rail 11, fix it using screw G. Step 16 Place the slats 10 onto the rail 9.
- Page 12 Assembly Instructions Step 17 Place the cap J onto the holes on the headboard Assembly is complete. If you need help or have damaged or missing parts, call the Customer Helpline: 03456 400 800 Home Retail Group - 489-499 Avebury Boulevard - Saxon Gate West - Central Milton Keynes MK9 2NW...
Need help?
Do you have a question about the Silbury 4142919 and is the answer not in the manual?
Questions and answers