Table of Contents
Advertisement
Quick Links
Advertisement
Table of Contents

Summary of Contents for Ronix 2506V
- Page 1 SCREW DRIVER 2506V...
-
Page 2: Specification
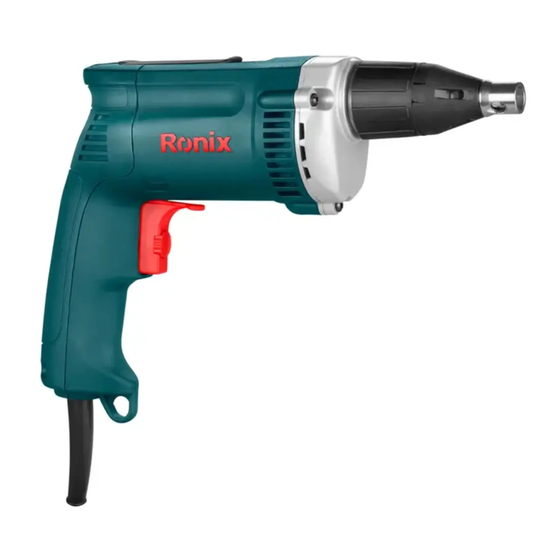
SPECIFICATION Model 2506V Power 600W Frequency 60Hz Chuck Capacity 6.35mm No-load RPM 0-4500 RPM Max Torque 23N.M Voltage 110V Weight 1.7kg PART LIST Locking Button Direction Switch Operating switch with speed regulator wheel WARNING! using electric tools, All The safety instructions shoud always be... - Page 3 BASIC SAFETY PRECAUTIONS FOR ALL ELECTRIC TOOLS KEEP WORK AREA CLEAN - Cluttered area and benches invite injuries. CONSIDER WORK AREA ENVIRONMENT - Don’t use electric tools in damp or wet locations. Don’t expose electric tools to rain. Keep work area well. In particular, no inflammable liquids or gases must be present.
- Page 4 DRESS PROPERLY - Hold tool by insulated gripping surfaces when performing an operation where the cutting tool may contact hidden wiring or its own cord. Con- tact with a “live” wire will make exposed metal parts of the tool “live” and shock the operator.
-
Page 5: Service And Maintenance
avoid any danger. 3) Before plug in the electricity socket, please make sure the machine is switched off and put the cable on back side. 4) Hold the tools firmly when operating the tool. 5) Don’t touch the moving rotating parts 6) Don’t touch the bit or the work piece immediately after operation be- cause they may be extremely hot and could burn your skin. -
Page 6: Depth Adjustment
REPAIRS - Please only use accessories and spare parts recommended by the manufacturer. If the tool get malfunction, please hand over the tool to our dealer or appointed maintenance station. Don’t disassemble the tool by yourself or replace the parts supplied by other factories. CAUTION: - Always be sure that the tool is switched off and unplugged before adjusting or checking function on the tool. - Page 7 SWITCH ACTION CAUTION: - Before plugging in the tool, always check to see that the switch trigger actuates properly and return to the “OFF” position when released. - To start the tool, simply pull the switch trigger. Tool speed is increased by increasing pressure on the switch trigger.
- Page 8 - Use the reversing switch only after the fool comes to a complete stop. Changing the direction of rotation before the tool stops may damage the tool. HOOK - The hook is convenient for temporarily hanging the tool. When using the hook, pull it out in A direction and then push it in B di- rection to secure in place.
-
Page 9: Operation
- Reassemble locking sleeve by rotating in clutch housing. (See Fig. 11) OPERATION - Fit the screw on the point of the bit and place the point of the screw on the surface of the work piece to be fastened. Apply pressure to the tool and start it. -
Page 10: Spare Part List
SPARE PART LIST O Ring 22x 25X3 Circlip Bearing 608-2Z Hex Connecting Pole Anti-dust Washer Locator Rotor Assy Dust Seal Ring Bearing 607 O Ring 17.4x1.8 607 Bearing Sleeve Lock Sleeve Screw ST4.2X55 Fixing Position Spring Wind Guard Oil Seal 22x 14X5 Stator Assy Screw ST4.2X20 Housing...


Need help?
Do you have a question about the 2506V and is the answer not in the manual?
Questions and answers