Table of Contents
Advertisement
Quick Links
Advertisement
Table of Contents

Subscribe to Our Youtube Channel
Related Manuals for Ronix 4150


Summary of Contents for Ronix 4150
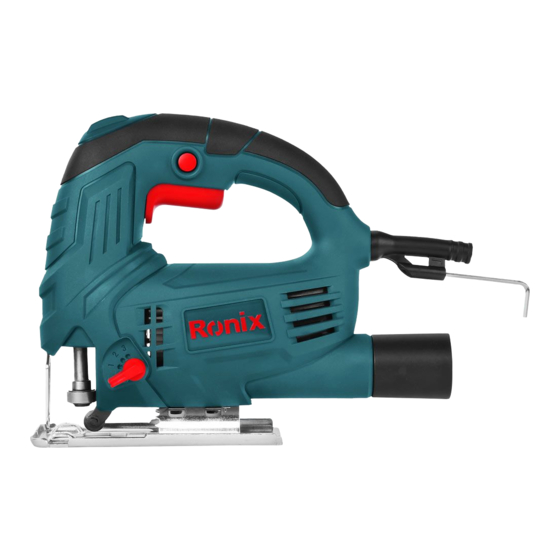
- Page 1 ELECTRIC JIG SAW 4150...
-
Page 3: Specifications
SPECIFICATIONS Cutting capacity Wood: 65mm, Steel: 8mm Voltage 220V Frequency 50HZ Rated power 550W No- load speed 1500-3000RPM Net Weight 2.0kg Accessories Spanner 1pc / Dust Port 1pc PARTS LIST Speed Control Lock-on Button On/Off Trigger Cable Hose Blade Hex Key Guard Cutting Blade... -
Page 4: Safety Instructions
SAFETY INSTRUCTIONS WARNING! WHEN USING ELECTRIC TOOLS, ALL THE SAFETY INSTRUCTIONS SHOULD ALWAYS BE OBSERVED TO REDUCE THE RISK OF FIRE, ELECTRIC SHOCK AND PERSONAL INJURY BEFORE ATTEMPTING TO OPERATE THE TOOL, PLEASE READ ALL THE INSTRUCTIONS AND SAVE IT FOR FURTHER REFERENCE. BASIC SAFETY PRECAUTIONS FOR ALL ELECTRIC TOOLS 1) Keep work area clean Cluttered area and benches invite injuries. - Page 5 Don’t wear loose clothes or jewelry. They can be caught in moving parts. Rubber gloves and non- skid footwear are recommended when working outdoors. Wear protective hair covering to contain long hair. 9) Use safety goggles Always wear safety goggles. If dust is produced, use the special masks. 10) Don’t abuse cables Never carry tool by cable or yank it to disconnect it form socket.
- Page 6 should be carefully checked to determine that it will operate properly and perform its intended function. Check for alignment of moving parts, binding of moving part, breakage of parts, mounting and any other condition that may affect its operations, A guard or other part that is damaged should be properly repaired or replaced by a qualified service center unless otherwise indicated elsewhere in the instruction manual.
-
Page 7: Operation Regulations
7) Hold the tools tightly when operating the tool. 8) Don’t lay down the tool on the ground or working table before switch it off. 9) Don’t cut the material with asbestos. When cutting some material like fiber, please wear mask. 10) When switch off the tool, don’t stop the blade by pressing, Don’t touch the blade by hand because it is quite hot when just stop working. -
Page 8: Removing The Blade
FITTING THE BLADE - Open the blade holder by screwing it to right with the key. - Insert the saw blade into the blade holder, screw back left to the first place. REMOVING THE BLADE - screw back the tool holder to left and pull the blade out of the holder. SAW BLADES INSTRUCTION The blade is supplied with customers’... - Page 9 - Tilt the shoe and set the desired bevel angle by using the scale - Tighten the shoe screw. SWITCHING ON AND OFF Note: please make sure that the switch is off when the tool plug into electricity socket. 1) To run the tool, press the on/ off switch. 2) For continuous operation , press and hold down the switch, press the lock- on button and release the switch.
-
Page 10: Setting The Pendulum Action
Using high speeds for sawing soft materials such as wood, Use low speeds for sawing metal. Please refer to below information. Working objective Control dial level Wood Sheet steel Stainless steel Aluminum Plastic SETTING THE PENDULUM ACTION The four pendulum action settings allow optimum adaptation of cutting speed, cutting capacity and cutting pattern to the material being sawed. -
Page 11: Service And Maintenance
NOTE: Please lubricate the guide rather frequently. - If necessary . draw a cutting line. - Drill a hole (¢ Min.12mm) and introduce the saw blade. Switch the tool on. follow THE LINE WHEN CUTTING STRAIGHTLY. .For pendulum cutting. Please move the tool slightly. 1) Sawing in metal . -
Page 12: Replacing The Carbon Brushes
REPAIRS Please only use accessories and spare part recommended by the Ronix. If the tool get malfunction, please hand over the tool to our dealer or appointed maintenance station. Don’t disassemble the tool by yourself or replace the parts supplied by other factories. - Page 13 WARRANTEE - All the tools we produce are with the guarantee by our company. - Damages that are attributable to improper handing, overloading, or natural wear and rear are excluded from the guarantee. - The prerequisite is that the tool is handed over assembled, and completed with the proof of sate and guarantee.
Need help?
Do you have a question about the 4150 and is the answer not in the manual?
Questions and answers