Table of Contents
Advertisement
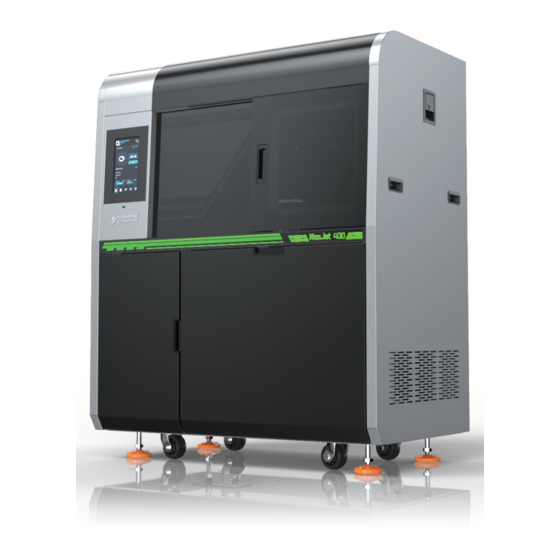
Industrial grade 3D printer 工业级3D打印机
WaxJet® 400/410
SZ07-CN/EN-A01
User Guide
用户使用说明书
Note: Please read this User Guide carefully before operating the product.Please keep this Guide properly for future reference.
注意:使用本产品时,请您先仔细阅读本产品使用说明书,再正确操作。请妥善保管本手册,以便日后查阅。
This guide is only applicable to FLASHFORGE WaxJet® 400/410 3D printer
本手册仅适用于闪铸科技 WaxJet® 400/410 3D打印机
Advertisement
Chapters
Table of Contents


Need help?
Do you have a question about the Waxjet 400 and is the answer not in the manual?
Questions and answers