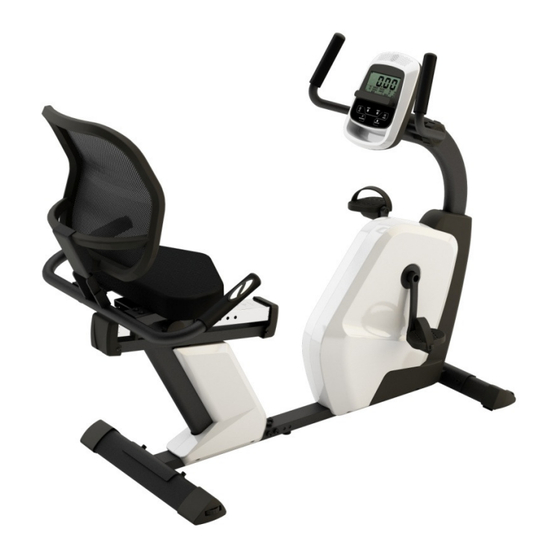
Summary of Contents for Spirit SR144B-33
- Page 1 SR144B-33 RECUMBENT BIKE OWNER’S MANUAL PLEASE CAREFULLY READ THIS ENTIRE MANUAL BEFORE OPERATING YOUR NEW RECUMBENT BIKE...
-
Page 2: Safety Hints
Safety Hints WARNING - Read all instructions before using this appliance. Do not operate recumbent on deeply padded, plush or shag carpet. Damage to ■ both carpet and recumbent may result. ■ Keep children away from the recumbent. There are obvious pinch points and other caution areas that can cause harm. -
Page 3: Assembly Pack Check List
Assembly Pack Check List STEP 1. #41- M5 × 12 mm #34- 5/16" × 19 × 1.5T #33- 5/16" × 18 × 1.5T #109- 5/16" × 3/4" Phillips Head Screw Curved Washer (1pc) Flat Washer (10pcs) Socket Head Cap (4pcs) Bolt (5pcs) #131- M5 ×... - Page 4 Assembly Pack Check List TOOL. #68- Combination M5 Allen Wrench & Phillips Head Screw Driver (1pc) #92- 6mm L Allen Wrench (1pc) #69- 14.15m/m Wrench (1pc)
- Page 5 Assembly Instructions STEP 1: 1. First, Connect the hand pulse connectors (104,94) then join Rear Main Frame (100) and Front Main Frame (1) together and use Combination M5 Allen Wrench & Phillips Head Screw Driver (68) to tighten six 5/16" × 3/4" Button Head Socket Bolts (32), six 5/16"...
- Page 6 STEP 2: 1. Use the 6mm Allen Wrench (92) to secure the front and rear stabilizers (5, 6) on the mounting brackets with four 5/16" × 3/4" Socket Head Cap Bolt (109), 5/16" split washers (35) and 5/16" flat washers (33). 2.
- Page 7 STEP 3: 1. Secure Seat (19) on the sliding seat carriage by using Combination M5 Allen Wrench & Phillips Head Screw Driver (68) to tighten four M6 × 35L Phillips head screws (55). 2. Install Seat Handle Bar (7) on the sliding seat carriage by using 6mm L Allen Wrench (92) to tight four 3/8"...
- Page 8 Console FUNCTION BUTTONS( 버 버 버 버 버 버 버 버 기 기 기 기 기 기 기 기 ) MODE 1 . 1 . 1 . 1 . 2 2 2 2 ..3 . 3 . 3 . 3 . 4 .
- Page 9 LCD display ( 화 화 화 화 화 화 화 화 표 표 표 표 표 표 표 표 LCD FUNCTIONS (LCD 기 기 기 기 기 기 기 기 설 설 설 설 설 설 설 설 ) SCAN TIME SPEED DISTANCE...
- Page 10 MONITOR OPERATION: ( 계 계 계 계 기 기 기 기 계 계 계 계 동 동 동 동 동 동 동 동 ) Power on: Select and preset target goal values: 설 정 값 설 정 값 입 력 입...
- Page 11 Body Fat – 8-1. 8-2. 8-3. 8-4. 8-5. 8-6. Note:...


Need help?
Do you have a question about the SR144B-33 and is the answer not in the manual?
Questions and answers