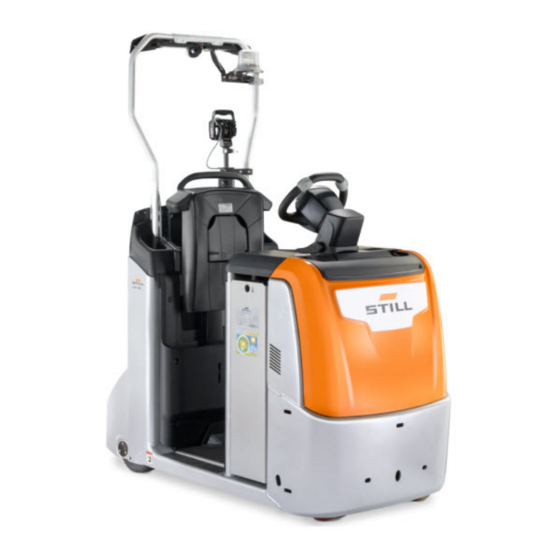
Still OPX 20 Original Instructions Manual
Order pickers and tow tractors
Hide thumbs
Also See for OPX 20:
- Original instructions manual (186 pages) ,
- Original instructions manual (236 pages) ,
- Supplement to the standard operating instructions (140 pages)
Table of Contents
Advertisement
Advertisement
Table of Contents


Need help?
Do you have a question about the OPX 20 and is the answer not in the manual?
Questions and answers
what this error code is mean? L330