Advertisement
Thank you for your purchase of this unique product for your
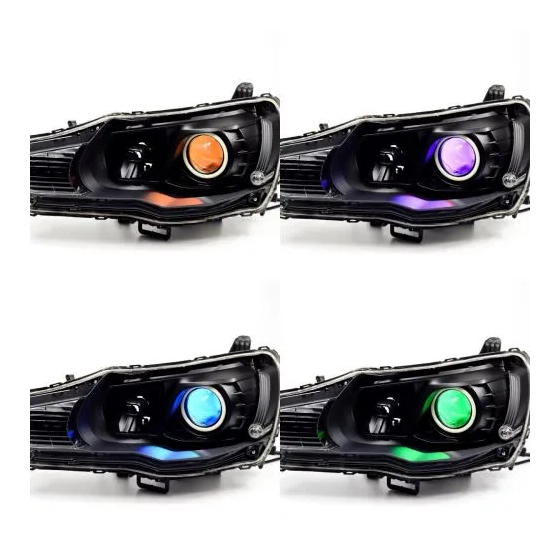
projector housing! With these modules, you will be able to add
full multicolor functionality to your projector housing. This guide
describes the installation process for installing the Demon Eyes
in a Mini H1 projector housing. The Demon Eyes can be custom
mounted with adhesive for any other size projectors.
Please note: Headlights must be opened before proceeding with installation. Professional installation
is strongly recommended. Please contact Diode Dynamics if you need assistance locating an installer.
Tools Needed: Pliers, small Phillips Screwdriver
PAGE 1
RGBW™ Demon Eyes (Universal)
Installation Guide
1. To begin, attach the Demon Eye to the top of the
included bracket, using one of the included locking
screws and locknuts. Ensure the locknut is on the
bottom side of the Demon Eye. Be sure to thread the
locking screw and locknut first and then tighten using
pliers and a small Philips screwdriver.
2. Next, mount the Demon Eye inside the projector
housing, ensuring the Demon Eye board is inside the
shroud. The bracket can be mounted on either the
front or the back side of the projector housing.
Using the mounting holes and included locking screws,
secure both sides of the bracket to the housing. Again,
thread the locking screws and locknuts and then
tighten using pliers and a small Philips screwdriver.
(314) 205-3033
3 YEAR
WARRANTY
See back for further instructions.
WWW.DIODEDYNAMICS.COM
Advertisement
Table of Contents

Related Manuals for Diode Dynamics Demon Eyes


Summary of Contents for Diode Dynamics Demon Eyes
- Page 1 Please note: Headlights must be opened before proceeding with installation. Professional installation is strongly recommended. Please contact Diode Dynamics if you need assistance locating an installer. Tools Needed: Pliers, small Phillips Screwdriver 1.
- Page 2 If you need more help with installation, watch our step-by-step video to walk you through the process. Please contact Diode Dynamics should you have any questions about the installation or wiring process, at 314-205-3033 (9a-5p CST) or contact@diodedynamics.com. www.diodedynamics.com Visit to find more products for any vehicle.
Need help?
Do you have a question about the Demon Eyes and is the answer not in the manual?
Questions and answers