Advertisement
Quick Links
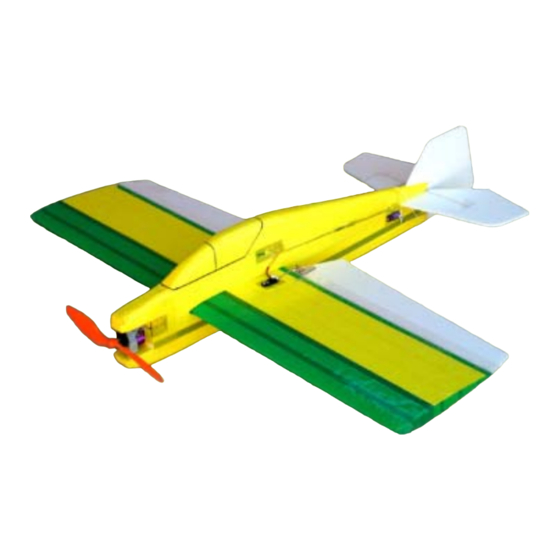
Panic
Foam 3D Flyer
Panic Specifications
Length: 36 in.
Wingspan: 36in.
2
Wing Area: 396in
Weight (without battery): 12-13oz.
Thank you for purchasing the Panic. This plane is an aileron/elevator/rudder setup, designed for
the intermediate pilot who wants a robust 3D plane. Built properly, the Panic should survive the
majority of crashes you are likely to experience learning to fly 3D.
Sincerely,
Doug Binder
doug@mountainmodels.com
Mountain Models
465 D Street
P.O. Box 762
Penrose, CO 81240
www.mountainmodels.com
Phone: 719.372.6727
Advertisement

Related Manuals for Mountain Models Panic


Summary of Contents for Mountain Models Panic
- Page 1 Thank you for purchasing the Panic. This plane is an aileron/elevator/rudder setup, designed for the intermediate pilot who wants a robust 3D plane. Built properly, the Panic should survive the majority of crashes you are likely to experience learning to fly 3D.
-
Page 2: Before You Begin
Before You Begin Before you begin building your Panic, make sure you read and understand all of the instructions thoroughly. Additionally, you will need to have the following items. Check to make sure that all of your parts are there and in good shape, and review a couple quick building tips to make this whole process go quicker and easier. - Page 3 Assembly Instructions Okay, so now you are ready to actually build the Panic. If you follow these simple instructions, we can have you flying in no time! The Entire Process A to Z Well, I suppose if you want to get technical, it is W to E (wings to electronics), but that wouldn't make much sense…...
- Page 4 I like to add about 1/32” more gap than the length of the servo. Covering the Wing Next, you are going to cover the Panic using either colored wing tape, or clear packing tape. You can use additional colored tapes to give your wing detail.
- Page 5 Follow along carefully as there are a few critical steps along the way. 1. Glue the two fuselage halves together. You can use epoxy, white glue, or foam safe CA. Hold the fuselage halves together with tape till the glue sets. Take great care to keep the fuselage straight. Mountain Models Panic...
- Page 6 Make sure to wrap completely around the rear of the fuselage. When you are done taping, you will need to go back and cut the tape away from the various openings in the fuselage. Mountain Models Panic...
- Page 7 Glue with epoxy. Ensure both elevators remain flat while the glue dries. Mountain Models Panic...
- Page 8 Slide a control horn into the plate and epoxy the plate and horn to the top of the elevator into the provided slot. The horn will be in the right elevator. 5. Follow the same procedure for the rudder horn. The rudder horn will be on the left side of the rudder. Mountain Models Panic...
- Page 9 Be very careful shrinking the tubing as the foam melts easily. Once the pushrods are adjusted to the correct length, carefully place a drop of thin CA on the end of he heat shrink so that it will wick into the tubing. This creates a very strong joint. Mountain Models Panic...
- Page 10 Velcro. Do not make a cutout in the fuselage for the ESC as the ESC must be exposed to the air for cooling. Connect the battery and the motor to the ESC, following the guides on the controller itself. Mountain Models Panic...
- Page 11 If the plane rocks to one side, the balance is off. I found that, on my Panic, a quarter and a nickel on the wingtip opposite the battery balances the plane nicely. I cut a slit in the end of the wing and pressed the coins into the slit.
- Page 12 Addendum – Adding landing gear While the Panic does not need gear, the kit comes with hardware to add it if you desire. You will need to supply wheels that will fit on 3/32” axles. Start by bending the 3/32” x 16” music wire as shown. The point in the image is the center of the wire.
Need help?
Do you have a question about the Panic and is the answer not in the manual?
Questions and answers