Advertisement
Quick Links
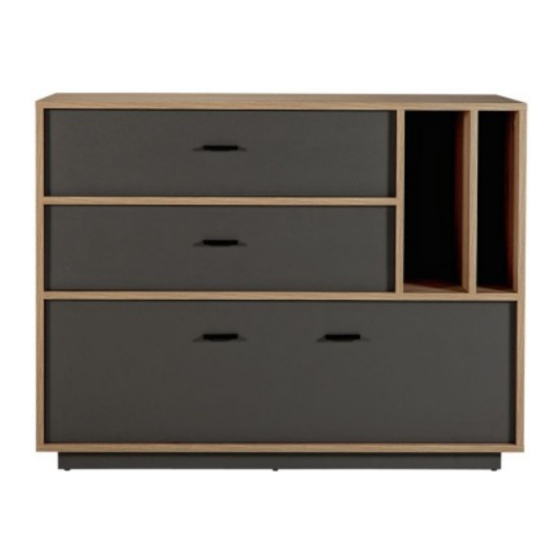
Darcy - 1 Door 2 Drawers Sideboard
Assembly Instructions - Please keep for future reference
424/5366
Dimensions
Width - 120 cm
Depth - 50 cm
Height - 91.6 cm
Important
- Please read these instructions fully before starting assembly
If you need help or have damaged or missing parts, call the Customer Helpline: 0845 6400 800
Issue 1 -03/06/2015
1
Advertisement

Related Manuals for Argos Darcy 424/5366


Summary of Contents for Argos Darcy 424/5366
- Page 1 Darcy - 1 Door 2 Drawers Sideboard Assembly Instructions - Please keep for future reference 424/5366 Dimensions Width - 120 cm Depth - 50 cm Height - 91.6 cm Important - Please read these instructions fully before starting assembly If you need help or have damaged or missing parts, call the Customer Helpline: 0845 6400 800 Issue 1 -03/06/2015...
- Page 2 Safety and Care Advice Important - Please read these instructions fully before starting assemb ly • Check you have all the • Assemble on a soft level • Dispose of all packaging components and tools listed on surface to avoid damaging the carefully and responsibly.
- Page 3 If you have damaged or missing components Component - Panels call the Customer Helpline: 0845 6400 800 Please check you have all the panels listed below Vertical Rear top (117.6 x 46.5cm) partition top (44.9 x 47.8cm) Left side Right side (82.5 x 49.8cm) (82.5 x 49.8cm) Rear bottom...
- Page 4 Components - Fittings Please check you have all the fittings listed below Wooden dowel x 70 Hinge plate x 2 Door hinge x 2 (8x35) Locking nut x20 5x13mm Screw x 12 ( 15x13) 4x13mm Screw x 4 Hexagon bolt x 14 Cap x 20 Metal dowel x 20 (7x50)
-
Page 5: Tools Required
Tools required Phillips screwdriver Small (medium & large) hammer Ruler/tape Flatblade screwdriver Drill measure (medium) Eye protection 8mm Suitable drill bit (when using a & (for use with wall plug) Punch hammer or glue) Assembly Instructions Step 1 Step 1 a: Inserting dowels and locking nuts Insert locking nuts... - Page 6 Assembly Instructions Step 1 Step 2 a: Inserting dowels and locking nuts Insert locking nuts into the right side panel Insert wooden dowels into the right side panel Screw metal dowels WARNING! Please wear goggles or protective eyewear whilst hammering dowels in place.
- Page 7 Assembly Instructions Step 1 Step 2 Step 1 Step 3 a: Inserting dowels and locking nuts Insert locking nuts into the vertical partitions Insert wooden dowels into the vertical partitions Finished front edge Screw metal dowels WARNING! Please wear goggles or protective eyewear whilst hammering...
- Page 8 Assembly Instructions Step 1 Step 2 Step 1 Step 4 Fixing runners Position runners 40mm Finished from front edge of the vertical partition front edge Fix runners with screws Mark the top right with a punch. Screw into the hole. Step 1 Step 2 Step 1...
- Page 9 Assembly Instructions Step 6 a: Inserting dowels and locking nuts Screw metal dowels into the top Attach “hinge plates" into the bottom Step 7 Insert locking nuts into the front support Insert wooden dowels into the front support Insert wooden dowels into the long plinth Repeat with the short plinth...
- Page 10 Assembly Instructions Step 8 Fitting hinges to doors Fix 2 hinges to the flap using screws Step 9 a: Attaching plinth Attach feet to the long plinth Attach the long plinth to the short plinth WARNING! Please wear goggles or protective eyewear whilst hammering...
- Page 11 Assembly Instructions Step 10 Mounting bracket Place mounting bracket onto the assembly as shown. Mark holes with a punch and fix the bracket with screws Step 11 Attaching partitions Attach vertical partition bottom Finished front edge to the horizontal partition Use the allen key turn locking nuts clockwise to lock...
- Page 12 Assembly Instructions Step 12 Attaching panels Attach left side panel to the front support & horizontal partition Attach right side panel to the horizontal partition Fix front support to the vertical partition Use the allen key turn locking nuts clockwise to lock Step 13 Attaching top Attach top...
- Page 13 Assembly Instructions Step 14 Inserting back Slide back panels into the grooves of sides and top Step 15 Attaching bottom Attach bottom to the sides & vertical partition bottom using hexagon bolt & allen key Cover bolts with caps...
- Page 14 Assembly Instructions Step 16 Fixing rear panels Fix rear panel to back of chest using stabilizer Attach washers using screw IMPORTANT ! Cabinet MUST be “square” when back is attached.
- Page 15 Assembly Instructions Step 17 Fixing to wall It is recommended that the sideboard is fixed to a wall. With help, move sideboard into position. Mark fixing hole on wall and remove sideboard . Drill holes on the marking on the wall. Install wall bracket to the wall.
- Page 16 Assembly Instructions Step 18 Drawer assembly a: drawer back: Insert wooden dowels into the drawer back Insert 2 locking nuts into the drawer sides & . Insert wooden dowels into the drawer sides . WARNING! Please wear goggles or protective eyewear whilst hammering dowels in place.
- Page 17 Assembly Instructions Step 19 Drawer assembly Attach drawer front to the drawer sides Use the allen key turn locking nuts clockwise to lock Cover cams with caps b: Attach drawer base using screws & stabilizer IMPORTANT! Drawer MUST be “square” when base is attached.
- Page 18 Assembly Instructions Step 20 Hanging flap a: slot flap hinges onto ‘hinge plates’. b: Tighten screw shown to lock hinges in position. Insert drawers to the cabinet. Fix flap stay the flap using screws Attach bumper onto the vertical partition bottom Attach door handles using screws Assembly is complete.
Need help?
Do you have a question about the Darcy 424/5366 and is the answer not in the manual?
Questions and answers