Table of Contents
Advertisement
Quick Links
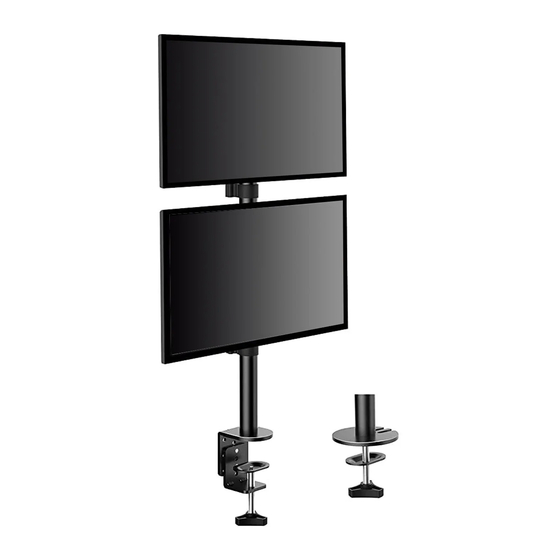
Monitor Table Stand
Website:
www.huanuoav.com
Instruction Manual
Model: HNHM5
Thank you for choosing this HUANUO product! At HUANUO
we strive to provide you with the best quality products and
services in the industry. Please share your experience of our
product with others at www.huanuoav.com/reviews if you
are satisfied. Should you have any issues, please don't
hesitate to contact us.
Technical Support:
1-800-556-0533 Mon-Fri 10am - 5pm (PST) (USA) (CAN)
Other Info:
support@huanuoav.com (US/CA)
3
Advertisement
Table of Contents

Subscribe to Our Youtube Channel
Related Manuals for HUANUO HNHM5


Summary of Contents for HUANUO HNHM5
- Page 1 Monitor Table Stand Instruction Manual Model: HNHM5 Thank you for choosing this HUANUO product! At HUANUO we strive to provide you with the best quality products and services in the industry. Please share your experience of our product with others at www.huanuoav.com/reviews if you are satisfied.
- Page 2 UNPACKING INSTRUCTIONS AND IMPORTANT SAFETY INFORMATION •Carefully open the carton, remove contents and lay out on cardboard or other protec- tive surface to avoid damage. •Check package contents against the Supplied Parts and Hardware Lists to assure that all components were received undamaged. Do not use damaged or defective parts. •Not all parts and hardware included will be used.
- Page 3 Connect Upper Pole to Lower Pole Step 1 STEP 1-1 Loosen the screw [S] on pole [02] using Allen key [E] D(3mm) STEP 1-2 Connect pole [01] to pole [02] STEP 1-3 Tighten the screw [S] using Allen key [E] to fix the two poles Step 2A For C Clamp Mounting STEP 2A-1...
- Page 4 STEP 2A-2 Adjust the mount according to the thickness of desktop STEP 2A-3 Install part [04] to part [03] STEP 2A-4 Secure the mount to the desktop 15/64 in.(6mm) 45mm(1 in.) <45mm 80mm(3 in.) in.) Step 2B For Grommet Mounting STEP 2B-1 Install part [08] to pole [02] 1/8 in.(3mm)
- Page 5 Step 3 Install Cable Clip & Monitor Connector to the Pole Assembly Slide the cable clip [07] and monitor Secure the monitor connectors STEP 3-1 STEP 3-2 connector [05] in sequence to the pole [05] to the pole assembly assemble as shown below 15/64 in.(6mm) Check Monitor Hole Pattern and Select TV Monitor Bolts Step 4...
- Page 6 Bolt length:Verify adequate thread engagement with bolts or bolts/spacers combination. We recommend thread engagement by at least 5 turns. -Too short will not hold the monitor. -Too long will damage the monitor. Attach the Monitor Brackets to the Monitors Step 5 FLAT BACK MONITOR (UNIVERSAL MONITOR PLATE) ROUND BACK MONITOR...
- Page 7 Fix Tilt Angle of the Monitors Step 7 15/64 in.(6mm) Manage Cables Step 8 Store Allen Keys into the Cable Clip Step 9 E 15/64 in.(6mm) D 1/8 in.(3mm)
- Page 8 Warning: To avoid tipping, please be careful not to extend the monitor too far back- ward.When you adjust the angle of the monitor, please make sure the monitor is balanced to avoid instability of the center of gravity of the base. Features 180°...
Need help?
Do you have a question about the HNHM5 and is the answer not in the manual?
Questions and answers