
Related Manuals for Zodiac CADET 200 Roll Up


Summary of Contents for Zodiac CADET 200 Roll Up
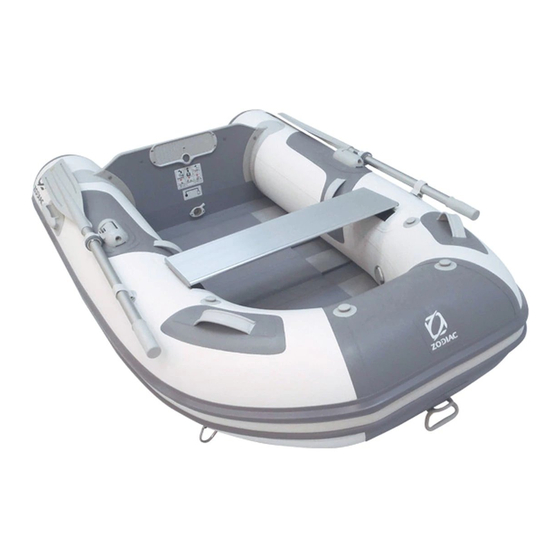
- Page 1 CADET 200 Roll Up - 230 Roll Up - 270 Roll Up 200 Aero - 230 Aero - 270 Aero - 310 Aero - 350 Aero 270 ALU - 310 ALU - 350 ALU Volume 2 1 / 12...
-
Page 2: Table Of Contents
VOLUME 2 TECHNICAL FEATURES - ASSEMBLY PROCEDURE READ THIS MANUAL CAREFULLY BEFORE USING YOUR BOAT. THE OWNER'S MANUAL COMES IN TWO VOLUMES THAT WARNING SHOULD BE KEPT TOGETHER. THE OWNER'S MANUAL IS DIVIDED INTO TWO VOLUMES: - VOLUME 1 DEALS IN GENERAL WITH THE OPERATING PRECAUTIONS AND SAFETY RECOMMENDATIONS TO BE OBSERVED ONBOARD THE BOAT AND ON THE WATER. -
Page 3: Note
ASSEMBLY PROCEDURE The boat assembly procedure follows an order you must respect. Proceed step by step, referring each time to the pages indicated for explanations. PROCEDURE PAGE SECTION CHECK ON UNPACKING 1. Make an inventory of the parts of your boat and get to know them. -
Page 4: Boat Assembly
BOAT ASSEMBLY CHOOSE A SMOOTH, CLEAN SURFACE IF THE BUOYANCY TUBE WAS STORED AT A TEMPERATURE BELOW 0° C / 32° F, LEAVE IT AT 20° C / 68° F FOR 12 HOURS BEFORE UNFOLDING CADET ROLL UP – BATTEN FLOORBOARD: If the battens are not installed, with the boat deflated, insert the battens in their brackets beginning with the batten nearest the aft transom. - Page 5 BOAT ASSEMBLY INSTALLING THE NAVY PLYWOOD FLOORBOARD (CADET ALUMINIUM FLOORBOARD (CADET SP ALU). • Sprinkle some starch in the angle (reinforced strip between the buoyancy tube and the bottom, see figure 1.B) to facilitate the fitting of the floorboard. CAUTION: NEVER USE TALCUM POWDER •...
- Page 6 BOAT ASSEMBLY fig 1-A fig 1-B a- floorboard b- buoyancy tube c- bow angle d- bottom fig 2 fig 3 fig 4 / 12...
-
Page 7: Inflation System
INFLATION SYSTEM The inflation system is composed of: THE HIGH PRESSURE FOOT-PUMP FOR MODELS WITH AN INFLATABLE AEROTEC FLOOR Position A The pump has maximum flow but low pressure: this position is used to give shape rapidly to all inflatable parts of the boat. - Page 8 INFLATING A NON AEROTEC BOAT (WITH BATTENS OR RIGID FLOOR) Activate all valves in the inflation position. Attach the hose connector to the inflator inflation port. To inflate your boat properly, the inflator should be correctly placed on the ground. The boat inflates rapidly if the inflator is used smoothly and without haste.
- Page 9 INFLATING A CADET AERO BOAT Activate all valves in the inflation position. Attach the hose connector to the inflator inflation port. To inflate your boat properly, the inflator should be correctly placed on the ground. The boat inflates rapidly if the inflator is used smoothly and without haste.
-
Page 10: Pressure
PRESSURE The correct pressure for the buoyancy tube and the keel is 240 mb (3.48 PSI) and the correct pressure for the Aerotech inflatable bottom is 600 mb (8.5 PSI). If your boat is not equipped with an ACCESS pressure indicator, we recommend that you purchase one from your dealer. -
Page 11: Equipment Assembly
EQUIPMENT ASSEMBLY OARS Clic THWART Install the thwart before completing inflation. 11 / 12... -
Page 12: Deflating / Folding The Boat
DEFLATING / FOLDING THE BOAT 1. Deflate the boat. 2. Replace the valve protections. 3. Remove oars and equipment. 4. Remove the floorboard (For CADET Alu only - for models with a slatted floor, It is not necessary to remove the slats to fold the boat). 5.
Need help?
Do you have a question about the CADET 200 Roll Up and is the answer not in the manual?
Questions and answers