Advertisement
Quick Links
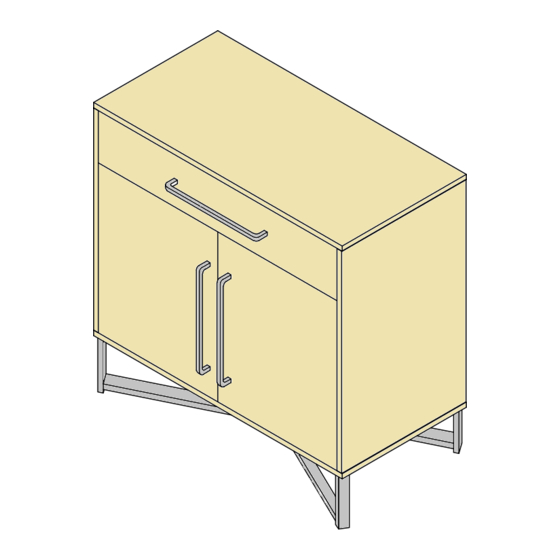
FITZ SIDEBOARD
Assembly Instructions
hygena
DIMENSIONS
Width:
80 cm
Depth:
40 cm
Height:
80 cm
Important
– Please read these instructions fully before starting assembly
If you need help or have damaged or missing parts, call the Argos Aftersales
Helpline: 0345 640 0800
- Please keep for future reference
614/9305
Issue 1-22/09/2016
Advertisement

Related Manuals for hygena 614/9305


Summary of Contents for hygena 614/9305
- Page 1 FITZ SIDEBOARD Assembly Instructions 614/9305 - Please keep for future reference hygena DIMENSIONS Width: 80 cm Depth: 40 cm Height: 80 cm Important – Please read these instructions fully before starting assembly If you need help or have damaged or missing parts, call the Argos Aftersales...
- Page 2 To reduce the likelihood of damaging your product, please ensure that your power drill is set on a low torque setting.
- Page 3 Top board Side board Side board Divider ( 80 x 40 CM) ( 62 x 40 CM) (62 x 40 CM) (76.9 x 38.4 CM) Divider Back board Back board x 2 Shelf x 2 (45 x 38.4 CM) (77.9 x 16.5 CM) (38.7 x 46 CM) (37.5 x 36 CM) Door...
- Page 4 CAMLOCK SCREW (35MM )X 12 CAMLOCK NUT( Ø15MM )X 12 CAMLOCK SCREW (25MM )X 8 CAMLOCK NUT( Ø12MM) X 8 WOODEN DOWEL( Ø8 X 30MM ) BOLT ( Ø6 X 12MM ) X 5 X 18 BOLT ( Ø6 X 45MM ) X 4 SCREW ( Ø3.5 X 12MM ) X 8 SCREW ( Ø3.5 X 16MM ) X 8 SCREW ( Ø3.5 X 30MM ) X 4...
- Page 5 Step 1 a: Position runner on side board 2 and fix into place using 2 x screw b: Insert 2 x camlock screw x wooden dowel into side board 2 . c: Repeat the above for side board 3 . d: Attach side board 2 &...
- Page 6 Step 3 a: Insert 2 x wooden dowel side board 2 & 3 b: Insert 2 x camlock screw and 2 x wooden dowel divider 5 c: Attach bottom board 11 to the assembled section using 4 x bolt Align the arrow on 2 x camlock with the edge of divider 5 .
- Page 7 Step 5 a: Attach 2 x fabric strip to top board 1 using 2 x screw b: Insert 4 x camlock screw top board 1 . Slide back board 6 into the assembled section. d: Insert 4 x wooden dowel side board 2 &...
- Page 8 Step 7 Insert 2 x pivot pin into side board 2 . Put 2 x shelf 8 into the assembled section. Step 8 Attach 2 x hinge to door 9 & 10 using 4 x screw for each door.
- Page 9 Step 9 a: Attach door 9 & 10 to the assembled section using 8 x screw for each. b: Attach handle to door 9 & 10 using 2 x screw for each. Step 10 a: Insert 6 x camlock screw and 2 x wooden dowel drawer front 12 .
- Page 10 e: Attach board 15 to the assembled section using 4 x screw Align the arrow on 2 x camlock with the edge of drawer bottom support 17 . Rotate all camlock nuts clockwise for about 1/4 or 1/2 a turn or until the bolts “connects” with the screw and is secure.
- Page 11 Step 12 a: Fixing to wall Note: Wall plugs supplied are Attach the wall strap kit for solid wall only. as shown on the drawing. The correct type of fixing must be used for your wall, seek professional advice if in doubt Warning: In order to prevent overturning this...
-
Page 12: A Guide To - Wall Mounting & Fixings
A Guide to - Wall Mounting & Fixings Important: When drilling into walls always Important note: check that there are no hidden wires or pipes etc. If plastic wall plugs Make sure that the screws and wall plugs being used are supplied with your are suitable for supporting your unit.
Need help?
Do you have a question about the 614/9305 and is the answer not in the manual?
Questions and answers