Advertisement
Advertisement
Table of Contents

Related Manuals for WATSON C9 Cart & Garage


Summary of Contents for WATSON C9 Cart & Garage
- Page 1 ASSEMBLY C9 Cart & Garage 360.394.1300 watsonfurniture.com V.2.00 09/2019...
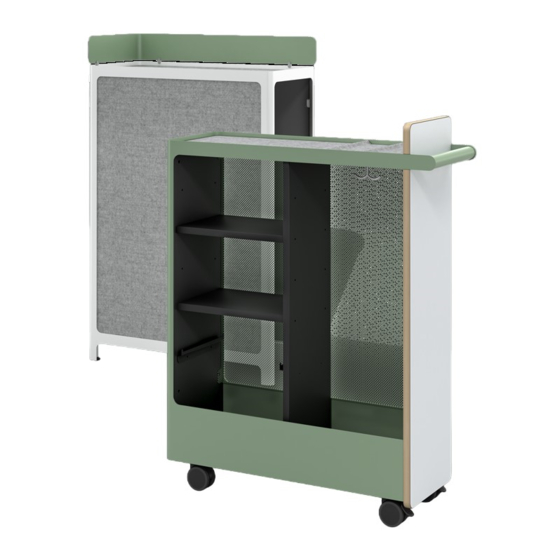
- Page 2 C9 Cart & Garage Basic Components Optional 10” Topper Optional 4” Topper Garage Cart Hardware (for Toppers only) H-Clip Set Screw Cone M4-0.7x5mm (0001308/0001201) (0001344) Tools 3mm Hex Key 2 C9 CART & GARAGE ASSEMBLY INSTRUCTIONS...
- Page 3 Reversing Cart Handedness Detach Side-screen The side-screen comes pre-installed per the handedness on the order. If reversing the hand is needed, remove the four M6 low profile screws that attach the screen, two at the top and two at the bottom of the screen, using a 3mm Hex Key and set aside. Removing Screen Slide screen downward until the top corners are able to be pulled outwards.
- Page 4 Installing Optional Topper Accessory Prepare Clips Loosely insert two set screws into each H-Clip. Place Clips on Topper The handedness of the Cart & Garage determines which side to mount the Topper, shown is a left- handed assembly. Place the clips on the bottom side of the Topper, aligned with the ends of the slots, as shown.
- Page 5 Place Topper onto Garage Place the Topper assembly onto the Garage mounting the other side of the H-Clips onto the Garage Frame. The short side of the Topper should be inline with the back of the Garage, as shown. Tighten the set screw that clamps the H-Clip to the Garage frame.
Need help?
Do you have a question about the C9 Cart & Garage and is the answer not in the manual?
Questions and answers