Table of Contents
Advertisement
Quick Links
Advertisement
Table of Contents

Related Manuals for ADJ MB DMX II


Summary of Contents for ADJ MB DMX II
- Page 1 MB DMX II User Manual...
- Page 2 ©2021 ADJ Products, LLC all rights reserved. Information, specifications, diagrams, images, and instructions herein are subject to change without notice. ADJ Products, LLC logo and identifying product names and numbers herein are trademarks of ADJ Products, LLC. Copyright protection claimed includes all forms and matters of copyrightable materials and information now allowed by statutory or judicial law or hereinafter granted.
-
Page 3: Table Of Contents
C O N T E N T S General Information Warranty Safety Guidelines Maintenance Guidelines Description & Features DMX Setup Operation UC IR & Airstream App Control Mounting Breaker Reset DMX Traits Dipswitch Settings Specifications... -
Page 4: General Information
G E N E R A L I N F O R M AT I O N INTRODUCTION Please read and understand all instructions in this manual carefully and thoroughly before attempting to operate these products. These instructions contain important safety and use information. UNPACKING The products in this kit have been thoroughly tested and have been shipped in perfect operating condition. - Page 5 All shipping charges must be pre-paid. If the requested repairs or service (including parts replacement) are within the terms of this warranty, ADJ Products, LLC will pay return shipping charges only to a designated point within the United States. If the entire instrument is sent, it must be shipped in its original package. No accessories should be shipped with the product.
-
Page 6: Safety Guidelines
This device is a sophisticated piece of electronic equipment. To guarantee a smooth operation, it is important to follow all instructions and guidelines in this manual. ADJ PRODUCTS, LLC. is not responsible for injury and/or damages resulting from the misuse of this device due to the disregard of the information printed in this manual. -
Page 7: Maintenance Guidelines
M A I N T E N A N C E G U I D E L I N E S DISCONNECT POWER BEFORE PERFORMING ANY MAINTENANCE! CLEANING Frequent cleaning is recommended to insure proper function, optimized light output, and an extended life. -
Page 8: Description & Features
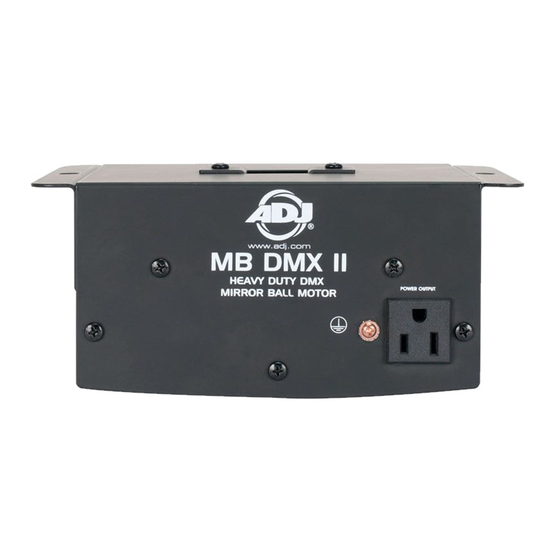
D E S C R I P T I O N The MB DMX II motor can control up to 4 units simultaneously and allow for a synchronized motor rotation and universal speed. Circuit Breaker protection is included. The MB DMX II motor is meant for indoor use only. -
Page 9: Dmx Setup
Power Supply: Before plugging your unit in, be sure the source voltage in your area matches the required voltage for your ADJ MB DMX II. DMX-512: DMX is short for Digital Multiplex. This is a universal protocol used by most lighting and controller manufactures as a form of communication between intelligent fixtures and controllers. - Page 10 2 and 3 of a male XLR connector (DATA + and DATA -). This unit is inserted in the female XLR connector of the last unit in your daisy chain to terminate the line. Using a cable terminator (ADJ part number Z-DMX/T) will decrease the possibilities of erratic behavior. 3-Pin to 5-Pin Cable Adapter Some manufactures use 5-pin DMX- 512 data cables for DATA transmission in place of 3-pin.
-
Page 11: Operation
XLR connector only. The last unit in the chain will use the male XLR connector only. For longer cable runs we suggest a terminator at the last fixture. 2. Select a MB DMX II to be the “primary” unit. Locate the dipswitches on the side of the unit and flip dipswitch 10 to the “on” position. - Page 12 1. The MB DMX II uses two DMX channels. Channel one controls power sockets located on the side of the unit. Channel two control the motor’s rotation speed and direction.
-
Page 13: Uc Ir & Airstream App Control
30 feet away. To use the ADJ UC IR you must first connect the included IR receiver cable. Connect this cable to the mini input jack located on the side of the unit near the dipswitches. - Page 14 M I N I / C C O N T R O L Optional MINI/C (Not Included): The optional MINI/C controller allows all linked units to blackout. This unit will only blackout the fixtures and will not change or select different programs.
-
Page 15: Mounting
M O U N T I N G The MB DMX II ships with a built-in rigging point, and two large holes in the base of the unit used as safety cable attachment points. The rigging point is located on the top of the unit. This rigging point is secured to the fixture by two large Phillips screws. -
Page 16: Breaker Reset
C I R C U I T B R E A K E R This unit is equipped with a 3A Circuit Breaker, or GFI (Ground Fault Interrupt). This circuit breaker is designed to close the power circuit in the event of an internal short or power surge. This will reduce the risk of electrical shock or fire and protect the circuitry. -
Page 17: Dmx Traits
D M X T R A I T S : C H A N N E L F U N C T I O N S A N D VA L U E S The chart below details the DMX traits in depth. The individual trait can only be accessed by using a universal DMX controller. -
Page 18: Dipswitch Settings
D I P S W I T C H S E T T I N G S The charts below details the Primary/Secondary setting for Primary/Secondary configuration. Use this configuration when you will be using two or more fixtures in a Master/Slave configuration. Note: The “Primary”... -
Page 19: Specifications
S P E C I F I C AT I O N S • Heavy Duty DMX Mirror Ball Motor • Includes two 3-prong Edison socket to power Pinspots • 2 DMX Channels: • Channel 1: Turns On/Off Pinspots • Channel 2: Adjustable motor speed and direction control of mirror ball;...
Need help?
Do you have a question about the MB DMX II and is the answer not in the manual?
Questions and answers