go-e HOME+ Quick Reference Manual
Hide thumbs
Also See for HOME+:
- Operating instructions manual (30 pages) ,
- Short instructions (4 pages) ,
- Quick reference manual (21 pages)

Related Manuals for go-e HOME+


Summary of Contents for go-e HOME+
- Page 1 go-eCharger 11/22 kW KURZANLEITUNG (EN) Quick reference guide (DA) Kvikguide (FI) Pika-aloitusopas (SV) Snabbguide Version 3.0...
-
Page 2: Table Of Contents
Installation ................6 Observe all safety regulations (from page 16) and instructions in this quick reference guide! | Download the complete operating instructions and data sheet: www.go-e.co/downloads. | Read all documents carefully and keep them for future reference. Inbetriebnahme/Laden ............10 1. -
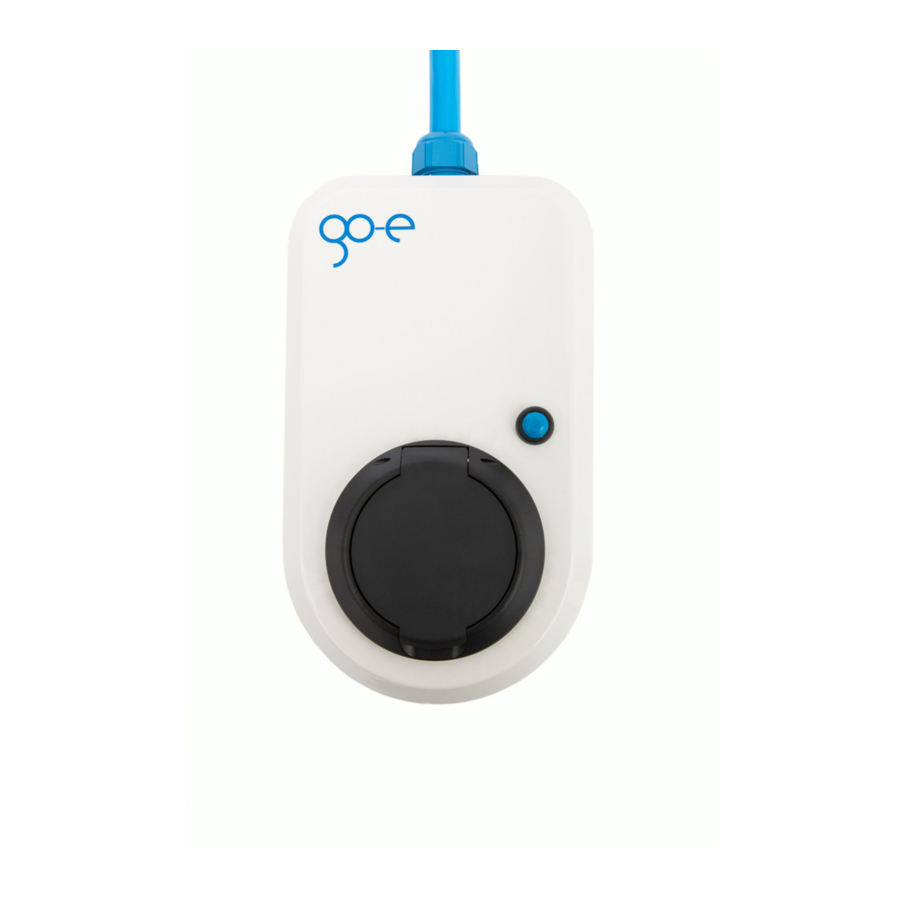
Page 3: Produktübersicht
2. Produktübersicht 2. Product overview RFID chip Back Reset card 16/32 A CEE red plug (HOME+11/22 kW) Rating plate Housing Fine wire fuse RFID reader Sealed screw Button LED ring RFID-Chip Type 2 socket 2. Produktoversigt Resetkarte RFID-chip Bagside Resetkort 16/32 A CEE rødt stik (HOME+11/22 kW) -
Page 4: Installation
3. Installation 3. Installation Required tools Enclosed mounting material Place the wall bracket in the desired mounting posi- tion and align it straight. Mark the drill holes. Pencil Dowel 8 x 40 mm Spirit level Screws for wall bracket 4.5 x 50 mm Drill holes at the four marked positions. - Page 5 3. Installation 3. Installation Attach the wall bracket with four screws and dowels each. Integrated RCD protection module with direct current detection (30 mA AC, 6 mA DC). Compensate possible unevenness of the wall with spacers. Only a type A RCD is required on the building side, unless Befestigen Sie die Wandmontageplatte Hook the go-eCharger into the wall bracket.
-
Page 6: Inbetriebnahme/Laden
4. Inbetriebnahme/Laden 4. Commissioning/Charging Connect the go-eCharger HOME+ directly to a red CEE The go-eCharger is ready for operation. socket or to a suitable socket using an original go-e adap- ter. ton (customisable via app). Schließen Sie den go-eCharger HOME+ HOME+ 11 kW = 16 A The go-eCharger starts and performs a self-test. - Page 7 4. Inbetriebnahme/Laden 4. Commissioning/Charging Connect the go-eCharger and the vehicle via a type 2 char- The charging process is completed when the LEDs light up ging cable. green. The Charger is ready for charging and is awaiting release Cancel charging prematurely? Verbinden Sie den go-eCharger und das by the car.
-
Page 8: App
4. Följ sedan anvisningarna i appen 2. Skanna resetkortets QR-kod 3. Öppna go-eCharger-appen ”Internet”) om det är tillåtet att ansluta till go-e Cloud 1. Aktive Hotspot-Verbindung erforder- 4. Välja laddare och använda den lokalt 6. Koppla från anslutningen till laddarens hotspot och styr... -
Page 9: Sicherheitsbestimmungen/Hinweise
CEE rot 32 A, 3-phasig, 400 V oder mit original go-eCharger Adapter für HOME+ 22 kW an: CEE rot 16 A, 3-phasig, 400 V / CEE blau 16 A, 1-phasig, 230 V / CEE blau 32 A, 1-phasig, 230 V / Schutzkontaktstecker 16 A, 1-phasig, 230 V | Verwenden Sie stets original go-e Adapter. Beim Generelle sikkerhedsbestemmelser: go-eCharger må... -
Page 10: Ce-Konformitätserklärung
32 A, 3-vaihe, 400 V, tai alkuperäisellä go-eCharger-sovittimella, joka on tarkoitettu HOME+ 22 kW:lle: CEE punainen 16 A, 3-vaihe, 400 V / CEE sininen 16 A, 1-vaihe, 230 V / CEE sininen 32 A, 1-vaihe, 230 V / suko-pistoke 16 A, 1-vaihe, 230 V | Käytä aina alkuperäistä go-e-sovitinta. go-eCharger HOME+ 22 kW mahdollistaa latausvirran automaattisen alentamisen 16 A:iin kytkemällä...
Need help?
Do you have a question about the HOME+ and is the answer not in the manual?
Questions and answers