Kogan KAPWDBIDETA User Manual
Smart wash & dry electric bidet toilet seat
Hide thumbs
Also See for KAPWDBIDETA:
- User manual (28 pages) ,
- Quick start manual (20 pages) ,
- Quick start manual (20 pages)
Table of Contents
Advertisement
Quick Links
Advertisement
Table of Contents

Related Manuals for Kogan KAPWDBIDETA


Summary of Contents for Kogan KAPWDBIDETA
- Page 1 SMART WASH & DRY ELECTRIC BIDET TOILET SEAT KAPWDBIDETA...
-
Page 3: Safety And Warnings
SAFETY & WARNINGS Read all instructions before use and retain this user guide for future reference. Read all following safety precautions carefully before use. All images within this user guide are for reference only, refer to the actual product. Symbols on the product and in this user guide: Warning: Failure to follow instructions with this symbol may result WARNING! in serious injury or death. - Page 4 Block Fall out of the cushion • The continued used of the product, by ignoring the above faults, may result in fire, electric shock, heat, short circuit, injury and indoor water seepage. • Do not use any type of water except tap water or drinkable well water (underground water).
- Page 5 • When removing the plug from wall outlet, remove by holding the plug. Do not pull on the cord. • If the power soft wire is broken, cease use immediately and contact Kogan.com for replacement or repair. • Turn off the power before doing any general maintenance or spot checks. Nozzle clean will require power to check.
- Page 6 inflammation due to poor water quality. It may cause fire or overheating if the power supply is always connected. • Confirm that the filter is screwed to correct position installed, prior to using. It may cause water leakage if not screwed tight. •...
- Page 7 DIMENSIONS...
- Page 8 COMPONENTS Ensure you have all of the components listed in this user guide before disposing of any packaging. Toilet Seat User guide Front wash nozzle Rear wash nozzle PE Intel Pipe Rubber gasket Spanner T Valve with filter Rubber sleeves Mounting bolts (x2) Metal gasket (x2) Fix bracket...
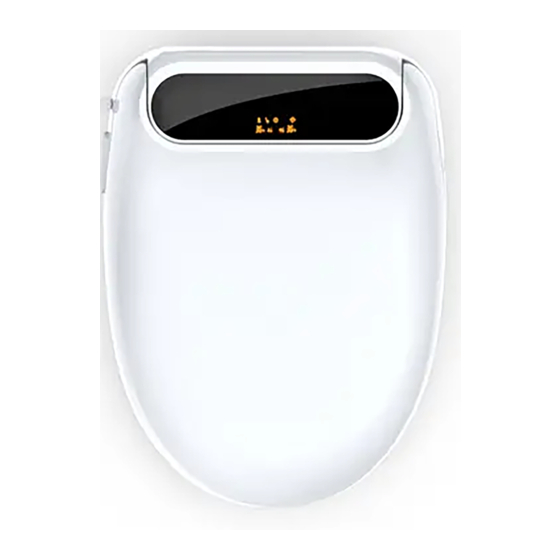
- Page 9 OVERVIEW Cushion pad Toilet lid LED Display Damper Dryer outlet Water inlet Deodorizing box (inside) Nozzle for rear wash Control panel Nozzle for front wash Seat Seat sensor switch Note: Ensure the screen protector is removed prior to first use.
-
Page 10: Installation
INSTALLATION Precautions before Installation • Before installation ensure toilet wall, floor tiles, ceramic toilet have all been installed. Your bathroom should have water supply and power socket nearby toilet. • Water pressure should be between 0.06Mpa (flow) - 0.75MPa (Static), water temperature 5°C - 35°C. - Page 11 2. Toilet Seat Installation Remove original toilet seat Bolt • Loosen bolts with wrench • Remove the nut and gasket, Toilet remove the toilet seat seat Gasket Nuts Release Install fix bracket • Before the installation, place the product on the toilet bowl to check for correct fitting.
- Page 12 3. Install bidet • Aim the bottom card slot of the seat to the edge of fixed bracket, slide in gently. You will bracket hear a “click” sound when it is correctly placed. Bidet • Ensure the bidet fits into the area before placing, then lift bidet to fit it in correct position.
- Page 13 5. Installing the Remote Bracket • Ensure the installation area is thoroughly cleaned and dry before proceeding. Apply the supplied double sided tape to the rear of the remote bracket. • Adhere the remote control bracket to the wall pressing firmly. Allow the remote bracket to bond for 15 minutes before placing the remote control in it.
-
Page 14: Operation
OPERATION Preparation for Water Supply and Test for Operation Insert the power plug into the electrical socket. When the indicator light is on, water starts to flow into the inner water tank. The process will take approximately 11 seconds. Water then sprays out from the nozzle. All indicator lights will then turn off with a sound. - Page 15 Confirm the power icon in LED display is on. Power If the power light on the product indicator panel is not lit, all functions will be unavailable. Press the power button on the control panel to activate. Controls & Display This product is controlled mainly using the remote control, with the control panel as a secondary measure.
- Page 16 Remote Control This product is controlled mainly using the remote control, with the control panel as a secondary measure. Rear wash/ Oscillating Front wash/ Oscillating Dryer Strong / Deodoriser Front/Nozzle Stop Back/ Power Weak / Night light saving Indicators Seat temp Water temp Lady care Strong wash...
- Page 17 Rear wash/Oscillating: Press this button and the rear wash nozzle will extend for operation. Press again to change to rear oscillating cleansing. The #1 indicator will blink on the remote control, while the nozzle repeatedly swings back and forth. Press again to stop oscillating cleansing and switch back to rear wash.
- Page 18 Water temperature adjustment: The water temperature can be adjusted between 4 different levels. Press the “Water temp” button to cycle through the preset temperatures. The number indicators will display the current setting as shown below: 36°C Room temperature 39°C 33°C (No indicator) (#1) (#3)
- Page 19 Child wash: A warm water gentle cleansing suitable for children. Whilst in standby press the “Child wash” button. The front wash nozzle extends out with nozzle position at the front. The water pressure is low and the temperature is set at 36°C. This operation automatic ends after 30 seconds or when the user presses the “Stop”...
- Page 20 LED Display • 1. Night light: illuminates when the night light is on. • 2. Power saving: illuminates when the power saving mode is on. • 3. Power: illuminates when the power is on. • 4. Deodoriser: illuminates when the deodoriser is enabled and user sits on the seat. •...
-
Page 21: Cleaning And Care
CLEANING & CARE Toilet bowl cleaning • Ensure the power is switched off at the power outlet and removed prior to cleaning. • Use a damp, soft cloth to wipe the toilet shelf and seat. Dirt should be cleaned as soon as possible. - Page 22 Cleaning the filter When the water pressure becomes low or insufficient, the filter will need to be cleaned. Close the water inlet valve to stop water supply. Note: Do not remove the filter without closing the valve. Otherwise, water will spray out. Remove the T valve filter.
- Page 23 Clean the filter Remove the filter and clean it thoroughly. Rinse off dirt or clean the filter with a toothbrush. Note: • Do not use any cleaning agents. Clean it with water only. • Do not use excessive force when cleaning, otherwise the filter will be deformed or damaged, affecting normal use.
- Page 24 Extended periods without use If the toilet set is not being used for an extended period of time. Turn off the inlet valve and power supply. Do not turn off the inlet valve and power if the room temperature will be lower than 0°C, your bidet will enter the anti-freeze program automatically.
-
Page 25: Specifications
SPECIFICATIONS Rated voltage AC 220-240V, 50Hz 1520W (When the inflow water is 15 degrees, set the Rated power consumption outflow temperature and strength to the maximum.) Power cord length 1.5m Dimensions 508 x 381 x 125mm Cleansing and flushing Water pressure range 0.06MPa (dynamic)-0.75MPa (Static) Water pressure adjustment Adjustable in 4 levels... -
Page 26: Troubleshooting
Seat and cover are loose Fixed bolts are loose Tighten the bolts No response when Reboot or contact Key fault pressing the key Kogan.com for assistance Check whether the water supply to bidet is normal. Product ‘Buzz’ three The heater has entered self- Disconnect the power and times and then turns off. - Page 27 NOTES...
- Page 28 Need more information? We hope that this user guide has given you the assistance needed for a simple set-up. For the most up-to-date guide for your product, as well as any additional assistance you may require, head online to help.kogan.com...
Need help?
Do you have a question about the KAPWDBIDETA and is the answer not in the manual?
Questions and answers