
Related Manuals for RTA Techni Mobili RTA-8855


Summary of Contents for RTA Techni Mobili RTA-8855
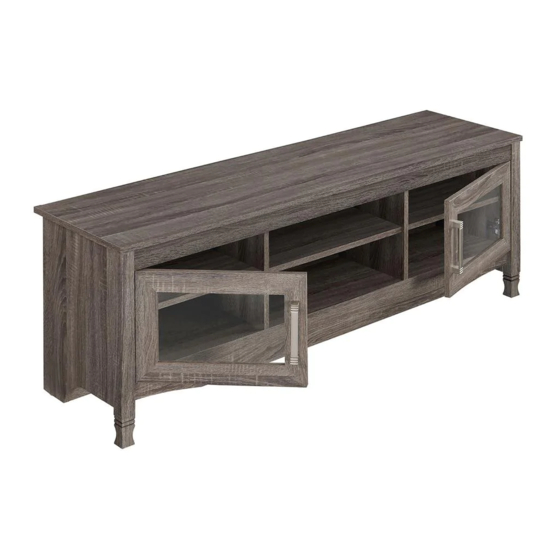
- Page 1 ASSEMBLY INSTRUCTION Thanks for purchasing one of our products. Please read carefully the assembly instructions before the installation. Please save this manual for future reference.
- Page 3 -Top Panel x1 Side Panel - L x 1 Side Panel - R x 1 Side Panel Side Panel Stand Panel x 2 Profile-L x 1 Profile-R x 1 - Back Leg Panel x 1 - Front Leg Panel x 1 Top Crossbar x 1 - Door x 2 - Back Panel x 1...
- Page 6 ATTENTION: DO NOT JOIN ANY PARTS IN THIS STEP! ATTENTION: Make sure to insert the Wooden Pin in the correct holes, as some other holes are intended for the Insert the wooden pins (1) into the corresponding holes of panels (B), (C), (D), (G), (J), (K) and (L) as shown.
- Page 7 Insert and align the cam locks (2) into the corresponding holes on panels (C) and (D) as shown and as explained on page 4. Then assemble the panel (E) to panel (C) and the panel (F) to panel (D) as explained on page 4.
- Page 8 (VIEW FROM THE BACK OF THE STAND) Insert and align the cam locks (2) into the corresponding holes on panel (B) as shown and as explained on page 4. Then assemble the panel (D) to panel (B) as explained on page 4. (VIEW FROM THE BACK OF THE STAND) Insert and align the cam locks (2) into the corresponding holes on panels (J) and (K) as shown and as explained on page 4.
- Page 9 (VIEW FROM THE BACK OF THE STAND) Insert and align the cam locks (2) into the corresponding holes on panels (J) and (K) as shown and as explained on page 4. Then assemble the panels (C/E) to the rest of the panels in this step as explained on page 4.
- Page 10 Assemble the back panel (N) to the back side of the unit with nails (10) according to the illustration. Then assemble the corner brackets (12) to the top corners of the unit using screws (13). Finally, assemble the L brackets (6) to the panels (B/J/K) using screw (7) as shown. Place the metal pins (9) into the corresponding holes on panels (C/D/G) at the level of your preference, and then place the shelves (I) on the 2 sides, and the shelf (H) in the center.
- Page 11 Assemble the hinges (3) to both doors (M) using screws (4) as shown. Then assemble the handle (5) to the doors using the screws that come with the handles. Assemble the doors to the unit using screws (4) as shown. If the door does not close properly, fine-tune the hinges as explained in the illustration.
Need help?
Do you have a question about the Techni Mobili RTA-8855 and is the answer not in the manual?
Questions and answers