Do you have a question about the Aeware 3 in.ye and is the answer not in the manual?
Questions and answers
Marie
March 18, 2025
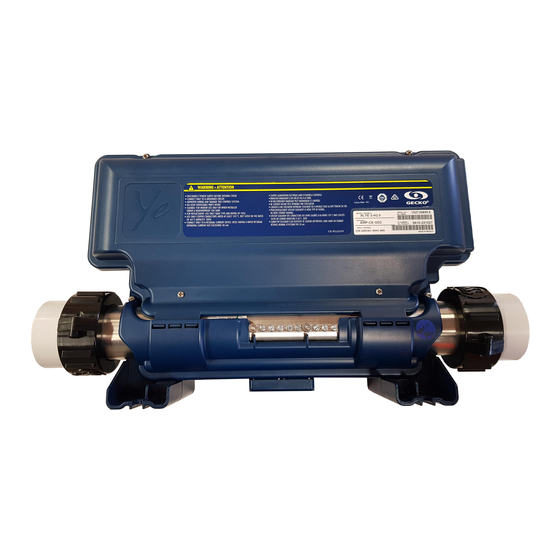
opération du clavier est décollé, c'est ou je peux trouver un fournisseur pour venir nettoyer les tuyauteries, passer le spa et coller le clavier
1 comments:
Mr. Anderson
May 14, 2025
The document advises that if you have a leak or other issues, you should consult a spa/pool dealer. Therefore, to clean the pipes, service the spa, and reattach the keyboard for Gecko part number 3 in.ye, you should contact a qualified spa or pool dealer.


Need help?
Do you have a question about the Aeware 3 in.ye and is the answer not in the manual?
Questions and answers
opération du clavier est décollé, c'est ou je peux trouver un fournisseur pour venir nettoyer les tuyauteries, passer le spa et coller le clavier
The document advises that if you have a leak or other issues, you should consult a spa/pool dealer. Therefore, to clean the pipes, service the spa, and reattach the keyboard for Gecko part number 3 in.ye, you should contact a qualified spa or pool dealer.
This answer is automatically generated