
Subscribe to Our Youtube Channel
Related Manuals for NetApp NS224


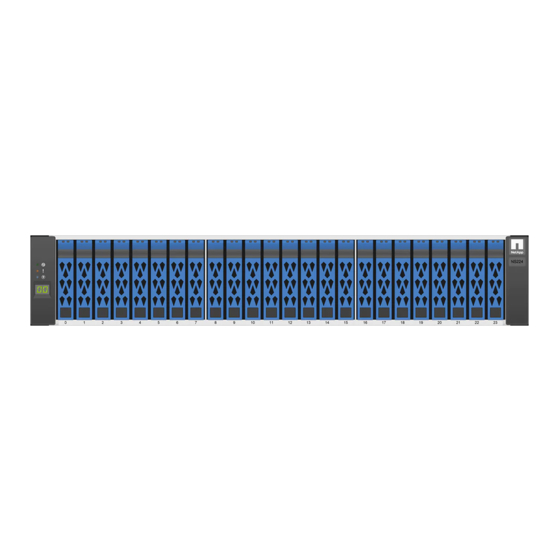
Summary of Contents for NetApp NS224
- Page 1 Maintain ONTAP Systems NetApp November 23, 2021 This PDF was generated from https://docs.netapp.com/us-en/ontap-systems/ns224/service-replace-boot- media.html on November 23, 2021. Always check docs.netapp.com for the latest.
-
Page 2: Table Of Contents
Replace the real-time clock battery - NS224 shelves ......... . -
Page 3: Maintain
Replace the boot media - NS224 shelves When the boot media fails on an NS224 drive shelf in an HA pair that is running ONTAP 9.7 or later, or the shelf is running NVMe shelf module (NSM) firmware version 1.1x or later, you can replace the boot media. - Page 4 • After replacing the boot media, you can return the failed part to NetApp as described in the RMA instructions shipped with the kit. If you need the RMA number or additional help with the replacement procedure, contact technical support...
- Page 5 sides with both hands to support its weight, and then place it on a flat stable surface. When you begin pulling, the latching mechanism arms extend from the NSM module and lock in their fully extended position. 4. Loosen the NSM module cover thumb screw and open the cover. 5.
-
Page 6: Replace A Dimm - Ns224 Shelves
If any cabling errors are generated, follow the corrective actions provided. NetApp Downloads: Config Advisor Replace a DIMM - NS224 shelves You can replace a faulty DIMM nondisruptively in an NS224 drive shelf that is powered on, and while I/O is in progress. Before you begin •... - Page 7 Support, 888-463-8277 (North America), 00-800-44-638277 (Europe), or +800-800-80-800 (Asia/Pacific). • You can use the following video or the written steps to replace a DIMM. Replacing a DIMM in an NS224 drive shelf Steps 1. Properly ground yourself. 2. Disconnect the cabling from the NSM module that contains the FRU that you are replacing: a.
- Page 8 If you are removing the bottom NSM module, and if the bottom rail is obstructing access to the latching mechanisms, place your index fingers through the finger holes from the inside (by crossing your arms). b. With your thumbs, press down and hold the orange tabs on top of the latching mechanisms. The latching mechanisms raise, clearing the latching pins on the shelf.
-
Page 9: Hot-Swap A Drive - Ns224 Shelves
If any cabling errors are generated, follow the corrective actions provided. NetApp Downloads: Config Advisor Hot-swap a drive - NS224 shelves You can replace a failed drive nondisruptively in an NS224 drive shelf that is powered on, and while I/O is in progress. - Page 10 Before you begin • The drive that you are installing must be supported by the NS224 shelf. NetApp Hardware Universe • If SED authentication is enabled, you must use the SED replacement instructions in the ONTAP documentation. Instructions in the ONTAP documentation describe additional steps you must perform before and after replacing an SED.
- Page 11 • The following video provides an overview of the physical removal and insertion portions of the drive hot- swap procedure. Hot-swapping a drive in an NS224 drive shelf Steps 1. If you want to manually assign drive ownership for the replacement drive, you need to disable automatic drive assignment if it is enabled.
-
Page 12: Replace A Fan - Ns224 Shelves
You must reenable automatic drive assignment on both controller modules. Replace a fan - NS224 shelves You can replace a failed fan nondisruptively in an NS224 drive shelf that is powered on, and while I/O is in progress. Before you begin •... - Page 13 Support, 888-463-8277 (North America), 00-800-44-638277 (Europe), or +800-800-80-800 (Asia/Pacific). • You can use the following video or the written steps to replace a fan. Replacing a fan in an NS224 drive shelf Steps 1. Properly ground yourself. 2. Disconnect the cabling from the NSM module that contains the FRU that you are replacing: a.
- Page 14 If you are removing the bottom NSM module, and if the bottom rail is obstructing access to the latching mechanisms, place your index fingers through the finger holes from the inside (by crossing your arms). b. With your thumbs, press down and hold the orange tabs on top of the latching mechanisms. The latching mechanisms raise, clearing the latching pins on the shelf.
-
Page 15: Hot-Remove A Shelf - Ns224 Shelves
NetApp Downloads: Config Advisor Hot-remove a shelf - NS224 shelves You can hot-remove an NS224 drive shelf that has had the aggregates removed from the drives, in an HA pair that is up and serving data (I/O is in progress). - Page 16 About this task • If you are hot-removing more than one shelf, you remove one shelf at a time. • Best practice: The best practice is to remove drive ownership after you remove the aggregates from the drives in the shelf you are removing. Removing ownership information from a spare drive allows the drive to be properly integrated into another node (as needed).
- Page 17 5. Physically remove the shelf from the rack or cabinet. A fully loaded NS224 shelf can weigh up to 66.78 lbs (30.29 kg) and requires two people to lift or use of a hydraulic lift. Avoid removing shelf components (from the front or rear of the shelf) to reduce the shelf weight, because shelf weight will become unbalanced.
- Page 18 completing the following substeps. Otherwise, you are done with this procedure. a. Verify the names of the non-dedicated ports, currently configured for storage use: storage port show You can enter the command on either controller module. The non-dedicated ports configured for storage use are displayed in the output as follows: If your HA pair is running ONTAP 9.8 or later, the non-dedicated ports display in the column.
-
Page 19: Replace An Nsm Module - Ns224 Shelves
State Replace an NSM module - NS224 shelves You can replace an impaired NVMe shelf module (NSM) nondisruptively in an NS224 drive shelf that is powered on, and while I/O is in progress. Before you begin • The shelf’s partner NSM module must be up and running, and be cabled correctly so that your shelf maintains connectivity when you remove the failed NSM module. - Page 20 Support, 888-463-8277 (North America), 00-800-44-638277 (Europe), or +800-800-80-800 (Asia/Pacific). • You can use the following video or the written steps to replace an NSM module. Replacing an NSM module in an NS224 drive shelf Steps 1. Properly ground yourself. 2. Physically identify the impaired NSM module.
- Page 21 3. Disconnect the cabling from the impaired NSM module: a. Disconnect the power cord from the power supply by opening the power cord retainer, and then unplug the power cord from the power supply. Power supplies do not have a power switch. b.
- Page 22 d. Push down carefully, but firmly, on the top edge of the DIMM until the ejector tabs snap into place over the notches at both ends of the DIMM. e. Repeat substeps 7a through 7d for the remaining DIMMs. 8. Move the fans from the impaired NSM module to the replacement NSM module. a.
-
Page 23: Hot-Swap A Power Supply - Ns224 Shelves
If any cabling errors are generated, follow the corrective actions provided. NetApp Downloads: Config Advisor Hot-swap a power supply - NS224 shelves You can replace a failed power supply nondisruptively in an NS224 drive shelf that is powered on, and while I/O is in progress. About this task •... -
Page 24: Replace The Real-Time Clock Battery - Ns224 Shelves
When functioning correctly, a power supply’s bicolored LED illuminates green. Replace the real-time clock battery - NS224 shelves You can replace a failed real-time clock (RTC) battery nondisruptively in an NS224 drive shelf that is powered on, and while I/O is in progress. - Page 25 Support, 888-463-8277 (North America), 00-800-44-638277 (Europe), or +800-800-80-800 (Asia/Pacific). • You can use the following video or the written steps to replace an RTC battery. Replacing an RTC battery in an NS224 drive shelf Steps 1. Properly ground yourself. 2. Disconnect the cabling from the NSM module that contains the FRU that you are replacing: a.
- Page 26 same ports when you reinsert the NSM module, later in this procedure. 3. Remove the NSM module from the shelf: a. Loop your index fingers through the finger holes of the latching mechanisms on either side of the NSM module. If you are removing the bottom NSM module, and if the bottom rail is obstructing access to the latching mechanisms, place your index fingers through the finger holes from the inside (by crossing your arms).
- Page 27 The NSM module attention LEDs turn off after the NSM module reboots and no longer detects an RTC battery issue. This can take three to five minutes. 11. Verify that the NSM module is cabled correctly, by running Active IQ Config Advisor. If any cabling errors are generated, follow the corrective actions provided. NetApp Downloads: Config Advisor...
- Page 28 NetApp. The use or purchase of this product does not convey a license under any patent rights, trademark rights, or any other intellectual property rights of NetApp.
Need help?
Do you have a question about the NS224 and is the answer not in the manual?
Questions and answers