Advertisement
Quick Links
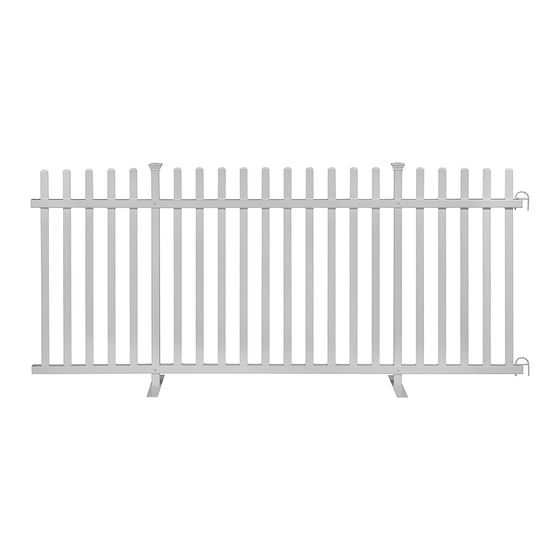
ASSEMBLY INSTRUCTIONS
ZIPPITY
LIGHTWEIGHT
PORTABLE
VINYL FENCE
(42"H X 92"W)
Approximate assembly time
Want to see a video on how to
assemble this product?
WWW.ZIPPITY-OUTDOOR.COM
WWW.ZIPPITY-OUTDOOR.COM
30 MIN
Scan the QR code
ASSEMBLY
INSTRUCTIONS
ZP19026
Note:
This fence can
easily be trimmed
down horizontally to
fit your custom space.
Use a fine-toothed
circular saw or hack
saw.
ZP19026
VER. 011521
1
Advertisement

Related Manuals for Zippity ZP19026


Summary of Contents for Zippity ZP19026
- Page 1 ZP19026 ASSEMBLY INSTRUCTIONS ZIPPITY ASSEMBLY INSTRUCTIONS LIGHTWEIGHT PORTABLE ZP19026 VINYL FENCE (42”H X 92”W) 30 MIN Approximate assembly time Want to see a video on how to assemble this product? Scan the QR code Note: This fence can easily be trimmed down horizontally to fit your custom space.
- Page 2 ZP19026 ASSEMBLY INSTRUCTIONS GENERAL IMPORTANT INFORMATION Check the inside of the larger pieces in your box for other materials packed inside. When assembling components, place on a non-abrasive surface (i.e. shipping box) to avoid scratching. We recommend an area approximately 5’x 8’ for unobstructed assembling.
- Page 3 ZP19026 ASSEMBLY INSTRUCTIONS 46 in 14 in 92 in 22 1/4 in 2 5/8 in 42 in 29 1/2 in 44 1/2 in WWW.ZIPPITY-OUTDOOR.COM...
- Page 4 ZP19026 ASSEMBLY INSTRUCTIONS LAY OUT MATERIALS STEP 1: Post Cap (2) Top Rail (1) 1½” x 1½” x 91⅞” Metal U-Joiner (2) Metal Foot (2) Post (2) Picket (20) ⅞” x 1½” x 41½” 1½” x 1½” x 38⅜” Bottom Rail (1) ¾”...
- Page 5 ZP19026 ASSEMBLY INSTRUCTIONS ASSEMBLE FENCE FRAME STEP 2: STEP 2.1 STEP 2.2 Position the Top and Bottom Rails as Align the pre-drilled holes on the posts with illustrated. Slide the two Posts through the the pre-drilled holes on the bottom and top large routed holes in the top and bottom rails.
- Page 6 ZP19026 ASSEMBLY INSTRUCTIONS INSTALL POST CAPS AND PICKETS STEP 4: STEP 4.1 Push the Post Caps down over the top of the posts as illustrated. The post caps will lock into place. STEP 4.2 Insert each Picket down through the top rail and into the bottom rail.
- Page 7 ZP19026 ASSEMBLY INSTRUCTIONS CONNECT FENCE PANELS STEP 5: STEP 5.1 To attach multiple fence panels to each other, bring the two ends close to each other and insert the Metal U-Joiners through the pre-drilled holes on both the top and bottom rails as shown.
- Page 8 ZP19026 ASSEMBLY INSTRUCTIONS 6935 Reames Rd. Ste. K. Charlotte, NC 28216 support@zippity-outdoor.com 704-892-5222 877-234-6196 WWW.ZIPPITY-OUTDOOR.COM WWW.ZIPPITY-OUTDOOR.COM...
Need help?
Do you have a question about the ZP19026 and is the answer not in the manual?
Questions and answers