Advertisement
Quick Links
Advertisement

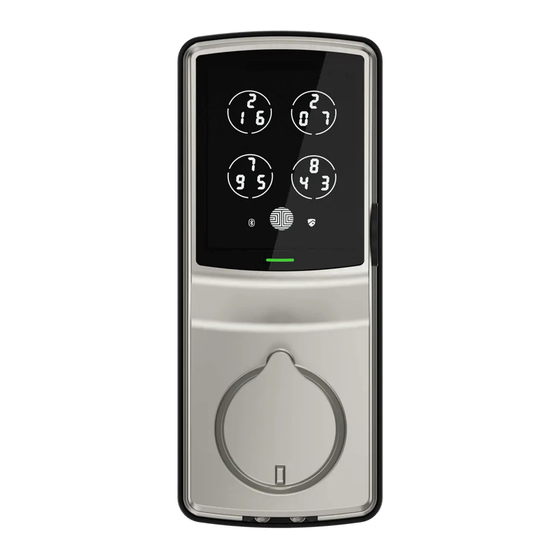
Summary of Contents for Lockly PRO
- Page 1 INSTALLATION GUIDE HOOK SMART LOCK MORTISE EDITION...
- Page 2 Go to LOCKLY.com/pages/installation to watch a video version of this installation guide. Download the BILT app in the Apple or Google Play store for step-by-step interactive 3-D walk-through installation instructions. (Available for selected models)
-
Page 3: Connect With Us
Connect with us @meetlockly | #LOCKLY... - Page 4 This guide will walk you through step-by-step how to install and get your LOCKLY Pro up and running. ® Installation generally takes less than 30 minutes. If you have any questions please reference our online sup- port at: LOCKLY.com/support or call (669) 500-8835 for help.
- Page 5 Deadbolt KA3.5*20MM Screw Strike Plate Dust Box TF Card Face Plate KM4*5.0MM Screw AUTHENTIC LOCKLY PRODUCT | DESIGNED IN USA | CARD IS PRINTED WITH A SPECIFIC PATTERN LOCK SERIAL PGDxxxxxxxxxx ACTIVATION CODE xxxxxxxx SCAN & SAVE LOCKLY Pro can be fitted for both right swing doors and left swing doors.
- Page 6 Preparation To complete the installation you will need: Phillips Tape measure Optional: Door Hole Drill Screwdriver or ruler Prepare door and remove existing lock. If necessary, use provided Installation Template to prepare door. *½" 12mm 2-⅜" (60mm) 1-⅜" (35mm) to 2" (50mm) 3-3/4"...
- Page 7 Step 1 INSTALLING THE LOCKSET (J) 1. Extend the hook by inserting a 3. Insert the lockset to the edge door screwdriver on the cross hole hole, make sure hook is on the top and the cross hole is on vertical position. Secure the lockset with screws K (2X) K(2X) use a...
- Page 8 Step 2 INSTALLING THE EXTERIOR ASSEMBLY(B) 1: To secure Exterior Assembly of lock, peel the cover off the adhesive strips Peel paper off the Adhesive tape *This hole (O) is for the optional Slotted Barrel Extension provided for stabilizing your lock. It will require drilling extra hole on your door (See template as provided).
- Page 9 Step 3 INSTALLING THE INTERIOR ASSEMBLY (F) Secure the cable to the lower left notched hole. 1: Check the mounting plate alignment 2: Place the mounting plate on the to your door hole before you peel of the interior side of the door. Guide the cover off the adhesive strip.
- Page 10 Step 3 INSTALLING THE INTERIOR ASSEMBLY (F) Plug the cable coming through mounting plate in to the interior assembly (F) as shown. Tuck cable under eyelet hooks and route to the right on interior assembly Plug into , match red side of plug with red on socket - insert tightly.
- Page 11 Step 3 INSTALLING THE INTERIOR ASSEMBLY (F) continued Torque Blade Thumb turn shaft Align torque blade with thumb turn shaft, make sure both are in the vertical position. Before placing the interior Place the interior assembly Secure the interior assembly assembly onto the mount- against the mounting plate to mount platedoor with...
-
Page 12: Installing Batteries
Step 4 INSTALLING BATTERIES PRESS & HOLD 1: With door open and hook fully extended, insert 3 batteries only (hold on inserting the 4th). Note correct -/+ polarity. 2: Press and HOLD the program button , continue to hold and install the 4th battery. The lock will automatically start self-check (release program button once check starts). - Page 13 Step 5 INSTALLATING DOOR STRIKE Use the supplied door strike or use your existing as long as hook operates smoothly without binding or catching. K(2X) K(2X) IMPORTANT: because doors and frames vary in design it may be necessary to make slight adjustments to your strike plate and/or dust box in order to ensure smooth hook operation.
- Page 14 DOWNLOAD LOCKLY ® Congratulations! You have completed the LOCKLY physical lock installation. To complete your setup, download the LOCKLY app from the iOS or Google Play app Store and follow on-screen instructions. Scan, visit app store, or go to LOCKLY.com/app...
- Page 15 We’re here to help! help@LOCKLY.com IMPGD778F20200820...
- Page 16 For the latest version of this manual, please visit the link below: http://LOCKLY.com/help...
- Page 17 FCC Warning: This device complies with Part 15 of the FCC Rules. Operation is subject to the following two conditions: (1) This device may not cause harmful interference, and (2) this device must accept any interference received, including interference that may cause undesired operation. NOTE 1: This equipment has been tested and found to comply with the limits for a Class B digital device, pursuant to part 15 of the FCC Rules.
- Page 18 We’re here to help! Email: help@LOCKLY.com For the most up to date version of this guide please visit: LOCKLY.com/help IMPGD778F20200820...


Need help?
Do you have a question about the PRO and is the answer not in the manual?
Questions and answers