
Subscribe to Our Youtube Channel
Related Manuals for Side-Power SX35/140


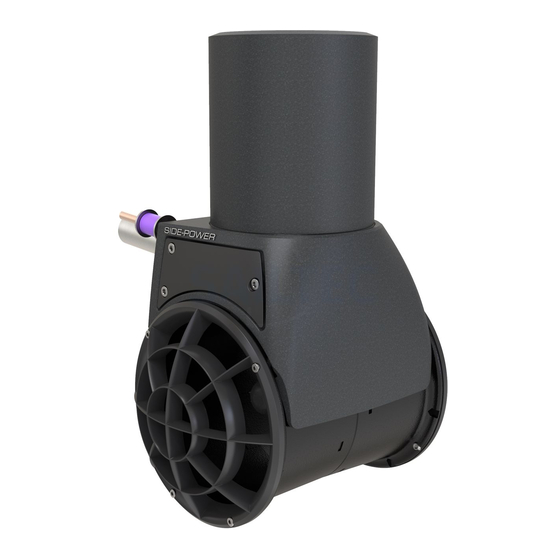
Summary of Contents for Side-Power SX35/140
- Page 1 - 35/140 - 50/140 Installation Manual SX-Hydro pod For installing SX thruster with the Hydro-pod modification please use the SX-Hydro pod installation guide.
-
Page 2: Table Of Contents
Contents Bow Installation Instructions Bow Installation Considerations and Precautions ..... 3 Thruster Measurements ............4 Thruster Specifications .............. 5 Technical Specifications ............5 Control Box Technical Specifications ......... 6 Positioning the Stern Truster ............. 7 Stern Thruster Cowls/ Grids ............8 Positioning of the SX with Hydrodynamical Cover .... -
Page 3: Bow Installation Considerations And Precautions
• If able ensure that sterndrives/ trimtabs do not interfere with the water fl ow from the thruster as this can reduce the thrust eff ectiveness considerably. We recommend the use of our Side-Power cowls to enhance the performance and allow installation in shallow draft boats. Side-Power cowls will also minimise the eff... -
Page 4: Thruster Measurements
379 mm 14,92” 104 mm 4,09” * Standard tube 180 mm *276 mm 183 mm 7,1” *10,87” 7,20” * Extended tube for 50 mm thicker hull models 1,97” 18 mm 35,8 mm 0,71” 1,41” 65 mm 2,56” 130 mm 5,12” MG_0110 SX35 &... -
Page 5: Thruster Specifications
Thruster Specifi cations MC_0149 description * 35 * 50 Available DC System (v) Thrust 12v or 24v (kg * lbs) 43 kg * 94 lbs 62 kg * 136 lbs Thrust 10.5v or 21v (kg * lbs) 35 kg * 77 lbs 50 kg * 110 lbs Typical Boat Size (m * ft) 6m - 10m * 19ft - 32ft... -
Page 6: Control Box Technical Specifications
187 mm 7’36” 170 mm 6’69” 121 mm 4’76” MG_0132 Control Box Technical Specifi cations MC_0082 SX35 SX50 Operation volts: 12v. Max Current: 250A 380A Duty Cycle: Max ambient temp: 50ºc 50ºc Min ambient temp: -25ºc -25ºc Power supply cable: 35 - 70mm²/ AWG 2 - 00 35 - 70mm²/ AWG 2 - 00 Mount direction :... -
Page 7: Positioning The Stern Truster
Engine Engine Water line Water line The thruster can be installed in multiple locations based on object obstructions on the stern. Thruster assembly does not disturb the water flow under the hull. Water flow Engine Thruster tunnel is clear Steering Arm from obstruction. -
Page 8: Stern Thruster Cowls/ Grids
Cowl water flow redirection Shallow installation Composite material with smooth inner walls for optimal water flow and strength Radiused corners prevent turbulence A standard Sidepower stern thruster tunnel with add-on cowls for shallow installation An angled edge further preventing air attraction into the tunnel cowls to change the water flow direction to... -
Page 9: Positioning Of The Sx With Hydrodynamical Cover
STERN MG_0162 Positioning of the SX with Hydrodynamical Cover MC_0072 Aim to install the thruster as far forward/ Aft as possible Due to the leverage eff ect around the boats’ pivot point. The relative distance diff erence from the boat pivots’ point to the thruster will determine the amount of real thrust for the boats, rotation. -
Page 10: Thruster Installation Considerations And Precautions
S-link control system without the designated and approved interface will render all warranties and responsibilities for the complete line of Side-Power products connected void and null. If you are interfacing by agreement with Sleipner and through a designated Side-Power supplied interface, you are still required to also install at least one original Side-Power control panel to enable effi... -
Page 11: Grids Or Cowls Assembly
Detail #1 ed by Date 06/02/2019 Size Sheet MG_0145 Grids or Cowls assembly MC_0074 1. Install the cowls or grids before mounting the new tunnel to the thruster. (NB: Remember the tunnel can not be removed without being destroyed.) 2. Drill 4 holes in the mould marking on the tunnel. 3. -
Page 12: Tunnel Installation
Align two ends of the tunnel. Ensure top lips tabs into the motor inserts. Push two tunnel ends together. Check snap lock positions around the tunnel. MG_0112 Tunnel Installation MC_0074 ! Please refer to the graphic for special considerations relating to your model ! Ensure grids or cowls are installed if in use. -
Page 13: Motor Installation
130 mm 1 - 3 4 - 5 5,12” Hole size for hull Bolt and Washer 18 mm 35,80 mm 0,71” 1,41” 50 mm 65 mm 1,97” 2,56” All rings need Maximum hull thickness +15% compression is 50 mm or 150mm Hull thickness Drill holes in hull Sealant (MS Polymer) -
Page 14: Control Box Installation
BAT. + # SX35 CONTROL BOX 5, 6 Nm Hose claps BAT. - 5, 6 Nm MOTOR CABLE - 6 1232i MOTOR CABLE + TORQUE 8Nm BAT. + 5, 6 Nm # SX50 CONTROL BOX BAT. - 5, 6 Nm MOTOR CABLE - Control Box hose clamp... -
Page 15: Thruster Electrical Installation
Tighten to To control panel(s)/remote. # SX35 CONTROL BOX 5, 6 NM 4,13 lb/ft CONTROLLER HOSE LEADS Tighten to Tighten to Automatic MAIN 5 NM 5 NM SWITCH 3,69 lb/ft 3,69 lb/ft (BLUE HOSE) battery cable Temp switch NC Tighten to # SX50 CONTROL BOX 5, 6 NM MAIN FUSE... -
Page 16: Electrical Specifications
Nominal <7m total + & - 7-14m total + & - 15-21m total + & - 22-28m total + & - 28-35m total + & - 36-45m total + & - System Min. battery Model Size current Rec. fuse Voltage Min. -
Page 17: Control Panel Cable Installation
Thuster Motor Ext. cable Y cable 4- or 5-lead 4- or 5-lead Ext. cable 4- or 5-lead * 4 OR 5 LEAD EXTENSION CABLES Manual Main switch Automatic Main switch Thuster * 5 LEAD EXTENSION Motor CABLES Y cable Ext. cable 5-lead 5-lead Ext. -
Page 18: Visual Wiring Diagram
Visual Wiring Diagram CONTROLLER CONNECTIONS: <<B+>>: Power supply pos from thruster battery/ Main switch/ Main fuse <<B->>: Power supply neg from thruster battery 2 Motor cables from thruster 4 wires from thruster overtemp switch 2 Control cables from control panel(s)/ remote To control panel(s)/remote. -
Page 19: Control Panel Installation
CONTROL PANEL TEMPLATES 61,1mm For control panels 8950 / 8960 For control panels 8950 / 8960 Cut out area: Ø 51,8 mm / 2" Cut out area: Ø 51,8 mm / 2" Ø52 This way Up! Ø 3,0 mm / 0,12" Ø... -
Page 20: Checklist For Dc And Ip Thrusters
Checklist for SX Thrusters MC_0081 ..Propeller is fastened correctly to the shaft... Propeller turns freely in tunnel... Primer and anti-fouling have been applied to the gearhouse and propeller but NOT on the anode or the gearhouse lid where the propeller is fastened... -
Page 21: Spare Parts
Spare Parts MC_0024 For the most up to date documentation, we advise you to visit our website www.side-power.com for the spare parts list. Warranty statement MC_0024 1. The equipment manufactured by Sleipner Motor AS (The “Warrantor”) is warranted to be free from defects in workmanship and materials under normal use and service.
Need help?
Do you have a question about the SX35/140 and is the answer not in the manual?
Questions and answers