Advertisement
Quick Links
Advertisement

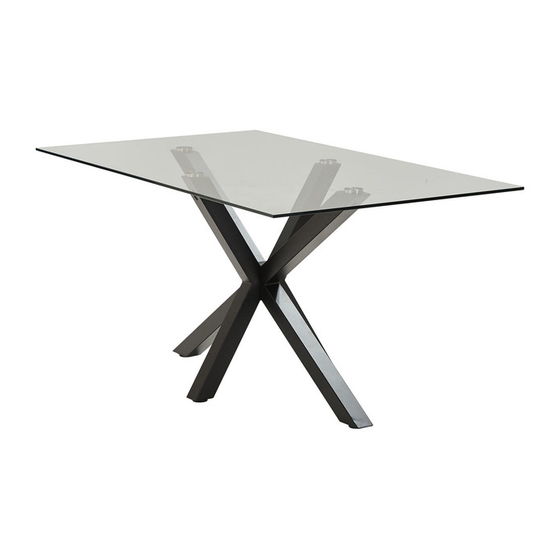
Summary of Contents for fantastic furniture BLAKELY TABLE D6 BLACK
- Page 1 Version 2.0 80 kg BLAKELY TABLE D6 BLACK www.fantasticfurniture.com.au...
- Page 2 GLASS SHOULD ALWAYS BE HANDLED WITH CARE Scratches, chips, sudden changes in temperature and hairline fractures may cause the glass to break. This glass is designed to break into small, relatively harmless pieces and not sharp fragments. Avoid placing hot or cold items directly onto the table unless using a thick insulation material such as placemats or coasters.
-
Page 3: Assembly Checklist
Assembly checklist Read through the instructions carefully Make sure you have all the required tools. before you begin. Never use power tools unless instructed. Identify and lay out all of the components Unless instructed, do not fully tighten before you begin assembly. screws until the item is fully assembled. -
Page 4: What You Need
What you need to assemble the product (1 x P6) (1 x P5) Large legs (2 x P1) Center block (1 x P3) (1 x P4) Small legs (2 x P2) Box 1: Large legs (P1), Small legs (P2), center block (P3), Cap (P4), Cap (P5), Top (P6) Metal stick Bolts Bolts... - Page 5 Step 1 You will need 4 x Adjustable feet (H5) (H5) (H5) (H5) (H5) Attach adjustable feet (H5) to legs (P1 and P2). Step 2 Small leg Large leg You will need 8 x Allen bolt 1 x Allen key (H2) (H2) (H8)
- Page 6 Step 3 You will need (H6) 4 x Allen bolt 1 x Allen key (H3) (H6) (H3) (H3) (H3) (H3) Lay glass table top on to a soft flat surface to avoid damaging the glass. Attach legs (P1 and P2) to top (P6) by using bolts (H3) and allen key (H6). Make sure to align all bolts well, before fully tightening.
- Page 7 Step 5 (H1) (H1) You will need 1 x Metal stick 1 x Nut (H1) (H4) (H7) (H4) 1 x Spanner (H7) Add Metal stick (H1) to Center block (P3), and attach Caps (P4 and P5). Tighten the Caps (P4 and P5) by using nuts (H4) and Spanner (H7).
-
Page 8: Job Complete
Step 7 Job Complete! In the interest of our environment please dispose of all packaging thoughtfully . www.fantasticfurniture.com.au PAGE 8... - Page 9 Version 1.0 Dimi Chair...
- Page 10 Fantastic! We’re thrilled you’ve chosen Fantastic Furniture to help create a home you’ll love! Love it? Share it! Fantastic buy! Share how it looks at home on Instagram for your chance to win a $250 Fantastic Furniture Gift Card! @fantasticfurniture...
- Page 11 Assembly checklist Read through the instructions carefully Make sure you have all the required tools. before you begin. Never use power tools unless instructed. Identify and lay out all of the components Unless instructed, do not fully tighten screws before you begin assembly. until the item is fully assembled.


Need help?
Do you have a question about the BLAKELY TABLE D6 BLACK and is the answer not in the manual?
Questions and answers