Table of Contents
Advertisement
Quick Links
Advertisement
Table of Contents

Related Manuals for Ronix 2111


Summary of Contents for Ronix 2111
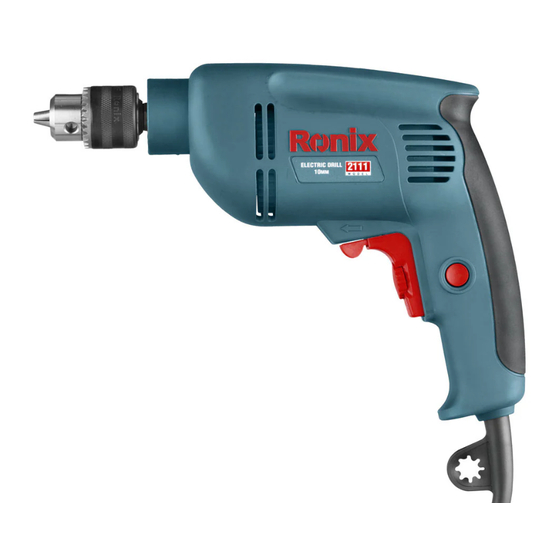
- Page 1 ELECTRIC DRILL 10MM 2111...
-
Page 2: Technical Specifications
TECHNICAL SPECIFICATIONS Model 2111 Power 480W voltage 220V frequency 50Hz No load speed 0~3000rpm Net. Weight 1.7Kg PART LIST Drill chuck Direction switch Operating switch Locking button GENERAL SAFETY RULES WARNING! Read all instructions. Failure to follow all instructions listed below may result in electric shock, fire and/or serious injury. -
Page 3: Electrical Safety
presence of flammable liquids, gases or dust. Power tools create sparks which may ignite the dust or fumes. Keep children and bystanders away while operating a power tool. Distractions can cause you to lose control. ELECTRICAL SAFETY Power tool plugs must match the outlet. Never modify the plug in any way. - Page 4 operating a power tool. Do not use a power tool while you are tired or under the influence of drugs, alcohol or medication. A moment of inattention while operating power tools may result in serious personal injury. Use safety equipment. Always wear eye protection. Safety equipment such as dust mask.
- Page 5 or storing power tools. Such preventive safety measures reduce the risk of starting the power tool accidentally. Store idle power tools out of the reach of children and do not allow persons unfamiliar with the power tool or these instructions to operate the power tool.
- Page 6 Trigger lock is “OFF”. Accidental start-ups could cause injury. Position the cord clear of rotating bit. Do not wrap the cord around your arm or wrist. If you lose control and have the cord wrapped aroung your arm or wrist it may entrap you and cause injury. Position yourself to avoid being caught between the tool or side handle and walls or posts.
- Page 7 Do not run the drill while carrying it at your side. A spinning drill bit could become entangled with clothing and injury may result. This tool may be used with sanding and polishing disks, grinding wheels, wire wheel and wire cup brushes. These accessories must be rated for at least the speed recommended on the tool warning label.
- Page 8 OPERATING INSTRUCTIONS TRIGGER CONTROLLED VARIABLE SPEED Your tool is equipped with a variable speed trigger switch. The tool speed can be controlled from minimum to maximum nameplate rated RPM by the pressure you apply to the trigger. Apply more pressure to increase the speed and release pressure to decrease speed.
- Page 9 your drill to your belt, this feature will allow you to have both hands free when climpbing a ladder or positioning material to be fastened. CHUCK KEY & STORAGE AREA Keyed models are equipped with a chuck key that is conveniently located on the cord protector where it is always handy and unlikely to get lost or misplaced.
-
Page 10: Operating Tips
OPERATING TIPS You will extend the life of your bits and do neater work if you always put the bit in contact with the work before pulling the trigger. During the operation, hold the tool firmly and exert light, steady pressure. Too much pressure at low speed will stall the tool. -
Page 11: Drill Bits
screw head to pull the pieces tightly together. The adjustable screw drill accessory will do all of these operations quickly and easily. Screw drills are available for screw sized No. 6, 8, 10 and 12, 2. Drill same FASTENING diameter as screw shank. -
Page 12: Drilling Metal
You will drill a cleaner hole if you ease up on the pressure just before the bit breaks through Operating tips-cont. The wood. Then complete the hole from the back side. DRILLING METAL There are two rules for drilling hard materials. First, the harder the material, the greater the pressure you need to apply to the tool. - Page 13 WIRE BRUSHED Work with brushes requires high speeds. Use of the “Lock-ON” button feature will provide a much easier operation. BRUSHING PRESSURE 1. Remember, the tips of a wire brush do the work. Operate the brush with the lightest pressure so only the tips of the wire come in contact with the work.
Need help?
Do you have a question about the 2111 and is the answer not in the manual?
Questions and answers