Table of Contents
Advertisement
Quick Links
Advertisement
Table of Contents

Related Manuals for Ronix 2290


Summary of Contents for Ronix 2290
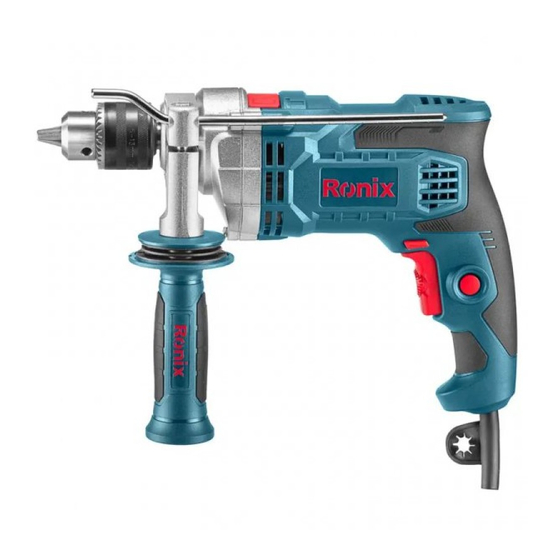
- Page 1 METAL GEARBOX IMPACT DRILL 2290...
-
Page 2: Technical Specifications
Max Capacity in Wood 30mm Max Capacity In Steel 13mm Chuck Type keyed Chuck Size 13mm Weight Supplied in Ronix color box Auxiliary Ronix-design handle, Includes Depth gauge, Chuck key PART LIST Hammer/Drilling Depth guage Selection Switch Motor Forward/reverse Keyed Chuck... -
Page 3: Safety Guidelines
SAVE THESE INSTRUCTIONS this manual contains important safety and operating instructions read all instructions and follow them with use of this product. SAFETY GUIDELINES SAFETY GUIDELINES: safety symbols in this instruction manual are used to flag possible dangers. the safety symbols and their explanations require your full understanding. - Page 4 - Do not use the power tool if the switch does not turn it on and off. any power tool that cannot be controlled with the switch is dangerous and must be repaired in ronix service center. - Disconnect the plug from the power source and/or the battery pack from the power tool before making any adjustment, changing accessories, or storing power tools.
-
Page 5: Work Area Safety
and the work to be performed. use of the power tool for operations different from those intended could result in a hazardous situation. SERVICE - have your power tool serviced by a qualified repair person using only identical replacement parts. this will ensure that the safety of the power tool is maintained. -
Page 6: Personal Safety
risk of electric shock. - when operating a power tool outdoors, use an extension cord suitable for outdoor use. use of a cord suitable for outdoor use reduces the risk of electric shock. - if operating a power tool in a damp location is unavoidable use a ground-fault circuit interrupter (GFCI) protected supply. -
Page 7: Variable-Speed Trigger Switch
OPERATING INSTRUCTIONS VARIABLE-SPEED TRIGGER SWITCH the variable-speed trigger switch delivers higher speed with increased trigger pressure and lower speed with decreased trigger pressure. 1) connect the power cord of your hammer drill to a standard household power outlet. 2) to turn the hammer drill on, press the trigger switch. 3) to turn the hammer drill off, release the trigger switch. -
Page 8: Auxiliary Handle
WARNING! never connect the hammer drill to the power source when you are assembling parts, making adjustments, installing or removing bits, cleaning, or when it is not in use, disconnecting the hammer drill will prevent accidental starting, which could cause serious personal injury. -
Page 9: Depth Gauge
position and push handle inward it engages, then securely tighten hand grip clockwise Locking T eeth Collar Mount Drilling Depth Depth Gauge Hard Grip Counter-ClockWise ClockWise DEPTH GAUGE your drilling depth can be pre-set and/or repeated by using the depth gauge. setting depth: after the auxiliary handle is installed, make sure the accessory has been fully inserted into the chuck before setting the depth gauge. -
Page 10: Removing Bits
4) tighten the sleeve by hand. 5) place the chuck key in one of the three chuck key holes and tighten in clockwise direction. repeat with the remaining two chuck key holes. 6) Remove the chuck key. OPERATION INSTRUCTION REMOVING BITS 1) unplug the hammer drill from the power source. - Page 11 WARNING! inserting the drill bit into the chuck jaws at an angle and then tightening the chuck and using the drill could cause the drill bit to be thrown from the hammer drill, resulting in possible serious physical injury or damage to the chuck HAMMER/DRILLING SELECTION SWITCH 1) when drilling in concrete, granite, tile, marble, etc., push the selection switch to the side marked with symbol .
-
Page 12: Drilling In Wood
it from turning as the drill bit rotates. 2) install the correct bit. 3) verify that the direction-of-rotation selector is at the correct setting (forward). 4) hold the hammer drill firmly and place the bit at the point to be drilled. -
Page 13: Troubleshooting
1) when drilling metals, use light oil on the drill bit to keep it from overheating. the oil will prolong the life of the bit and increase the drilling action. 2) begin drilling at a very low speed to prevent the bit from slipping off the starting point. - Page 14 2) check for damaged, missing, or worn parts. 3) check for loose screws, misalignment or binding of moving parts, or any other condition that may affect the operation. 4) if abnormal vibration or noise occurs, turn the tool off immediately and have the problem corrected before further use.
Need help?
Do you have a question about the 2290 and is the answer not in the manual?
Questions and answers