Advertisement
IMPORTANT
Carefully remove all the parts from the carton and
place them individually on a soft cloth to prevent
scratches or other damage.
Carefully and strictly follow these assembly instructions
to ensure a completed product as designed.
Do not use power tools above 8 volts to assemble.
Part List
A.
Seat
1 pc.
E.
Side Stretcher
1 pc.
F.
Side Stretcher
1 pc.
Hardware List
Hex Wrench
1 pc.
Small Hex Wrench
1 pc.
Tool(s) required for assembly:
Home Styles Customer Service: www.homestylesfurniture.com,
servicedesk@homestylesfurniture.com,
5180 80
-
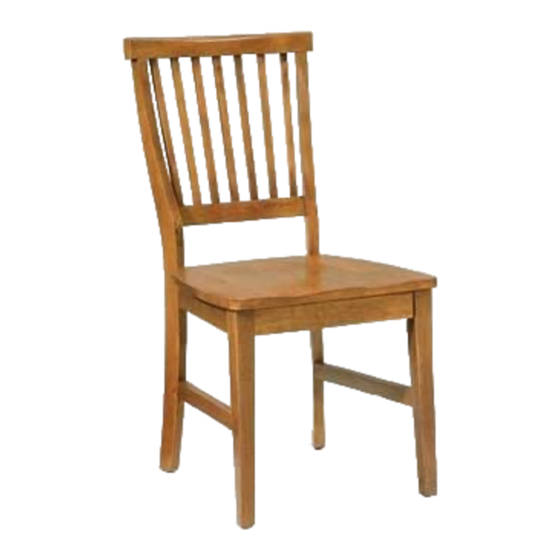
Side Chair
B.
Leg
1 pc.
M3.5x40
Wood Screw
4 pcs. (+1 extra)
M6x40
Head Cap Bolt (short)
3 pcs. (+1 extra)
Phillips screwdriver
C.
Leg
1 pc.
M6x50
Head Cap Bolt
4 pcs. (+1 extra)
M6x70
Head Cap Bolt (long)
4 pcs. (+1 extra)
888-680-7460, 877-831-0319
D.
Back Frame
1 pc.
Flat Washer
11 pcs. (+1 extra)
Spring Washer
11 pcs. (+1 extra)
Advertisement
Table of Contents

Subscribe to Our Youtube Channel
Summary of Contents for Home Styles 5180 80
- Page 1 Small Hex Wrench Head Cap Bolt (short) Head Cap Bolt (long) Spring Washer 1 pc. 11 pcs. (+1 extra) 3 pcs. (+1 extra) 4 pcs. (+1 extra) Tool(s) required for assembly: Phillips screwdriver Home Styles Customer Service: www.homestylesfurniture.com, servicedesk@homestylesfurniture.com, 888-680-7460, 877-831-0319...
- Page 2 Assembly Instructions 2/3 IMPORTANT Ÿ Use a soft cloth between these parts and the floor. Ÿ Do not use power tools above 8 volts to assemble. Ÿ Do not tighten all the bolts until each part is properly assembled. Ÿ Keep Hex Wrench as the bolts may need to be tightened in the future.
- Page 3 Assembly Instructions 3/3 Flat Washer Wood Screw Spring Washer Head Cap Bolt (long) Flat Washer Spring Washer Head Cap Bolt (short) STEP 2 Attach Back Frame (D) to unit with Flat Washers, Spring Washers, Head Cap Bolts (short), Head Cap Bolts (long) and Wood Screws, tightening bolts only halfway. (See Figures 3 and 4) Tighten all bolts used in Steps 1 and 2.
- Page 4 Buff with a dry clean cloth. Home Styles will provide replacements free of charge for missing or damaged hardware or parts within 30 days of purchase. Digital images of the defective parts may be required. If the product was not purchased from an authorized retail affiliate, Home Styles is under no obligation to provide replacement parts.


Need help?
Do you have a question about the 5180 80 and is the answer not in the manual?
Questions and answers