Advertisement
Available languages
Available languages
Quick Links
H-6316, H-6317
H-6318
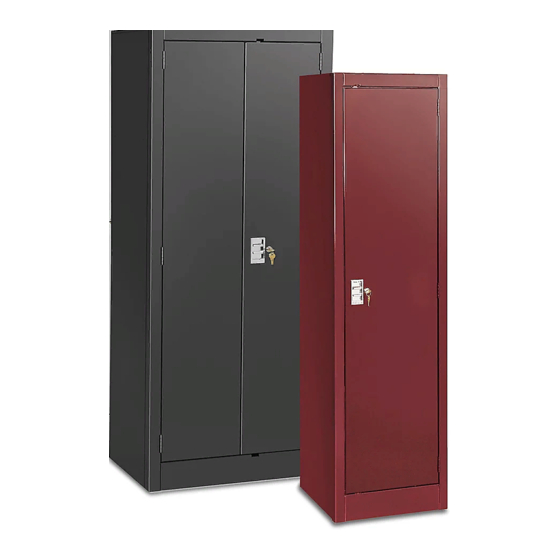
SLIM STORAGE CABINET
PAGE 1 OF 9
1-800-295-5510
uline.com
TOOL NEEDED
Para Español, vea páginas 4-6.
Pour le français, consulter les pages 7-9.
3/8" Wrench
CAUTION! Some parts may have sharp
edges. Take care when handling various
pieces to avoid injury. For your safety,
wear work gloves when assembling.
0921 IH-6316
Advertisement

Summary of Contents for U-Line H-6316
- Page 1 Para Español, vea páginas 4-6. Pour le français, consulter les pages 7-9. H-6316, H-6317 1-800-295-5510 H-6318 uline.com SLIM STORAGE CABINET TOOL NEEDED 3/8" Wrench CAUTION! Some parts may have sharp edges. Take care when handling various pieces to avoid injury. For your safety, wear work gloves when assembling.
- Page 2 PARTS Identifying the front of the top: H-6316: 4 holes on left, 3 on right H-6317: 4 holes on left, 3 on right H-6318: 3 holes on left, 2 on right ASSEMBLY DESCRIPTION QTY. Back Side Shelf Bottom Door and Frame...
- Page 3 ASSEMBLY Place back (1) on a protected surface. The bottom 5. Bolt door and frame (6) to top (5) and sides (2). shelf clip should be at the bottom of the back. (See Figure 4) (See Figure 1) NOTE: Door frame must be placed over the sides and top.
- Page 4 H-6316, H-6317 800-295-5510 H-6318 uline.mx GABINETES DELGADOS PARA ALMACENAMIENTO HERRAMIENTA NECESARIA Llave de 3/8" ¡PRECAUCIÓN! Algunas partes podrían tener bordes filosos. Tenga cuidado al maniobrar varias piezas para evitar lesiones. Por su seguridad, cuando lo arme use guantes. PAGE 4 OF 9...
- Page 5 PARTES Identificar la parte frontal de la parte superior: H-6316: 4 orificios a la izquierda, 3 a la derecha H-6317: 4 orificios a la izquierda, 3 a la derecha H-6318: 3 orificios a la izquierda, 2 a la derecha ENSAMBLE DESCRIPCIÓN...
- Page 6 ENSAMBLE 1. Coloque el panel posterior (1) sobre una superficie 5. Una con pernos el marco y la puerta (6) con el panel protegida. Los clips para la repisa del fondo deben superior (5) y los laterales (2). (Vea Diagrama 4) de quedar abajo de la parte posterior.
- Page 7 H-6316, H-6317 1-800-295-5510 H-6318 uline.ca ARMOIRE D'ENTREPOSAGE MINCE OUTIL REQUIS Clé de 3/8 po MISE EN GARDE! Certaines pièces peuvent avoir des bords tranchants. Manipulez les pièces avec soin pour éviter toutes blessures. Pour votre sécurité, portez des gants de travail lors du montage.
- Page 8 PIÈCES Identifier l'avant de la tablette supérieure : H-6316 : 4 trous à gauche, 3 à droite H-6317 : 4 trous à gauche, 3 à droite H-6318 : 3 trous à gauche, 2 à droite MONTAGE DESCRIPTION QTÉ Panneau arrière Panneau latéral...
-
Page 9: Montage
MONTAGE Placez le panneau arrière (1) sur une surface 5. Vissez la porte et le cadre (6) à la tablette supérieure protégée. La pince de la tablette inférieure doit être (5) et aux panneaux latéraux (2). (Voir Figure 4) placée au bas du panneau arrière. (Voir Figure 1) REMARQUE : Le cadre de la porte doit être placé...


Need help?
Do you have a question about the H-6316 and is the answer not in the manual?
Questions and answers